

How to connect Slack to n8n step by step

Connecting Slack to a self-hosted n8n instance lets you bring team communication into your automation workflows. You can send messages, react to events and automate routine processes all from one place.
What are the benefits of connecting Slack to n8n?
Connecting Slack to n8n gives you one place to link team communication with automation. You can send notifications from other tools straight to Slack, so your team sees important updates where they already work. It also reduces manual work because recurring tasks like status updates, reports and reminders can run automatically. Slack can even work as a control point where users trigger workflows or respond to events.
With a self-hosted n8n instance, you also decide where your data runs and who can access it. Another benefit is flexibility. n8n lets you combine Slack with a range of other tools, like Discord. This makes it easier to build more complex workflows where one action can trigger the next across your setup. You can also expand your workflows or adapt them to new requirements at any time.
What do you need to connect Slack to n8n?
Before you connect Slack to n8n, make sure both your n8n instance and Slack workspace are ready. You need the following:
- A self-hosted n8n instance with a fixed URL: Your n8n instance should be reachable from the internet through a fixed URL. This is required so OAuth redirects and Slack callbacks can reach n8n.
- HTTPS for your n8n domain: Slack requires HTTPS for OAuth redirect URLs. A plain HTTP address will not work.
- Admin rights or app approval in Slack: To install the Slack app you’ll create for n8n in your workspace, you usually need admin rights or approval from someone who can authorize the requested permissions.
- Access to Slack app management: You’ll need access to Slack’s developer interface to create the app, define scopes and enable Event Subscriptions if your workflow needs them.
- A clear idea of what n8n should do in Slack: Authentication and permissions differ depending on whether you only want to send messages or also respond to new messages in Slack.
There are several ways to install n8n. The best option depends on your setup and how you want to use it. Installing n8n with Docker is a good option if you want to get started quickly. If you need a setup that can scale and stay highly available installing n8n with Kubernetes is a strong choice. If you prefer managing apps through a graphical interface, running n8n with CasaOS works particularly well.
Step 1: Configure the public n8n URL and reverse proxy
Before you connect Slack to n8n, your n8n instance must be reachable through the correct public URL, especially when n8n runs internally on port 5678 but is exposed through a reverse proxy under its own HTTPS domain. In this kind of setup, n8n needs to know which public address to use when generating callback and webhook URLs for Slack.
To do this, set the WEBHOOK_URL variable to your public HTTPS domain. Otherwise, n8n may generate internal URLs that Slack cannot reach. You should also set N8N_PROXY_HOPS=1 so n8n can correctly interpret the headers forwarded by your reverse proxy. Your reverse proxy should also forward the following headers: X-Forwarded-For, X-Forwarded-Host and X-Forwarded-Proto. These headers tell n8n which domain and protocol external users are accessing. If they are missing or set up incorrectly, OAuth logins may fail or Slack triggers may not receive events.
Here is an example for a Docker Compose file:
services:
  n8n:
    image: docker.n8n.io/n8nio/n8n:stable
    ports:
      - "5678:5678"
    environment:
      - N8N_HOST=n8n.example.com
      - N8N_PROTOCOL=https
      - WEBHOOK_URL=https://n8n.example.com/
      - N8N_PROXY_HOPS=1
      - TZ=America/New_York
    volumes:
      - n8n_data:/home/node/.n8n

volumes:
  n8n_data:
Step 2: Create a Slack app for n8n
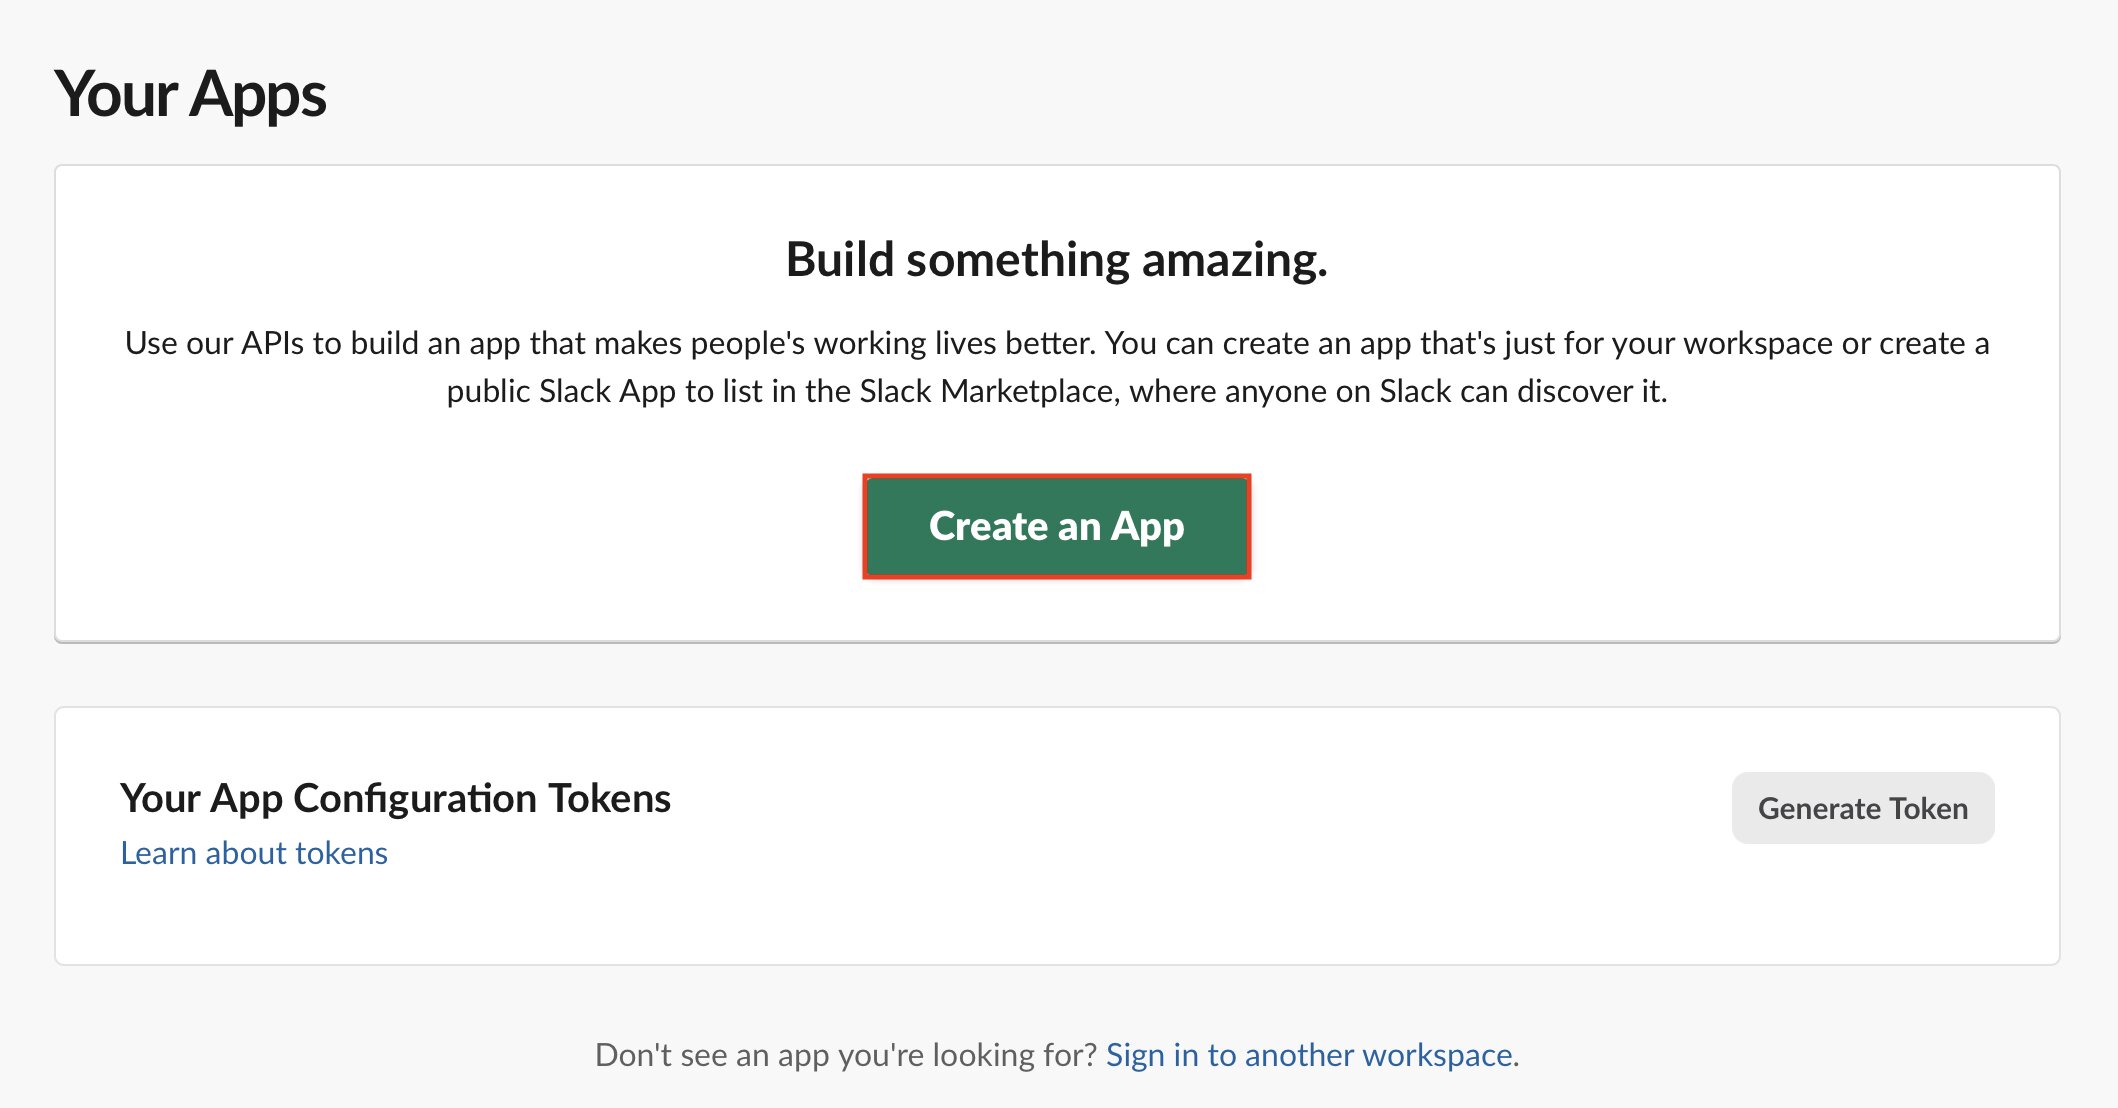
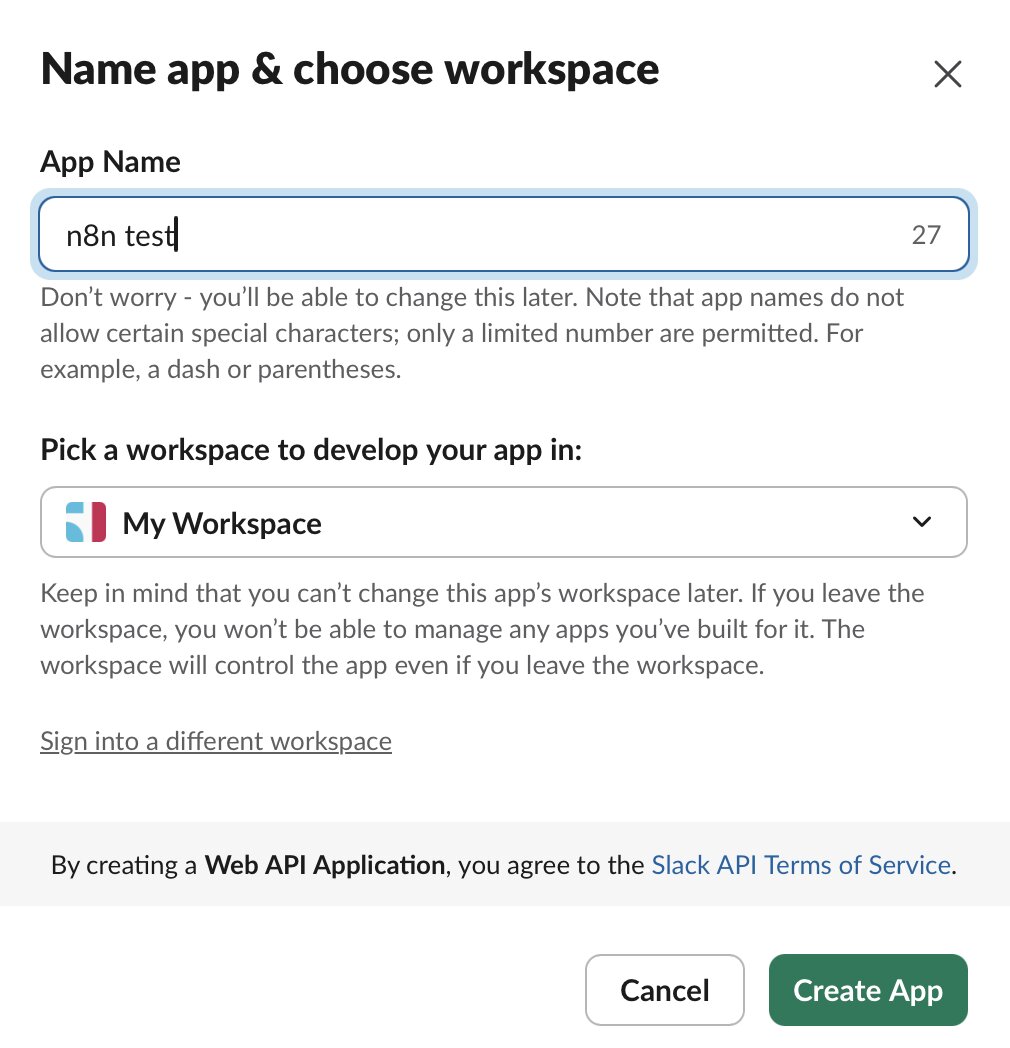
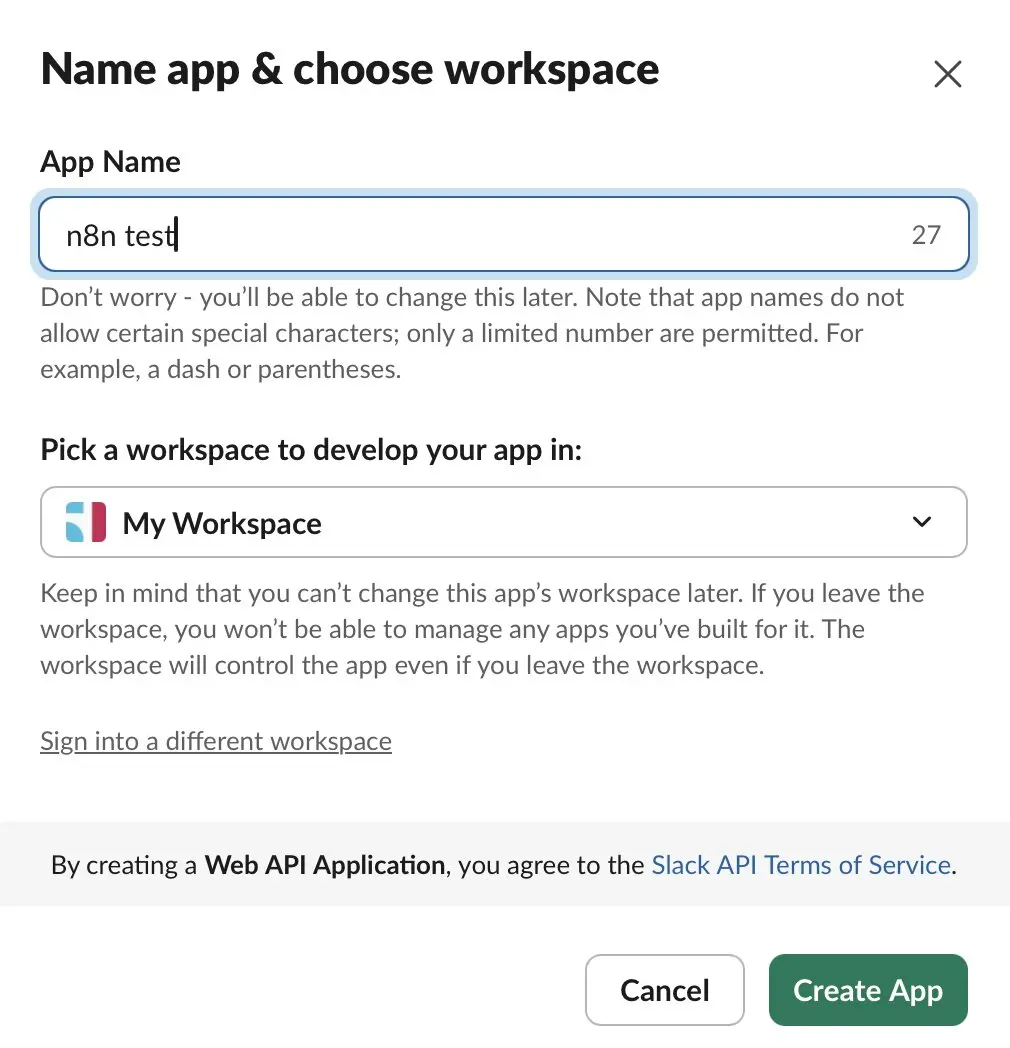
To connect Slack with n8n, you first need to create your own Slack app. That app will give n8n permission to access your Slack workspace and perform actions there later on. In the Slack Developer Portal, create a new app, give it a name and choose the workspace you want to connect. Then Slack will create the app and display the settings page. Under Basic Information, you’ll find important details like the Client ID and Client Secret. You will need both later when connecting Slack to n8n. This is not the same as building a standalone n8n Slack bot. Instead, you are creating a Slack app that allows n8n to connect to and interact with your Slack workspace.
Here’s how to do it step by step:
- Open Slack app management.
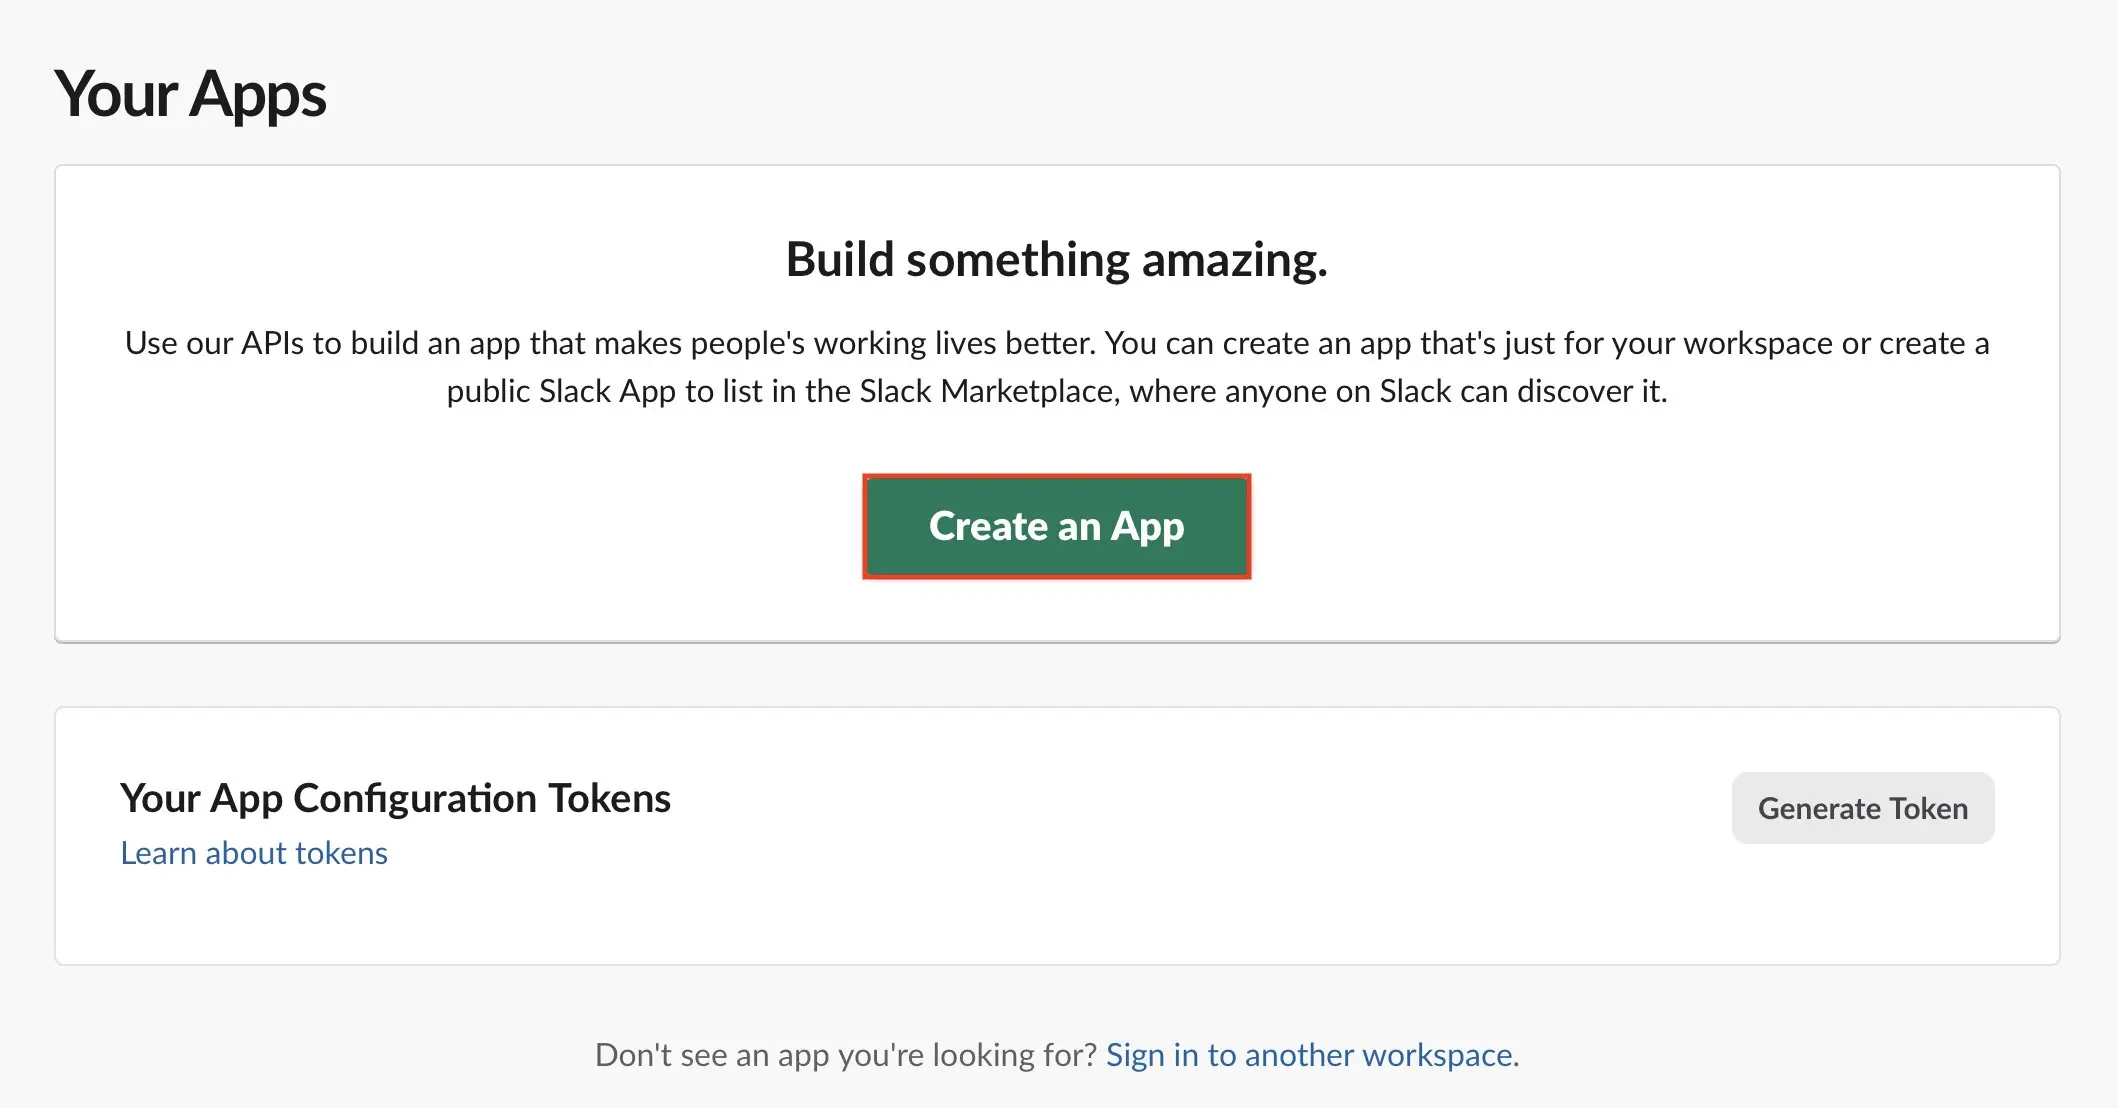
- Click Create an App
Step 3: Add the n8n redirect URL in Slack
Next, connect Slack and n8n with OAuth2. For this, n8n automatically creates a callback URL for your Slack credentials. Slack needs this URL so it knows where to send you after you approve the connection. To do this, open a new workflow in n8n, add a Slack node and create new credentials with OAuth2. Copy the callback URL shown in the credentials window. Then go back to your Slack app, open OAuth & Permissions and paste the URL under Redirect URLs. Then save your changes.
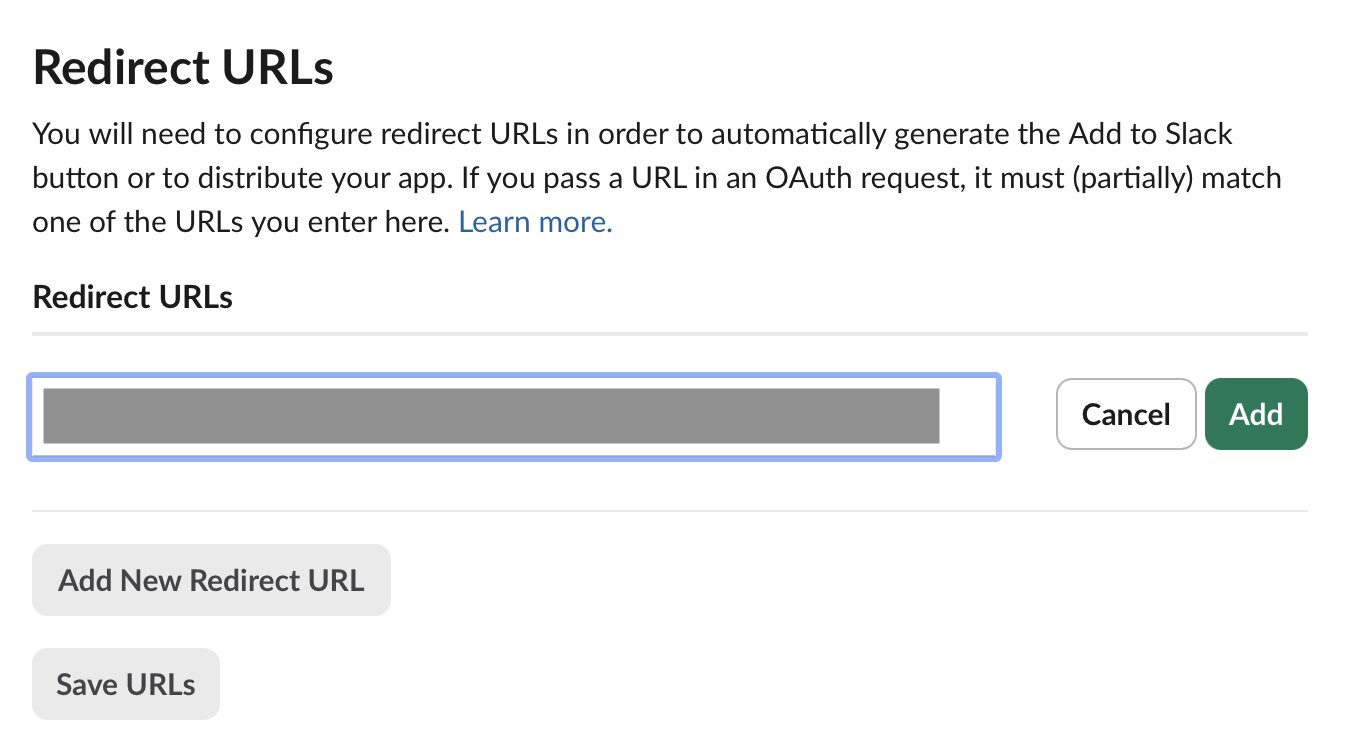
You can now add the required scopes and install the app in your workspace. n8n then uses the browser login to complete the connection. Make sure the redirect URL matches your public HTTPS domain exactly, as Slack only accepts HTTPS addresses.
Step 4: Set the right Slack scopes and install the app
For the OAuth credentials in n8n to work correctly, you need to assign the right scopes in Slack. Scopes are the permissions you give the Slack app and they control what n8n can do in your workspace. n8n will suggest several common scopes to begin with.
The scopes you actually need, however, will depend on your workflow. A workflow that only sends messages needs fewer permissions than one that reads channel history, uploads files or processes reactions. After you’ve added the scopes, click Install to Workspace and approve the permissions. n8n can then use the Slack app in your workflows.
You can always add more scopes later if your workflow needs them. It’s usually better to start small and add permissions only when you need them. This makes it easier to keep track of which permissions the Slack app actually has.
For most n8n workflows, these scopes are a good starting point:
chat:writechannels:readchannels:historyusers:readfiles:readfiles:writereactions:readreactions:write
If you want to use the Slack Trigger, you usually need a few extra scopes. Start with channels:read, groups:read, im:read, mpim:read and users:read. These scopes allow n8n to retrieve channel and user lists from Slack. If your workflow needs to react to specific events, such as new messages or reactions, you may need to add more scopes. Just be sure to decide which events you want to use before you add any more permissions.
Step 5: Connect and test the Slack credentials in n8n
After you’ve installed the app in Slack, go back to n8n and complete the OAuth connection. Paste the Client ID and Client Secret from your Slack app into the fields.
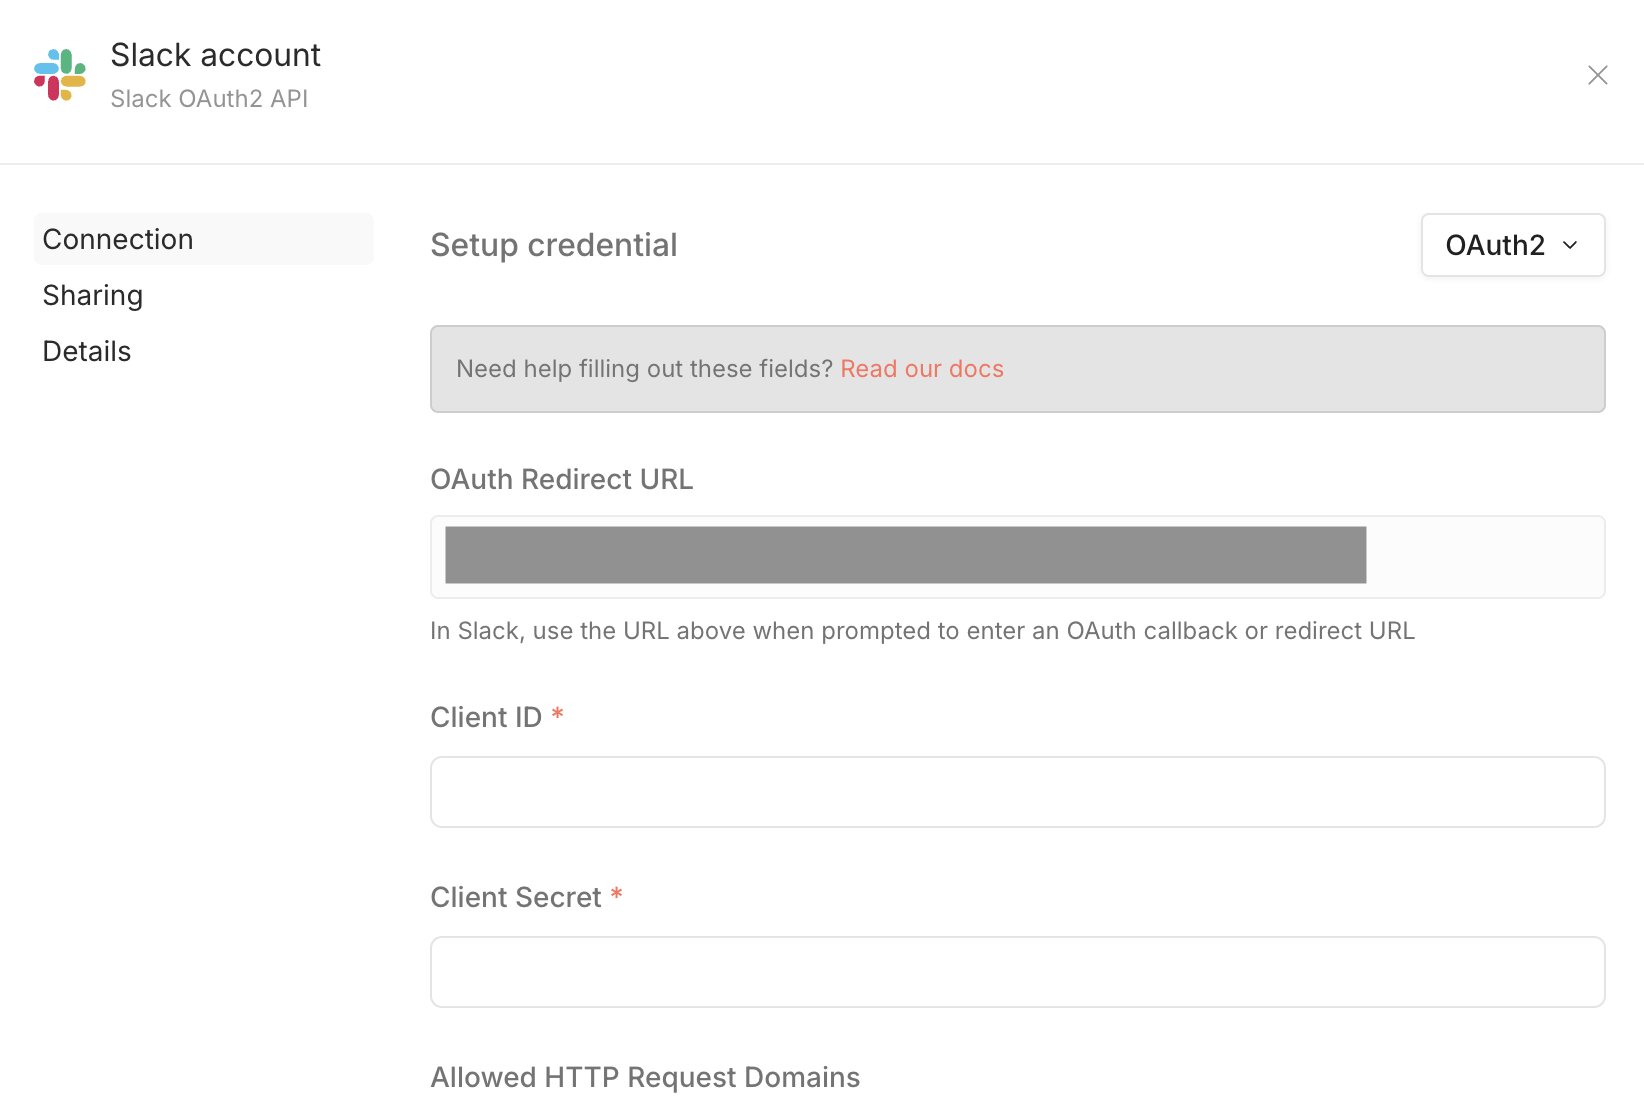
In the Slack credentials, click Connect with browser and approve access to your workspace. Once the connection is approved, n8n will show you that the account has been connected. You can then use the Slack node in your workflows.
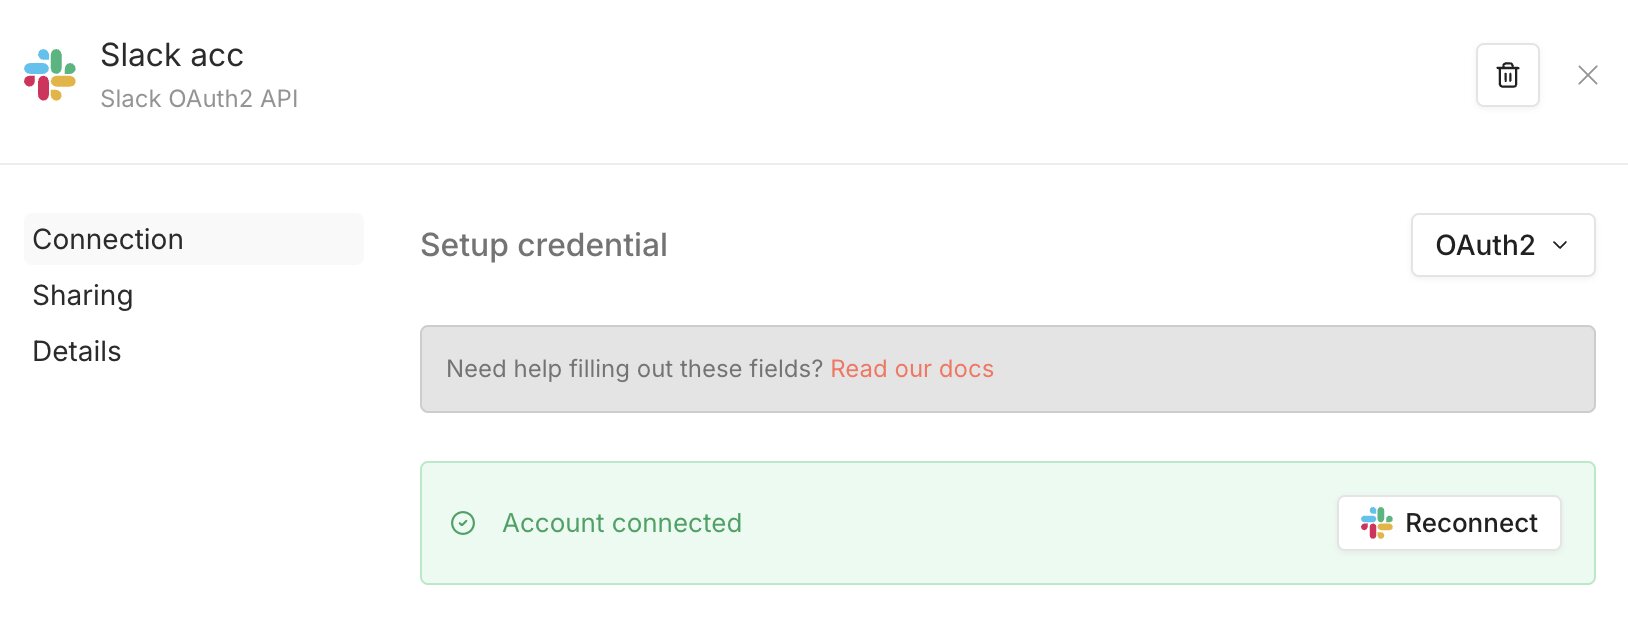
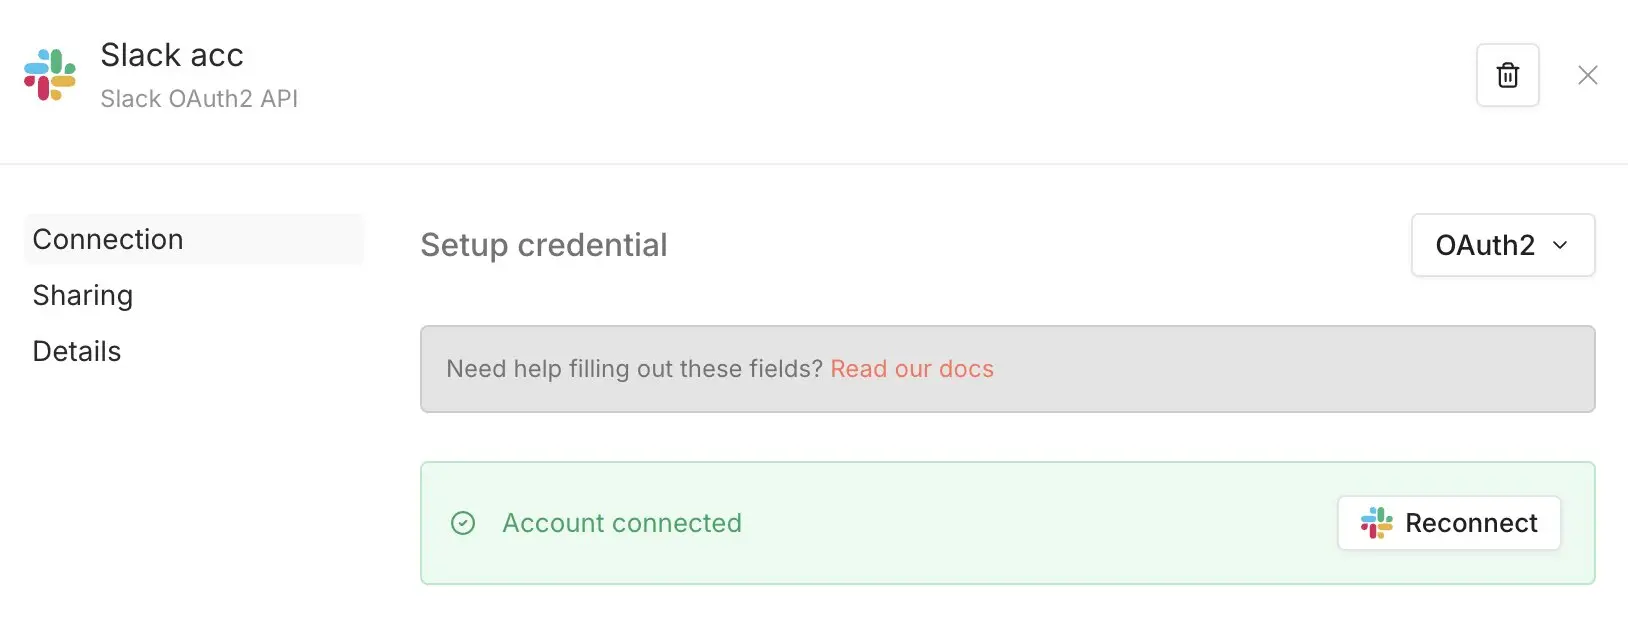
The Slack node supports several actions, including channel actions, file uploads, reactions, user lookups and message actions such as “Send a message” or “Update a message.” For your first test, keep the workflow simple. Add a Manual Trigger node and a Slack node, then try sending a message to a channel. This lets you see if the credentials, scopes and channel access are all working.
To do this in the Slack node, select:
- Resource: Message
- Operation: Send a message
- Channel: #automations
Make sure your bot has already been added to the channel you want to post in.
Step 6: Set up the Slack Trigger for incoming events (optional)
If you want Slack activity to initiate workflows automatically, you also need the Slack Trigger. Unlike the regular Slack node, the trigger does not use OAuth2. Instead, it works with an API token from Slack. To create the API token, open the Slack app and go to OAuth & Permissions. Add the scopes your trigger needs and click Install to Workspace. Slack then creates a Bot User OAuth Token under OAuth Tokens for Your Workspace. The token starts with xoxb-. Copy this token and create new Slack credentials in n8n using the API token option.
Next, add a Slack Trigger node to your workflow. n8n will show a webhook URL for the trigger. Copy this URL and go back to Slack. Under Event Subscriptions, enable events and paste the webhook URL into the Request URL field. Now Slack can send events directly to n8n. After that, select the events that should initiate the workflow, such as new messages or reactions. You can also add the Slack signing secret in n8n if you want to verify incoming requests.
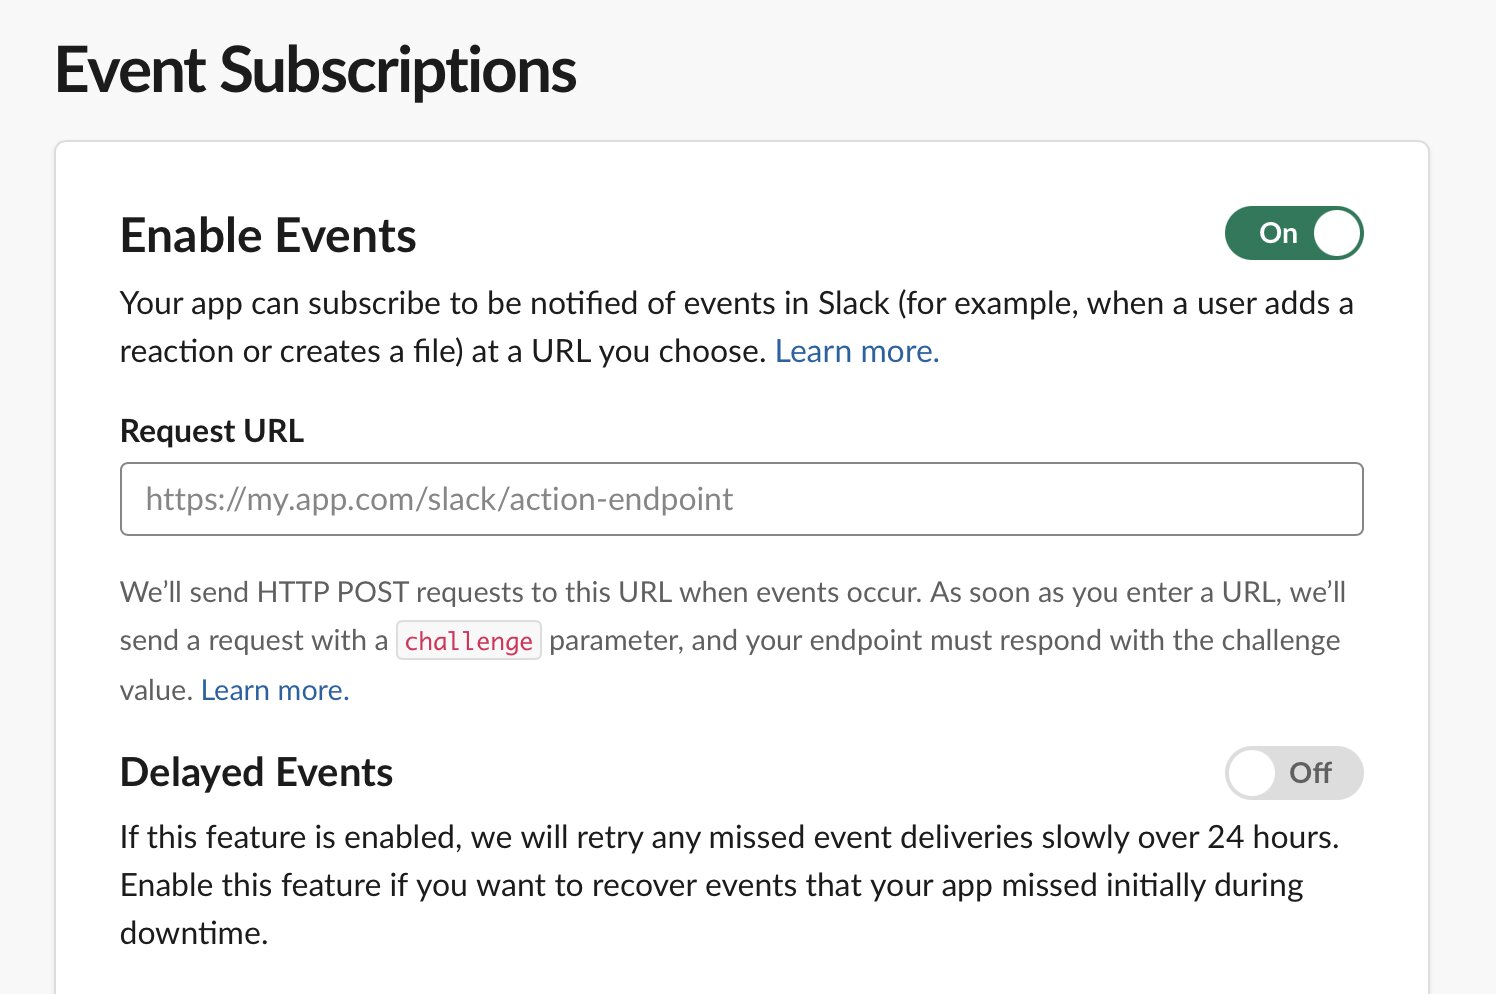
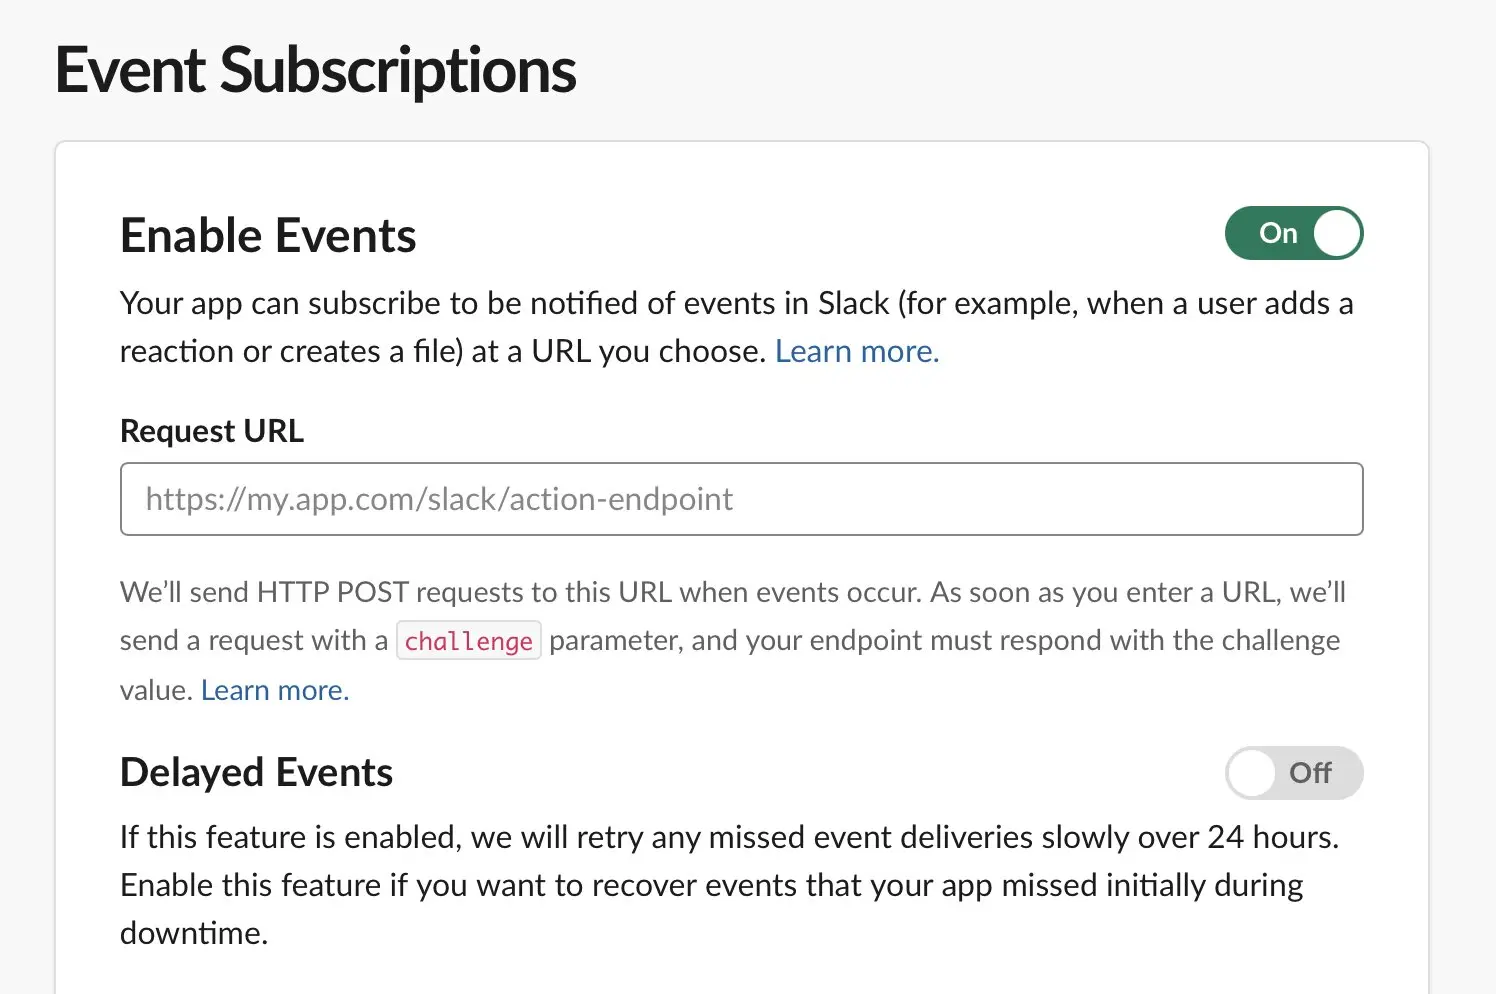
Slack only allows one Request URL per app. If you use separate setups for testing and live workflows, you’ll need to update the URL each time or route both through one fixed endpoint.
What can you automate with Slack and n8n?
Slack and n8n work best together when they handle real workflows. Instead of just sending notifications, you can use Slack to approve tasks, forward files, route alerts or start follow-up actions automatically. This can save on a lot of manual work, especially for teams that deal with the same processes day in day out.
1. Automatically send alerts to Slack
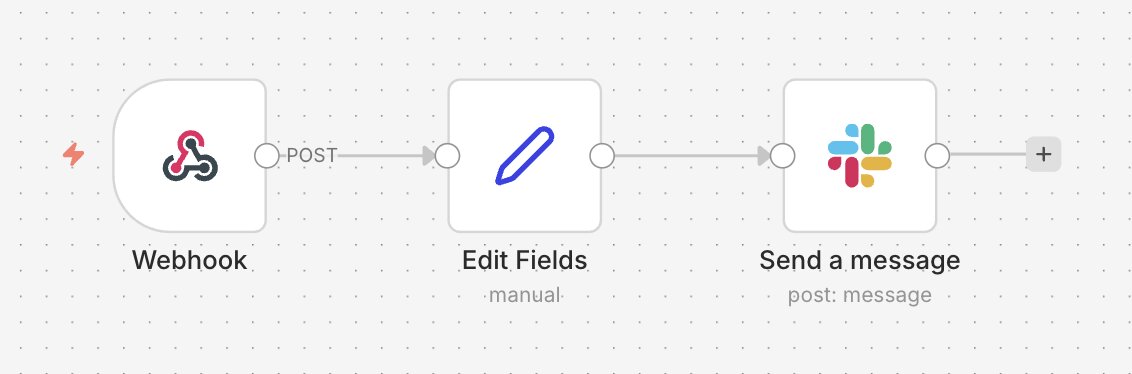
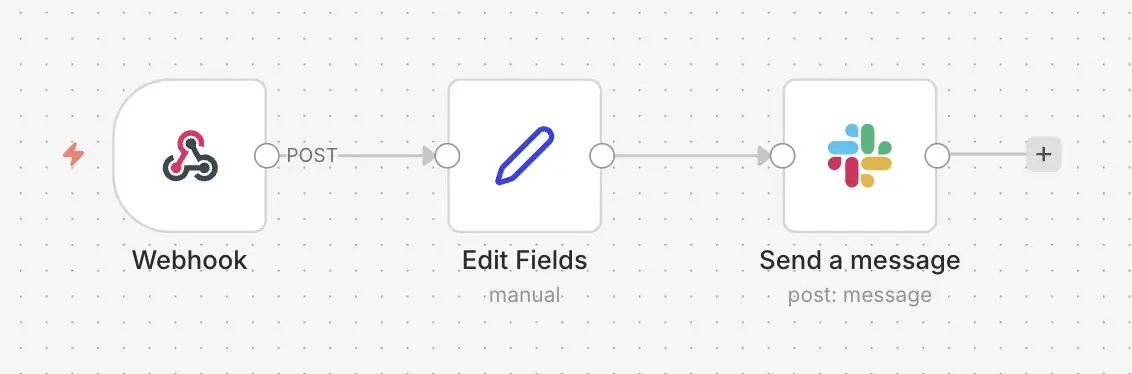
A typical workflow sends alerts from servers, monitoring tools or forms to Slack. This way, important information appears where your team is already working instead of getting buried in emails or sitting in a dashboard that nobody keeps open all day.
In n8n, the workflow can be triggered by a webhook, a Schedule Trigger node or another connected tool. n8n can then filter the data, format it and post it as a Slack message that’s easy to read. This lets you send deployment updates, backup warnings, support requests or system errors to a dedicated channel automatically. You can also use multiple Slack nodes if different teams need different alerts. For example, server outages or failed deployments could go to an operations channel, while support requests could be forwarded to a customer service channel.
2. Automatically forward files or new entries to Slack
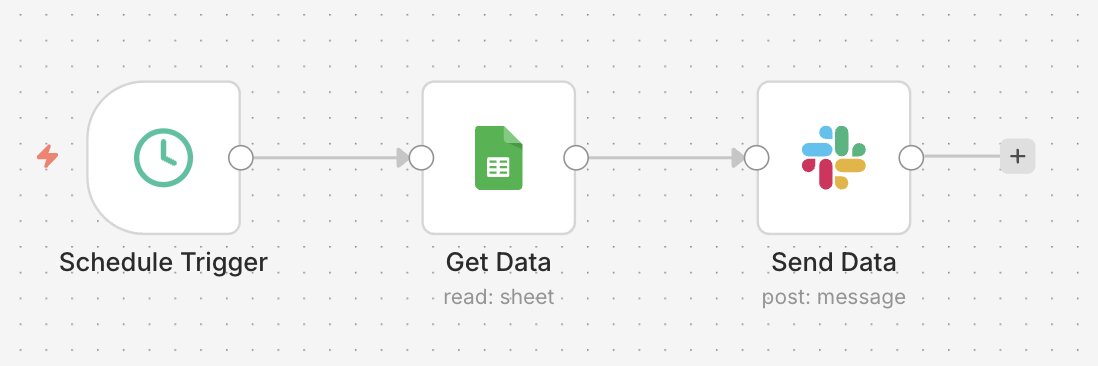
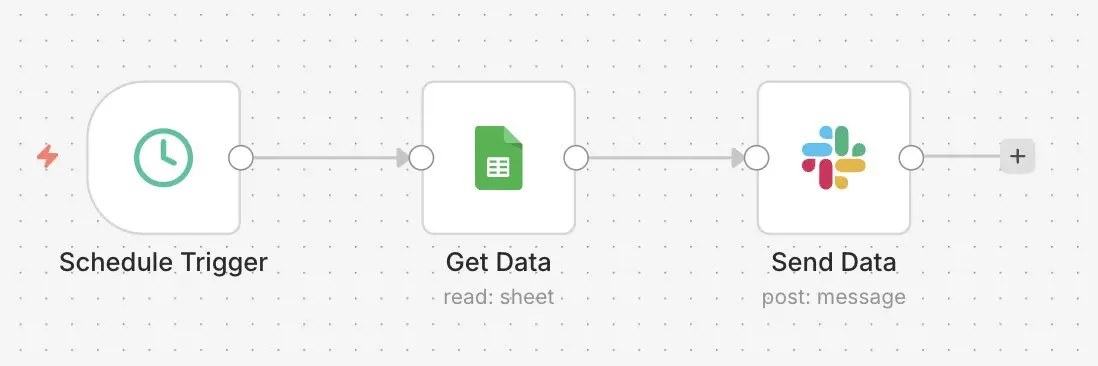
Another useful workflow forwards new files, tickets or entries from other tools to Slack. Instead of checking several tools throughout the day, your team gets automatic updates in a specific channel. For example, n8n can pick up a new Google Sheets entry, report, PDF or Telegram message. It can then turn the information into a short summary and post it to Slack along with the file or link, allowing teams to respond faster. This is helpful for marketing, support and project teams in particular because it means new information appears right away instead of sitting unnoticed in another tool.
3. Use Slack events to trigger workflows
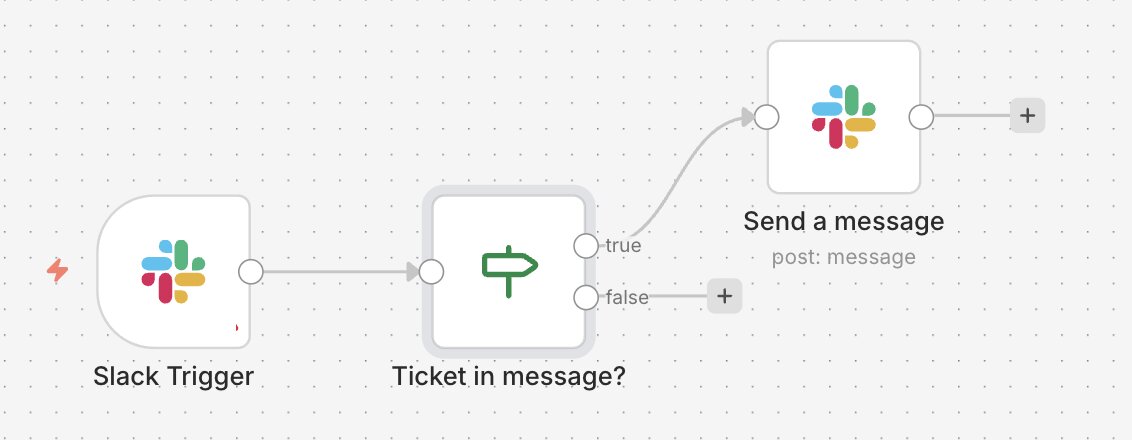
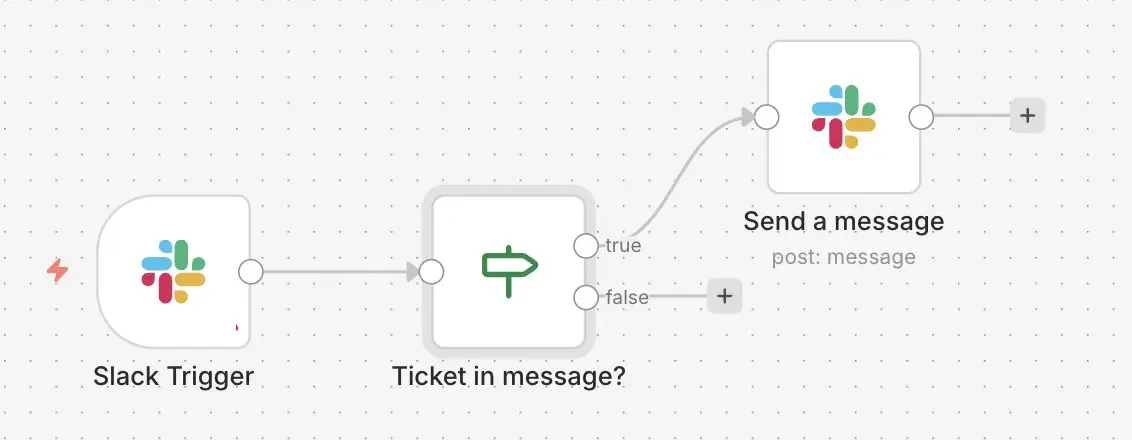
Slack itself can also trigger workflows. With the Slack Trigger, new messages, reactions or mentions can initiate actions in n8n automatically. For instance, a message in a specific channel could create a ticket, pull data from another tool or start an internal approval process. Reactions can also work as simple approval signals.
In n8n, you can read the event data first and decide what should happen next. Messages with certain keywords or formats can be forwarded to tools like Jira through n8n, categorized or saved internally. To avoid unnecessary workflow runs, only enable the events and channels your workflow actually needs.
Reviewer

Christian Heldmaier
Christian Heldmaier is an experienced online marketing and SEO specialist from Karlsruhe. He has been working as an SEO Manager at IONOS since July 2020.