

Create an explainer video: Comparing the best tools

Explainer videos are very popular right now: they are innovative, fun to watch, and have the potential to reach millions of people on social media. Marketers have long since realized this, and are using the wide appeal of these animated graphics to market their products more effectively and to attract even more customers. Do you also have a brilliant idea that you want to share with lots of people but find yourself on a budget? All you need is a creative, enticing explainer video. We will show you the four best tools that will help you create unique, innovative explainer videos online for free.
What is an explainer video?
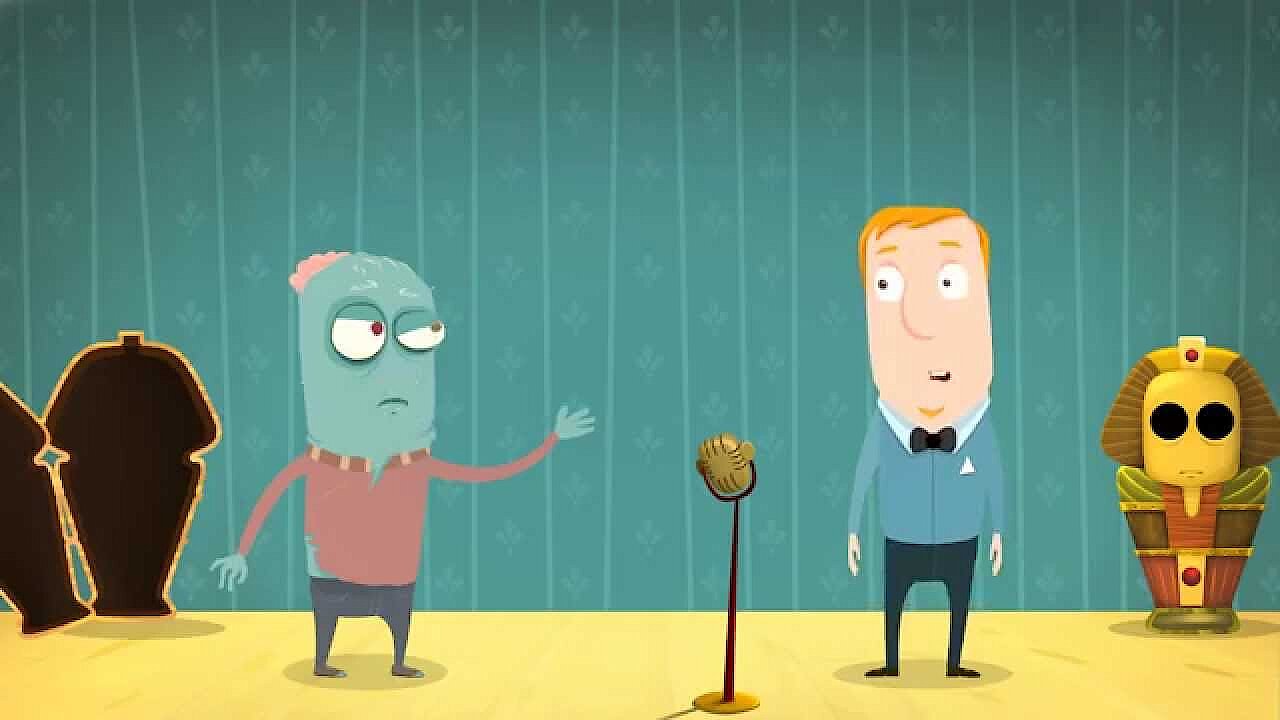
An explainer video is a short film that aims to educate viewers about a particular issue, application, or product. These videos usually consist of animated graphics, a voice-over, and background music – just like a real movie. Most explainer videos have a relatable main character and try to introduce the audience to a subject in a simple and humorous way. In marketing, for example, an effective explainer video should result in a product lingering in people’s minds.
As a result of their popularity, many agencies have popped up that specialize in creating explainer videos and earn a lot of money from them. However, anyone can create explainer videos themselves, without needing to spend a penny. We will tell you which tools you can use to create unique videos for free.
PowToon: Explainer videos made easy!
You can use the cloud-based web service PowToon to create your own explainer videos online. The best part? In addition to the paid subscription package, the software is also available as a freeware version. You will have to settle for fewer features and special effects, but the Basic package still has a considerable selection of templates and animated graphics available to choose from.


To create an explainer video for free, you will need to make an account with PowToon. Registration is free, either through your Google or Facebook account. Once you log in, a well-structured interface appears which will initially offer you five video styles to choose from. Depending on why you are creating your video, you can opt for a modern style (Modern Edge) or a simple black and white look (whiteboard) to suit your project. You can also select cartoon, business, and infographic styles.
If you opt for a basic style, you will now have to choose a template. These are sorted according to different themes, e.g. birthdays and general congratulations, invitations, presentations, and many more. If you are particularly creative, you can get rid of the topic-specific templates and create your own. Once you have made your choice, a detailed introductory tutorial will appear, explaining step by step how PowToon works.


A clear advantage is that it is easy to use: Similar to PowerPoint, you can create individual slides or scenes (left column), which are played back one after the other. In the right-hand column, you can choose between different preset scenes that you just drag to the center of your screen. You can also create scenes and individually combine and animate text elements, characters, and objects. In terms of audio, you can either use the existing material or upload your own audio files.
After a certain period of use, you will receive a gift (like an extra template). In the right-hand column, you will find a countdown timer that shows when you will get your next gift.
Use the timeline to set the exact scene duration. Special features include different fade-in and fade-out effects, hand animations, or chart templates. When you are finished, you can save finished videos, upload them to YouTube, or share them on social networks. You can also export the video in PDF or PPT format.
Disadvantages: You can create explainer videos for free with PowToon, but the freeware version has significantly reduced templates and features compared to the paid packages. For example, while the paid business package allows you to create videos with a maximum length of 60 minutes in HD quality, the free version offers just 5 minutes in basic quality. Another potential downside is that the software is only available in English. Those who speak foreign languages may have difficulty using it.
For more information on the free paid versions’ functionality, see the price table.
| Advantages | Disadvantages | |
|---|---|---|
| Freeware version available | Full range of use only available in the paid version | |
| Quick login with your Google or Facebook account | Freeware version is severely limited (fewer templates, video length is max 5 minutes) | |
| Detailed introduction tutorial | Language: English | |
| Structured interface | ||
| User-friendly | ||
| Timeline | ||
| Individually designed templates are possible | ||
| After a certain period of use, gifts are granted (like an extra template) |
mysimpleshow: Creating an explanainer video step by step
mysimpleshow is a website that lets you create unique explainer videos online, and has an easy step-by-step process. As before, you can choose between paid subscription packages and a freeware version. However, the key concept to this program is: First you create the story, and then the actual video – after all, you want to use your explainer video to explain something. The tool provides extensive assistance with creating your explainer video, but still leaves plenty of room for individuality. Three steps show how mysimpleshow works:
mysimpleshow is characterized by its structure and clarity. It guides you through the program step by step, with the help of detailed introduction tutorials.
Step 1: Choose your storyline
After logging onto mysimpleshow (which does not require registering through your Google or Facebook account), you will see a huge selection of storylines divided into three broad categories: professional, educational, and personal. Examples of storylines found in professional include “Explain your business idea” or “Introduce your business”. One of the most popular professional storylines is “Apply”, which helps you create a professional, creative job application video. Examples of educational storylines include “Explain a historical event”, “Interpret a book or a movie” or “Discuss the pros and cons of a thesis”. The third category, personal storylines, lets you create personal videos like “Send an invitation” or “Send Greetings”.
If there is nothing appealing to you in these categories, you can alternatively select the option “Empty Template” and create a completely new story.


Step 2: Write your story
Once you’ve decided on a storyline, the next step is to write your story. The intro tutorial and sample texts help you find the right text for your story. If you choose the “Apply” storyline, for example, you will need to enter all your important data like name, occupation, career, work experience, etc. The default templates are limited to a maximum character length, so you focus on the essential points in your video.This means that your application video will definitely make an impression.


The biggest advantage: your written text can be used either as a voiceover, a template for the visual element, or both.
Step 3: Visualize and finish
The third and final step is to visualize and finish your explainer video. The previously written text now appears again and contains keywords defined by the software (tags), which are highlighted in blue and underlined. For each keyword, you can see a sample illustration in the right-hand column that can be used for your video. You can customize the keywords, delete preset tags, or insert new tags. Later, you’ll have a huge selection of characters, objects, and animations to build your video from. The illustrations can be reduced, enlarged, or even mirrored. Finally, you select any audio elements, and your video is ready.


This same video shows you what your video might look like with mysimpleshow:
 To display this video, third-party cookies are required. You can access and change your cookie settings here.
Cons: mysimpleshow allows you to create as many free explainer videos as you like, but the freeware version is very limited: you cannot download or commercialize your video. You will instead receive a public video page where you can present your explainer video with the mysimpleshow brand logo. The features are also designed with the motto “simple show” in mind. The tool is therefore limited to hand animations in a simple black-and-white look. Scribble effects are only available in the paid version. The strict, uniform outline can also be restrictive for some users.
For more information about the range of functions of the free and paid versions, visit the mysimpleshow website.
| Advantages | Disadvantages | |
|---|---|---|
| Freeware version available | Full range of use is only available in the paid package | |
| Freeware contains all the same templates as the paid version | Freeware version has limited functions (not possible to download videos, less speaker selection) | |
| Quicker login using Google or Facebook accounts is possible | Limited to simple hand animations, black-and-white look | |
| Detailed introduction tutorials | Strict formula can be inhibiting | |
| Uniform theme | ||
| Easy to use | ||
| Option to individually design templates | ||
| Languages: German, English |
Animaker: Create explainer videos that stand out
With Animaker you can create unique, explainer videos online for free. Unlike mysimpleshow, you do not need to stick to a given concept, instead having free reign over what your video will be like. Although the full range of use is again only included in the paid premium version, the freeware version is entirely sufficient for many users.
 To display this video, third-party cookies are required. You can access and change your cookie settings here.
The first pro: Animaker is available in multiple languages. You can either register with Animaker or log in via your Google or Facebook account to start right away. Similar to the other tools, you first choose one of the five storylines on offer.


Once you have decided on a storyline, a very detailed introduction tutorial will appear, which reveals all the tips and tricks of the software. Then, you can get started on your explainer video, with all the free and paid templates appearing in front of you. Be sure to remember, however, that if you are a free user, only the free templates are available to you. The quality between free and paid templates is clearly noticeable, and it is a good way of enticing users to update their freeware accounts to premium.


Once you have selected a template, you will be shown ready-made sample scenes to get an idea for your own video. You can adopt, change, or completely delete these. Like PowToon, you can see the individual scenes on the left, the canvas in the middle, and the library on the right, where you can search for themes, figures, objects, and backgrounds using categories or the search bar. If, for example, you have found a suitable character for your video, just drag it to the screen with the mouse button pressed and place it where you want. There are plenty of audio and picture features, but you can also upload your own.


One of Animaker’s most interesting features are the many special effects that other tools don’t have. For example, you can assign individual expressions to your characters and emotions, and can change them even within the same scene. You can do this on the timeline, defining exactly what features and emotions a particular character should show at what time. You can also specify when each object should enter a scene, or when the sounds you include should begin and end. Other popular features include camera effect (zoom in and out), animated infographics, or the special Multimove effect, which allows you to move individual objects within a scene.
Disadvantages: You can only use the full range of Animaker features in the paid business version. The freeware version severely limits your access to individual design options: You cannot download or use your videos for commercial use. Similarly, maximum length for your videos is just two minutes with the free version.
Another negative aspect is the confusing program interface, where you can view all free and paid templates available. In addition, the software is quite complex to use, thanks to its many options. Since you can manually adjust all characters, objects, sound effects, and motion graphics down to the last detail, creating an explainer video takes a relatively long time.
For more information about the functions available on the free and paid versions, visit the Animaker website.
| Advantages | Disadvantages | |
|---|---|---|
| Freeware version available | Full range of use only available in the paid package | |
| Quick, easy login through Facebook and Google accounts | The freeware version has severely-restricted features (downloading and advertising your video is not allowed) | |
| Very detailed introduction tutorial | Complex to use | |
| Option to create your own designs | Template page has a confusing design, visible differences between free and paid templates | |
| Special features (camera effects, animated infographics, Multimove, for example) | Requires more time to create videos | |
| Timeline | ||
| Different languages available |
Biteable: The world’s simplest video maker
The program Biteable has the motto: “The world’s simplest video maker” – and it very well could be. With Biteable, you can quickly and easily create explainer videos, completely free of charge. Here, we will explain how the tool works.


Like the previous programs, you first need to choose your basic style from five different options. Additional templates will then become available once you have chosen one. After picking a template, you will be taken to the editing tool. All templates are also available here, and you cannot delete, edit, or move individual characters or objects. You can only remove or add individual scenes, insert text elements and sounds, or change the background color. In the timeline, you also select how long you want individual scenes to last – and there you have it! You explainer video is ready. You can then share your videos on YouTube, Facebook, or Twitter.
You can also upload your own images and audio files.


Disadvantages: Although you can quickly and easily create explainer videos online with Biteable, the provided templates do not offer many individual design options. Users will have to stick to the given templates and can only make minimal changes. This tool makes it hard to give videos a personal touch. Other disadvantages are the restricted selection of templates, the lack of an introduction tutorial, and lack of a voiceover function.
| Advantages | Disadvantages | |
|---|---|---|
| Completely free of charge | Hardly any individual design options | |
| Login quickly through your Facebook or Google account | Fewer templates | |
| Clear structure, easy to use | No introduction tutorial | |
| Timeline | No voiceovers | |
| Less time required to make a video | ||
| Share function (YouTube, Facebook, or Twitter) |
Free explainer video tools in comparison
| Functions/characteristics (freeware) | PowToon | my simpleshow | Animaker | Biteable |
|---|---|---|---|---|
| Quick login through Facebook or Google account | ✓ | ✓ | ✓ | |
| Freeware version available | ✓ | ✓ | ✓ | ✓ Completely free |
| All features and special effects included in the freeware version | - | (✓) All templates are available | - | ✓ |
| Choice of characters, objects and effects | ✓✓✓ | ✓✓ | ✓✓✓ | ✓ |
| Individual design options | ✓✓✓ | ✓✓ | ✓✓✓ | ✓ |
| Easy to use | ✓✓ | ✓✓✓ | ✓ | ✓✓✓ |
| Beginner tutorial and support | ✓ | ✓ | ✓ | - |
| Download possible | ✓ PDF and PPT | - Public video page | - Sharing on YouTube is possible | - Sharing on YouTube, Facebook and Twitter possible |
| Max. video length | 5 min | unlimited | 2 min | unlimited |
| Commercial use allowed | - | - | - | ✓ |
Reviewer

Christian Heldmaier
Christian Heldmaier is an experienced online marketing and SEO specialist from Karlsruhe. He has been working as an SEO Manager at IONOS since July 2020.