How to perform an ASUS BIOS update
Updating the BIOS on an ASUS motherboard is important for improving the stability of the system and supporting new hardware. An ASUS BIOS update can be completed in just a few easy steps without any previous knowledge.
- Simple registration
- Premium TLDs at great prices
- 24/7 personal consultant included
- Free privacy protection for eligible domains
Step 1: Prepare for the ASUS BIOS update
First, you should ensure that your system is properly prepared for the BIOS update. Make sure that your PC or laptop is connected to a reliable power source. Back up any open files and close any running programs before starting the BIOS update.
It’s also important to know which BIOS version is currently installed on your motherboard. That way you can figure out whether you need a BIOS update at all. To check the version number, restart your computer and press the [Del] key or [F2] repeatedly during startup to open the BIOS. In BIOS you can usually find the current version number on the main screen or in the “Main” area. Make a note of it.
The way to open the BIOS varies from motherboard to motherboard, so it’s possible that your BIOS is opened using different keys. You can find the right keys with a simple Google search with the exact name of your motherboard or by looking at the user manual.
You can also find the BIOS version in your Windows system information by pressing [Windows] + [R]. In the input window, enter the command msinfo32. You’ll find your current BIOS version under the line BIOS Version/Date in the system information that opens.
Step 2: Download current BIOS version
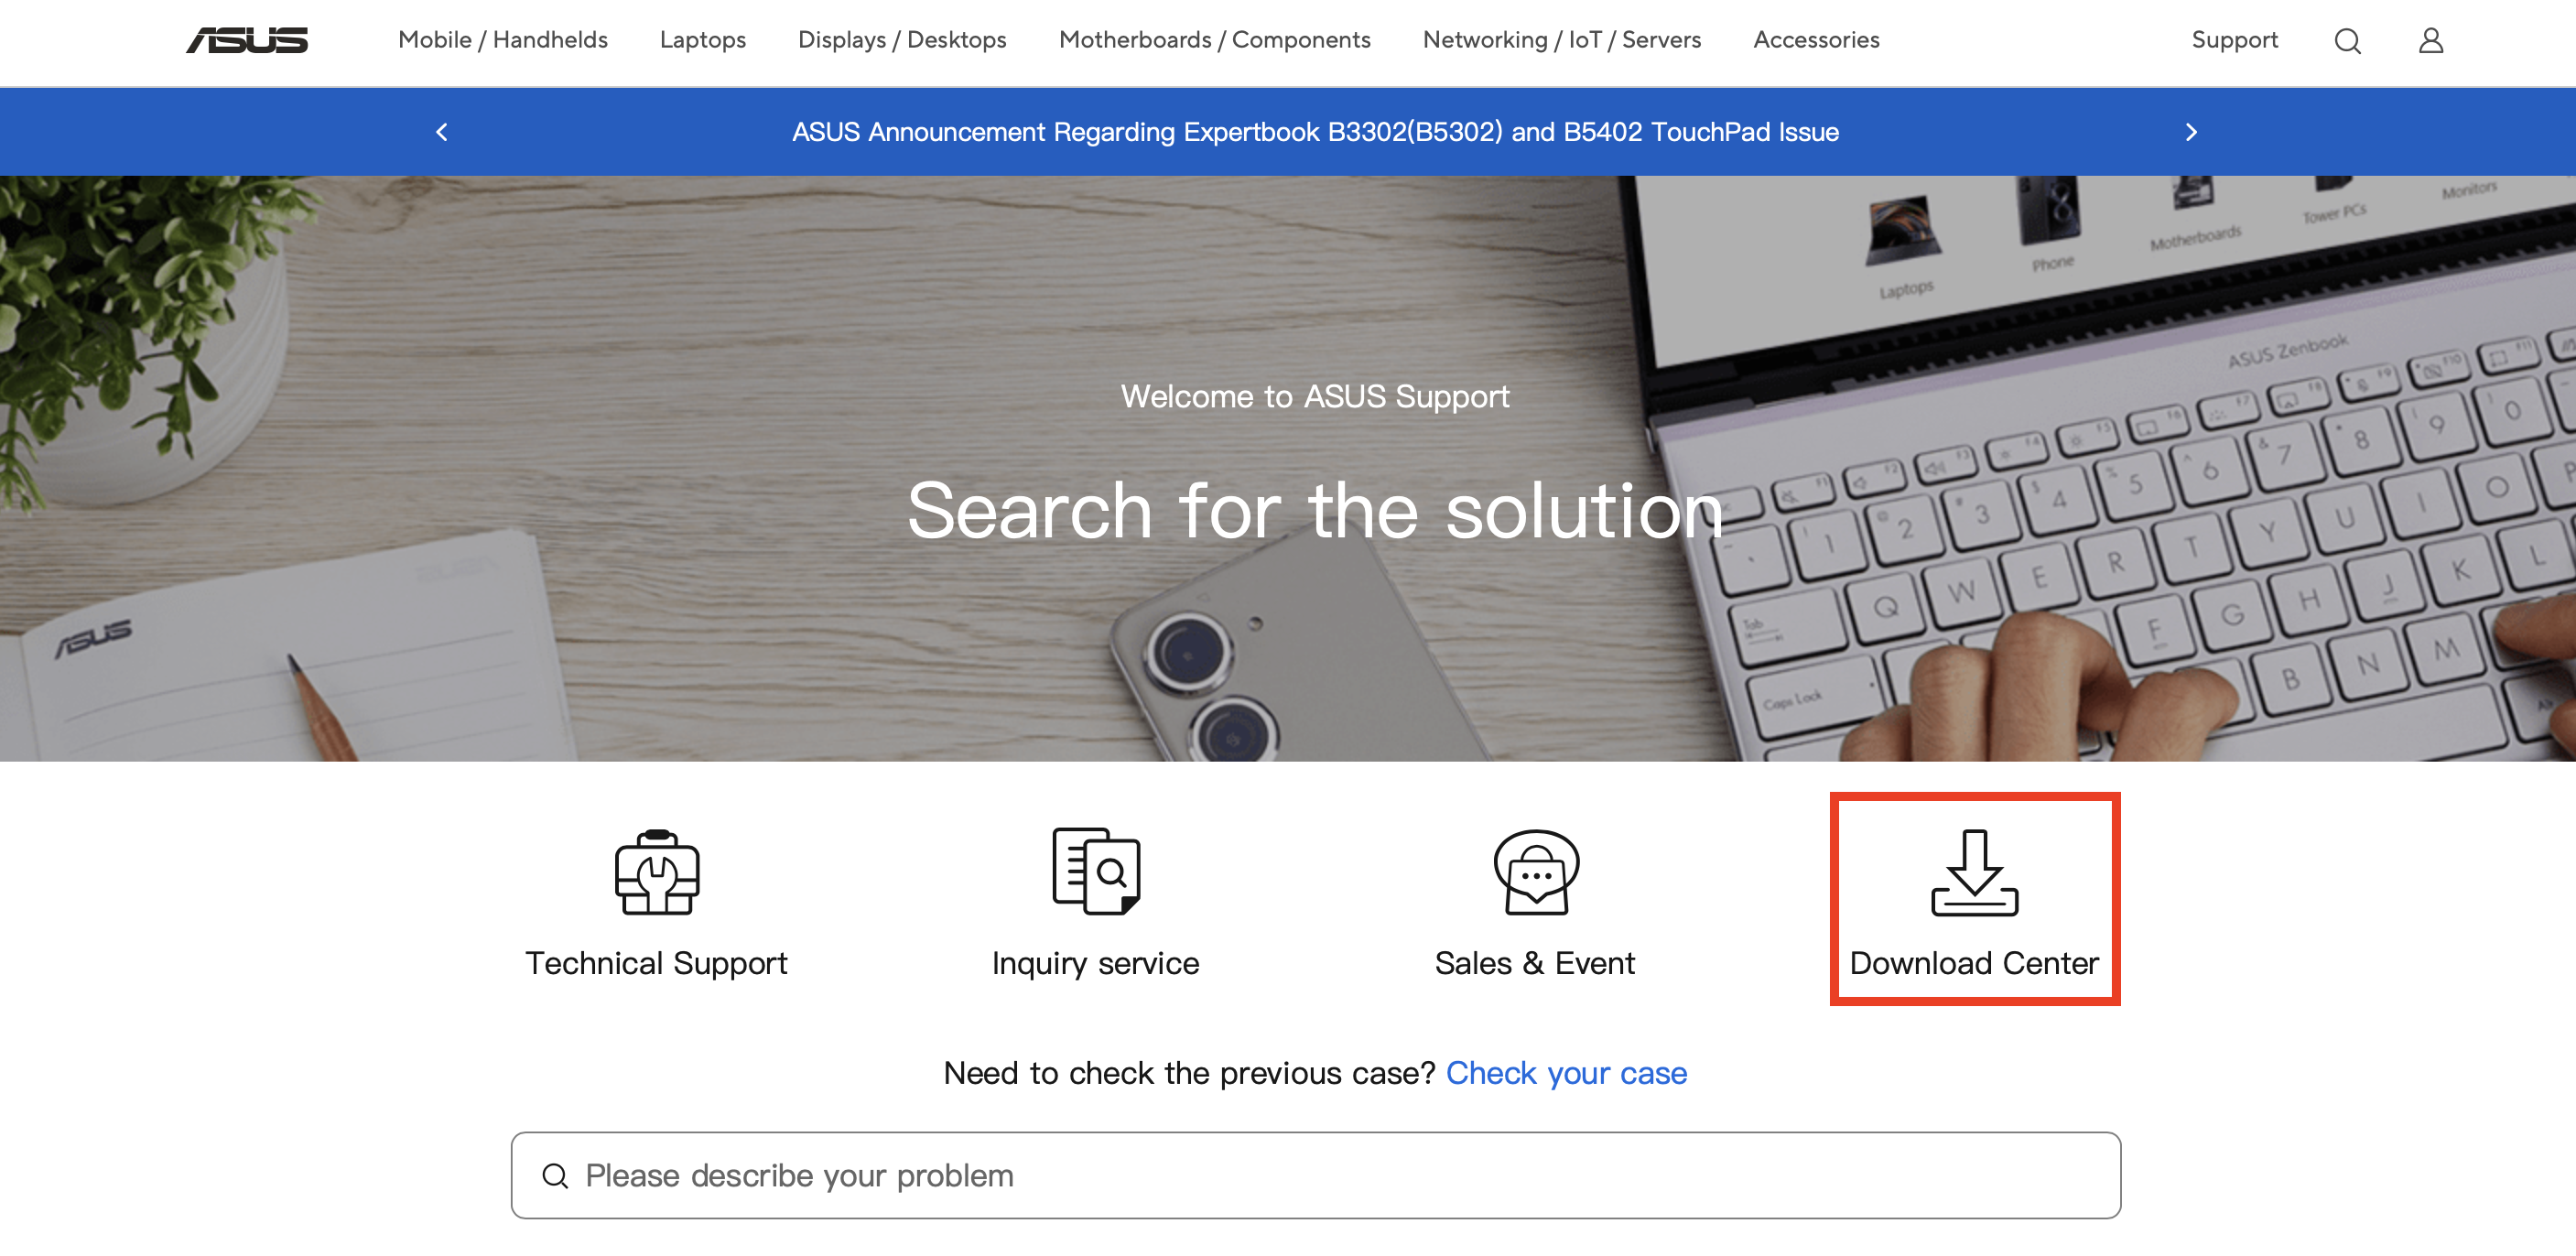
Next, download the current BIOS version from the ASUS website. To do so, first open the official ASUS support page. Click on “Download Center”.

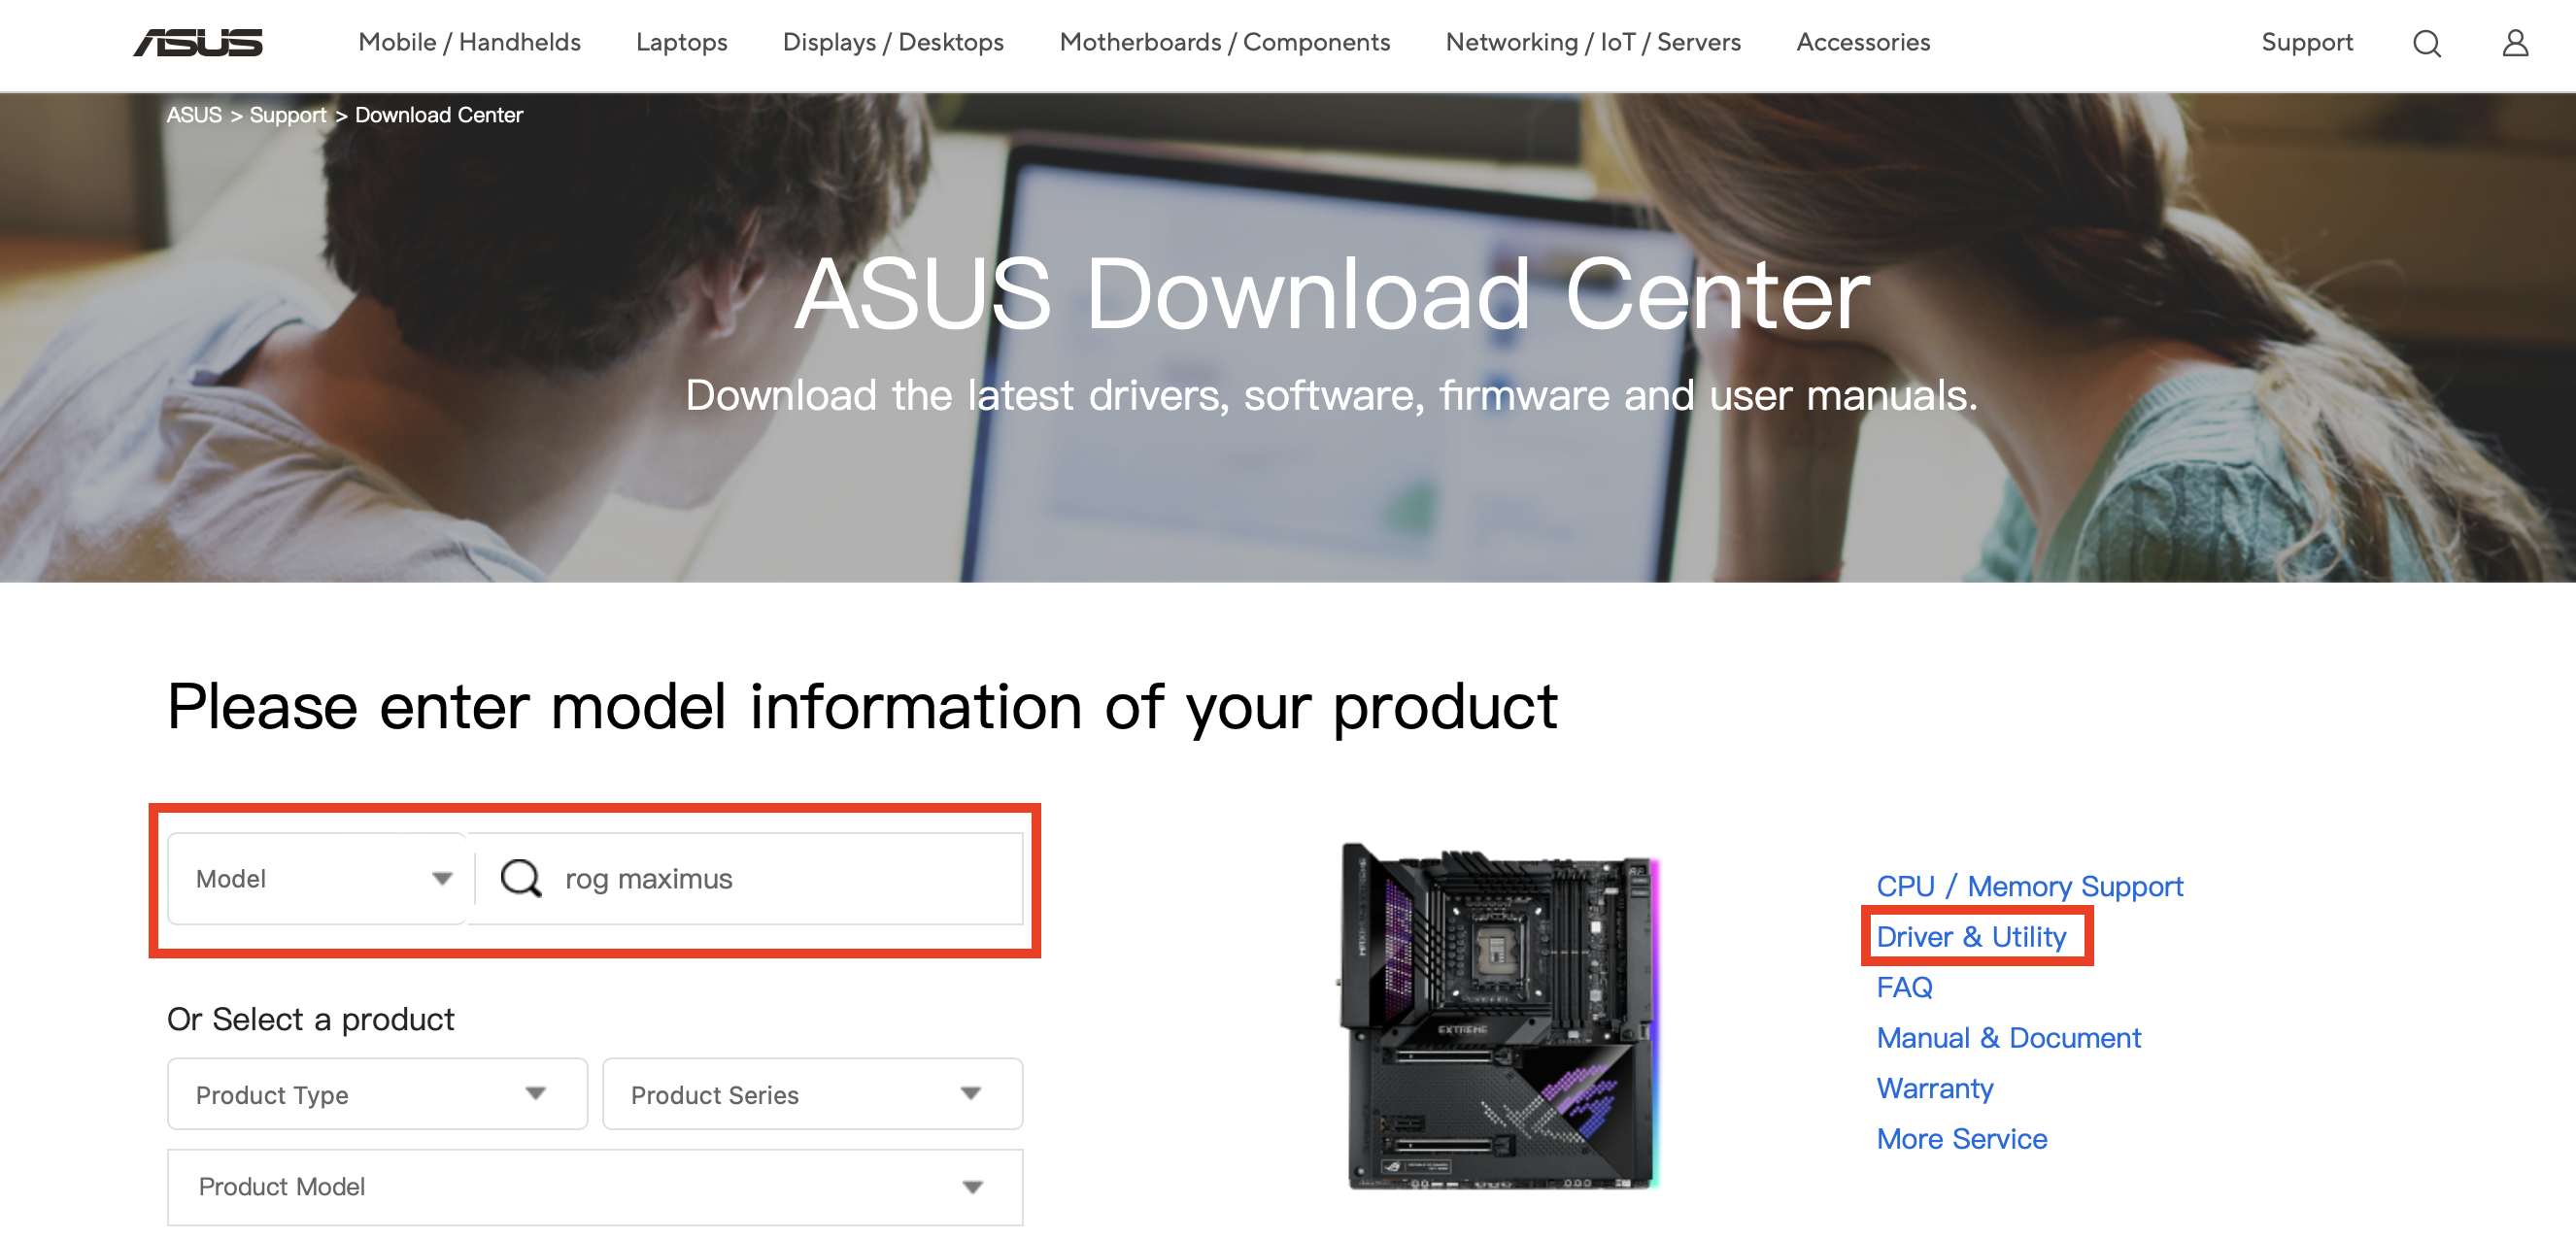
Now you can enter your motherboard’s model name. You’ll find the name on the packaging or in the handbook.

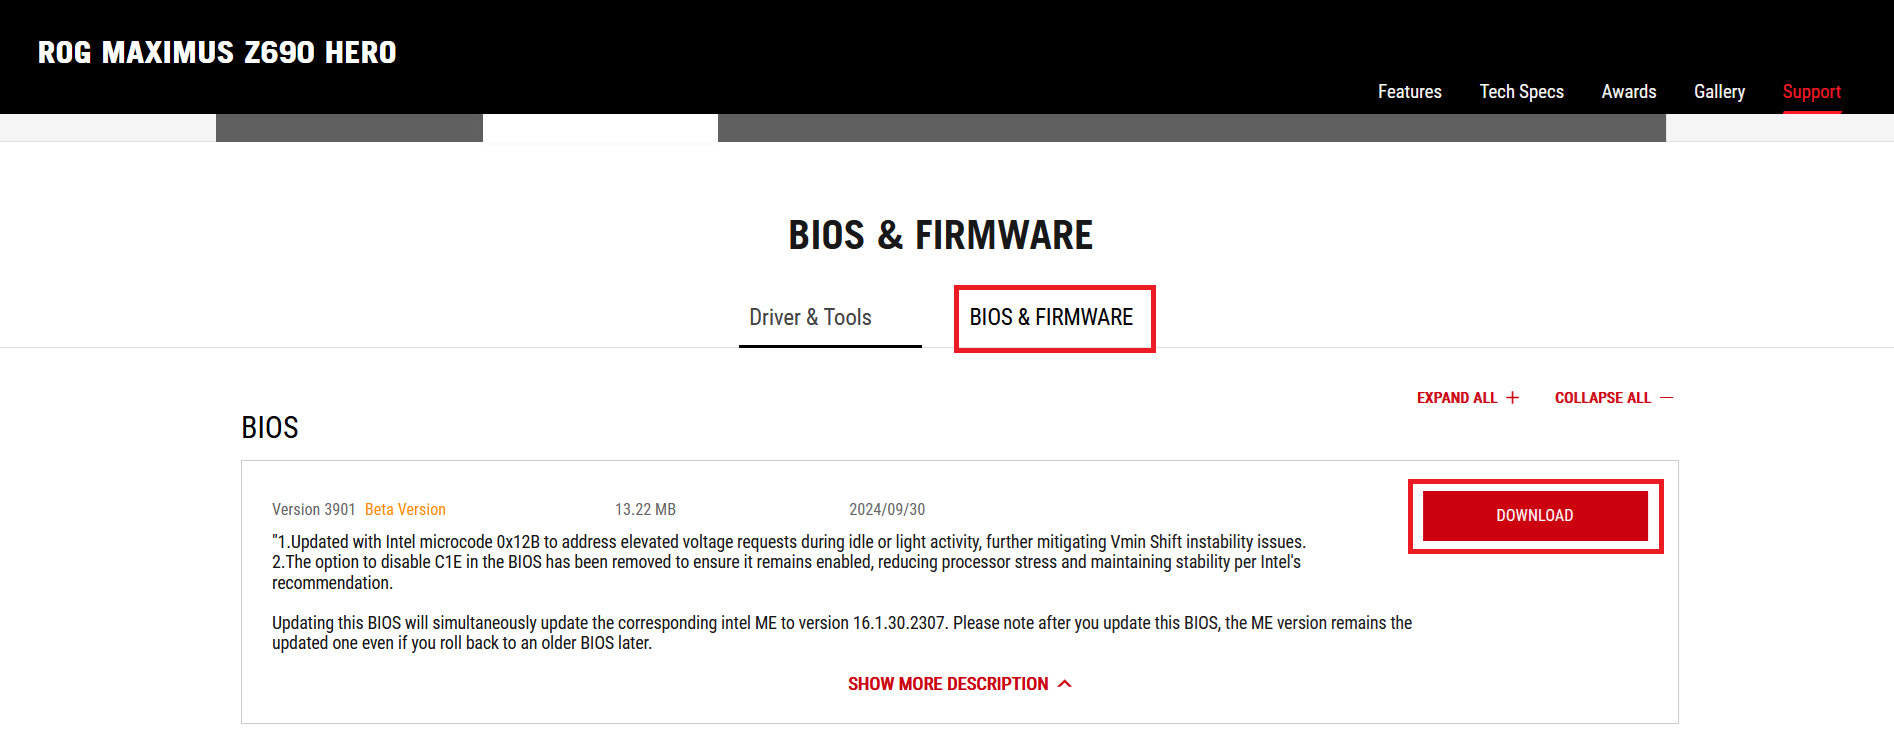
This will bring you to the model page for your motherboard. Now click on “BIOS & Firmware” to get a list of all available updates. Download the newest BIOS version by clicking “Download”. The file is normally compressed in .ZIP format.

Then open the .ZIP file on your computer. Inside you’ll find a file with the ending .CAP, which you’ll need for the update.
Step 3: Prepare your USB stick
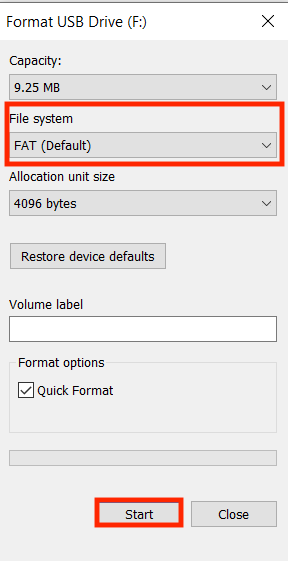
You’ll need a USB stick for the ASUS BIOS update and will have to put it into FAT32 format . To do so, first connect the USB drive to your computer. Then open the file explorer and right click on the USB stick. Select Format from the menu that opens and make sure that the file system is set to FAT. Click on Start to format the stick.

Next, copy the .CAP file onto the USB stick.
Step 4: Access ASUS EZ Flash
ASUS offers a user-friendly method for updating BIOS called EZ Flash. To use it, restart your computer and again press [Del] or [F2] to open the BIOS. Go to the advanced BIOS settings and then to the category Tool. Then select ASUS EZ Flash 3 Utility.
Now you’ll be asked whether you want to perform the ASUS BIOS update using a USB stick or on the network. Choose the option via storage device and select the USB stick that you prepared in Step 3. Click on the .CAP file you downloaded onto your USB drive and start the update process.
Step 5: Perform ASUS BIOS update
After you’ve started the ASUS BIOS update, the BIOS will load the file and perform the update. A progress bar will show how far along the update is. The process can take several minutes. Do not turn off your computer or unplug the USB stick while the update is happening. When the update is complete, the system will automatically restart.
Step 6: Confirm the update was successful
Finally, after the update is complete, you should check whether the update was successful. To do so, follow the instructions in Step 1 to open the BIOS and view the current version. If the version displayed there matches the version you downloaded from the ASUS website, your ASUS BIOS update was successful.
Have a motherboard from a different manufacturer? No problem! You can also update the BIOS on other motherboards. Our step-by-step guides make it easy:

