

Arduino vs. Raspberry Pi

Do-it-yourself projects (DIY) with hardware and software are becoming increasingly popular. Hobby craftsmen from all over the world try their hand at creating useful everyday tools such as remote controls for the garage door or thermometer devices, as well as playful projects such as drones, robots, or their own gaming consoles. At the center of these creative works are special hardware components from various providers designed for these specific purposes. In addition to their compact design, they’re generally characterized by their particularly affordable price, which is usually in the low one- to two-digit dollar range.
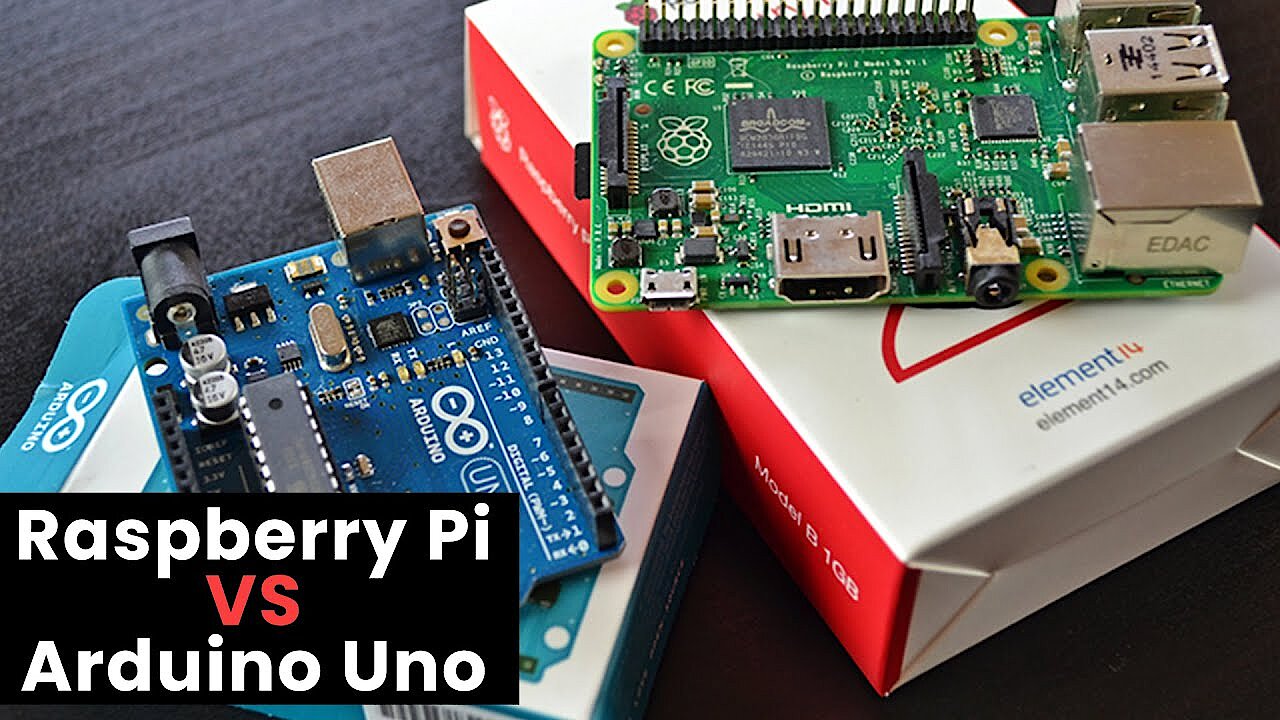
Among the most popular technical mini-components are undoubtedly the British single-board computer Raspberry Pi and the Italian microcontroller Arduino. Both are often regarded as competing solutions, but in principle they operate on completely different structures.
Raspberry Pi vs. Arduino: DYI building blocks with different approaches
When the first version of Raspberry Pi appeared on the market in early 2012, it was already behind the publication of the first Arduino board by seven years. It’s no coincidence that the Italian physical computing platform, which takes its name from a bar in Piedmont (which served as a regular meeting point for some of the project founders), is considered a classic in the hobby craft scene. The typical Arduino setup combines a mix of open source software and hardware components that allow the user to operate independently, interact with objects, and enable simple interaction with computer applications. An I/O board (Input/Output) with an Atmel microcontroller (mostly from the Atmel AVR series, e.g. ATmega328) as well as an integrated development environment are some of the typical features. This is written in Java and provides its own code editor as well as various libraries for the simplification of programming in C and C++, among other things.
| Arduino | Raspberry Pi | |
| Publication | 2005 | 2012 |
| Homepage | arduino.cc | raspberrypi.org |
| Type | Microcontroller | Single-board computer |
| Architecture | AVR, ARM | ARM |
| Power supply | USB, external power source | USB, external power source |
| USB connection | Yes | Yes |
| HDMI connection | No | Yes |
| Software | Integrated development environment based on Java | Optional (special operating systems such as Raspbian) |
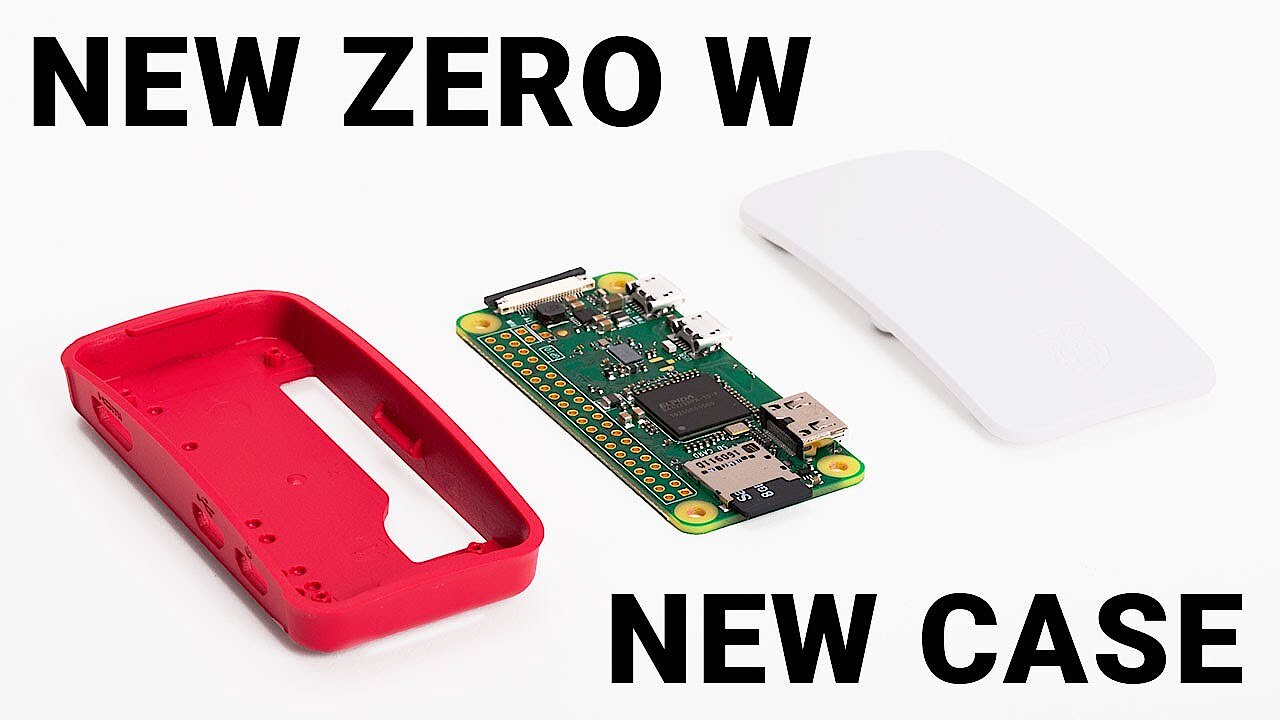
Raspberry Pi doesn’t have a bar to thank for its name – culinary preferences may have played a role, though. Adorned with a raspberry as its official logo, the company continued the old naming tradition of computer manufacturers such as Tangerine Computer Systems, Apricot Computers, or Apple, who clearly got their names from fruit varieties. The Pi part, which stands for “Python Interpreter”, is a result of the original plan to provide the Raspberry with a built-in interpreter for the Python programming language. Unlike Arduino, the Raspberry Pi models have not only much higher available processing power, but also their own memory and video output capabilities. The minicomputer from England can therefore be operated independently and run applications that only require a Raspberry Pi operating system to be installed.
An Arduino and Raspberry Pi comparison
The biggest difference between Arduino and Raspberry Pi: While the first is a microcontroller that can only run compiled C-code, the second can also function as a standalone system. But Raspberry Pi isn’t simply always the better choice for every type of DIY project, as is evidenced by the advantages and disadvantages, possible uses, and respective community.
Advantages and disadvantages of Arduino
Adruino boards are mainly characterized by two features: On the one hand, they deliver fully built-in processor performance including peripherals (inputs/outputs and interfaces), which makes them attractive to users with little electronics knowledge. On the other hand – a point that earns the Italian mini-platforms valuable points in the “Arduino vs. Raspberry Pi” comparison – the hardware-based development environment delivers a programming interface with various prepared libraries which make programming much easier. Furthermore, the IDE is cross-platform (since it’s written in Java) and so is available with the same appearance for Windows as well as for Linux and macOS. For this reason, it’s not surprising that Arduino devices are popular exercise components for schools, universities, and other educational institutions.
Parallel to the simplified C-code, Arduino users can also write classic code at any time or use an alternative development environment – this makes the boards an affordable and efficient alternative for professionals as well.
The simplicity of the Arduino boards isn’t always advantageous, though: Although the integrated development environment is a great support for hardware control, newcomers to programming will hardly learn anything about writing classic code in this way. There’s also the general risk that the ready-to-use libraries could completely dispense with individual programming and unnecessarily limit the possible scope of action. Another disadvantage of Arduino comes into play if the standard design of the microcontroller board is to be extended by additional interfaces and input/output functions. The standardized hardware allows for uncomplicated upgrades via so-called shields – but the purchase of these add-on modules for Ethernet, LED, and others will quickly skyrocket your project costs.
| Benefits | Drawbacks |
|---|---|
| Instantly operational hardware/software setup | Low learning factor for electronics and programming (when using DIE) |
| Own development environment with various libraries (cross-platform) | Upgrading with shields can be expensive |
Strengths and weaknesses of Raspberry Pi
Another distinguishing characteristic of Raspberry Pi is that it provides a ready-to-use hardware setup, which relieves the user of the effort of compiling the technical foundation for DIY projects. As opposed to the Arduino boards, Raspberry Pi contains all of the components to make the standalone operation of the minicomputer possible. In addition, most models are network-capable by default (Ethernet, WiFi, or both) – only the A and A++ models of Pi 1 and the minimalistic Pi Zero are missing the corresponding ports. Thanks to this, Raspberry Pi can serve not only as a direct programming platform but can also be used for the operation of applications such as private clouds, web servers, or VPN servers.
 To display this video, third-party cookies are required. You can access and change your cookie settings here.
 The main goal of the Raspberry Pi Foundation, which is behind the development of the minicomputer, has been to facilitate access to hardware and programming for users with limited know-how from the very beginning. While the project does manage to largely reflect this wish, the implementation in particular can turn into a real test of patience. You not only have to select and download the operating system, but also bundle it in an appropriate SD storage card. The ensuing installation and configuration of the system software is also not as self-explanatory for every newcomer as those in the Raspberry camp might expect.
Various providers offer SD cards (paid) on which an executable Raspberry Pi operating system (usually Raspbian) is already installed.
Another drawback: The base price is only between 5 and 40 dollars, depending on the model and provider – but for the operation of the Raspberry, all sorts of additional accessories, such as power cables, HDMI cables, etc., are required.
| Benefits | Drawbacks |
|---|---|
| HDMI and network-capable by default (with the exception of some models) | Software is not part of the package, and must be downloaded and installed by the user |
| Suitable for simple as well as complex tasks | Purchase of a number of additional pieces required for standalone operation |
Community check: Arduino vs. Raspberry Pi
People who plan and develop projects with hardware pieces like Raspberry Pi and Arduino often like to share their results with other hobby craftsmen. Video portals such as YouTube or Vimeo as well as DIY websites like hackster.io present thousands of tutorials and guides – from users, for users. Both Arduino and Raspberry Pi are well represented. The DIY components, the microcontroller on the one side and the minicomputer on the other, have huge communities united behind them. As a result, you can find not only information about previously completed projects, but also help with any questions concerning your own projects at any time.
The previously mentioned Arduino shields for extending the technical foundation of the electronic board were developed largely by members of the Arduino community.
Some of the most important sites for Arduino projects are:
- Reddit: An enormous Arduino channel exists on Reddit where users share their project ideas, post photos or videos of results, or ask questions regarding the microcontroller board.
- Official Arduino forum: Around 500,000 registered members use almost the same number of threads to discuss the different Arduino models, possible applications, technical questions, and much more.
- Arduino Playground: Arduino Playground is a comprehensive Wiki where interested users can publish their own code snippets, tutorials, tips and tricks, present projects, or simply browse.
For those who want to exchange ideas with other Raspberry Pi fans, the following websites in particular offer the perfect basis:
- Raspberrypi.org: The official homepage of the Raspberry Pi project is not only the first point of contact for anyone who wants to get a hold of the minicomputer. In the “HELP” section, visitors can find various guides (for software and hardware, among others) as well as a detailed online documentation. The website forum also has more than 200,000 registered members who discuss various topics related to Raspberry.
- RPi Hub: The RPi Hub on eLinux.org provides a vast amount of information for both beginners and advanced users – from guides on the purchase, setup, and startup, to tips and tricks for software and hardware. Recommendations for further reading material and links to important community pages complete the package.
- element14: element14 is one of the most successful community websites for electronic projects of all kinds. In the Raspberry Pi corner, members discuss current issues and provide reviews of additional hardware and software. Listings of popular and recommended posts show new members which topics might be worth a look when they visit for the first time. The internal blog also regularly publishes topics about Raspberry.
Application scenarios for Arduino and Raspberry Pi: comparison
The biggest similarity between Arduino and Raspberry Pi is that they are both immediately ready for use without the need to assemble and measure electronic circuits or fit and solder circuit boards. This is the main reason that both Raspberry Pi and Arduino are so popular for DIY projects in schools and universities as well as in the private sector: They give inexperienced novices the possibility to quickly achieve initial results, and give advanced users a finished hardware framework.
 To display this video, third-party cookies are required. You can access and change your cookie settings here.
 The fact that the two constructions are used in different scenarios is because of the essential differences between Raspberry Pi and Arduino: Arduino boards function as microcontrollers, which means that they can execute a pre-installed application as previously defined without much delay. They’re delivered with their own development environment, which has various ready-to-use libraries available and saves a large amount of programming work. Raspberry Pi, as a minicomputer with its own operating system, can complete substantially more complex tasks such as, for example, running multiple applications in parallel or in succession. It also has a number of interfaces and ports standardly available (HDMI, WiFi, LAN) that would have to be added to Arduino boards using shields.
In simpler terms, Arduino is particularly suitable for projects in which a simple task is to be executed repeatedly. For a task such as measuring the outside temperature and showing it on a display, for example, the microcontroller is the perfect platform. However, if you want to not only measure the outside temperature, but also check the weather forecast and start the garden irrigation system on the basis of previously defined criteria (e.g. high temperature and low rain probability), then Raspberry Pi is the better choice.
It doesn’t have to be Raspberry Pi vs. Arduino
Arduino boards and Raspberry Pi computers both have their strengths and their weaknesses. For smaller projects, therefore, it makes sense to first consider which components are necessary for the implementation, and then decide on one of the two basic pieces. However, if your budget allows for it and the planned project is more than just a simple remote control, then it’s perfectly reasonable to rely on a combination of Arduino and Raspberry models.
For example, it’s conceivable that Arduino will only be used to run an application after a Raspberry Pi computation has taken place. The other way around, of course, it’s also possible that the Arduino microcontroller’s task is to start a complex process on a Raspberry Pi. A classic example for this is the project Piano Stairs, with which Bonnie Eisenman, Erica Portnoy, and Vincent Castaneda won second place at HackPrinceton 2013 (Category: “Hardware”): The interactive stairs play piano tones as you step by using an Arduino to pass the recorded values to a Raspberry Pi. The minicomputer in turn is responsible for processing the values and outputting the corresponding sounds.
 To display this video, third-party cookies are required. You can access and change your cookie settings here.
 A comprehensive guide to the project is available on the DIY developer website instructables.com.