How to clear RAM step by step
By clearing or freeing up the RAM, you create space for data relevant to your current tasks. Inactive and unnecessary processes and cached files are removed, boosting system performance.
Why you should clear your RAM
A steadily decreasing computer performance is often linked to high usage of RAM: on the one hand, it is automatically occupied by the operating system and system processes; on the other hand, every program you open fills it up a little more. Often, simply closing programs provides little improvement, as residual processes and cached data may still remain in memory, continuing to consume valuable resources. This is because not all files are actually removed from memory but instead placed in the cache when you close an application. On top of that, there are programs and processes running in the background that you don’t really need.
- Simple registration
- Premium TLDs at great prices
- 24/7 personal consultant included
- Free privacy protection for eligible domains
How to clear RAM in Windows 11/10
Even if you’re unsure whether your computer’s memory is actually full, you can safely try clearing it. This essentially performs a process that happens automatically when you shut down your computer. Generally, Windows gives you three different ways to clear RAM:
- Use the Task Manager to clear memory.
- Write and run a script to free up RAM.
- Use an external tool designed to clean RAM.
Clearing RAM using Task Manager
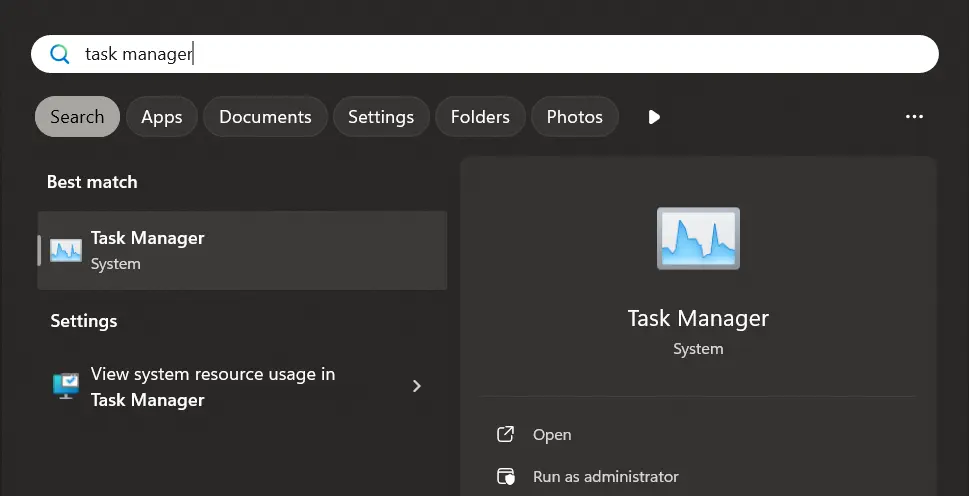
Task Manager lists running applications, services, and processes, and it also provides an overview of CPU and RAM usage. You can open the Windows service with the keyboard shortcut Ctrl + Shift + Esc. Hold these three keys simultaneously to open the manager interface. Alternatively, use Windows Search: simply type “Task Manager.”

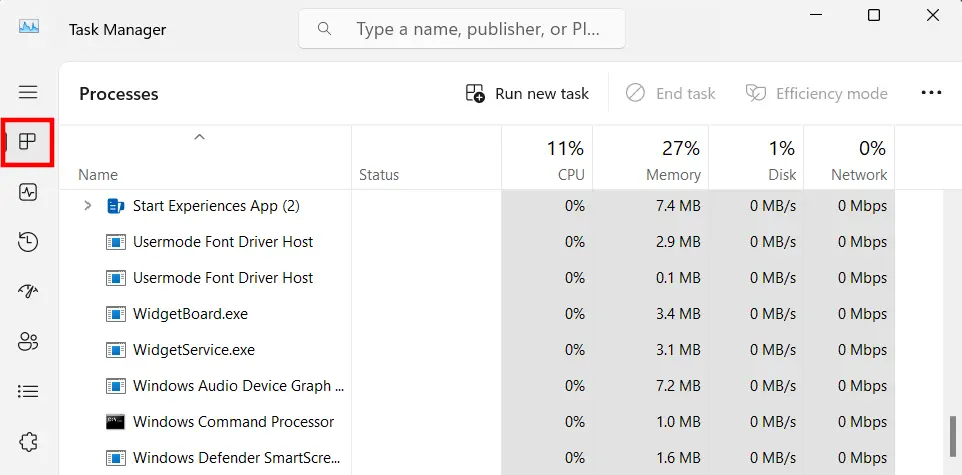
To use Task Manager to clear RAM in Windows 11 and other versions, select the “Processes” tab:

Go through the list of active processes and look for ones you don’t need – for example, because you’ve already closed the associated program. Select the process by left- or right-clicking it, then click “End task” to fully close it and free up memory.
Freeing up RAM using a script
Another way to manage memory besides Task Manager is to write a script that frees a set amount of memory when run. A short entry in a simple text document created for this purpose is all you need. Here’s how to create a memory-clearing script:
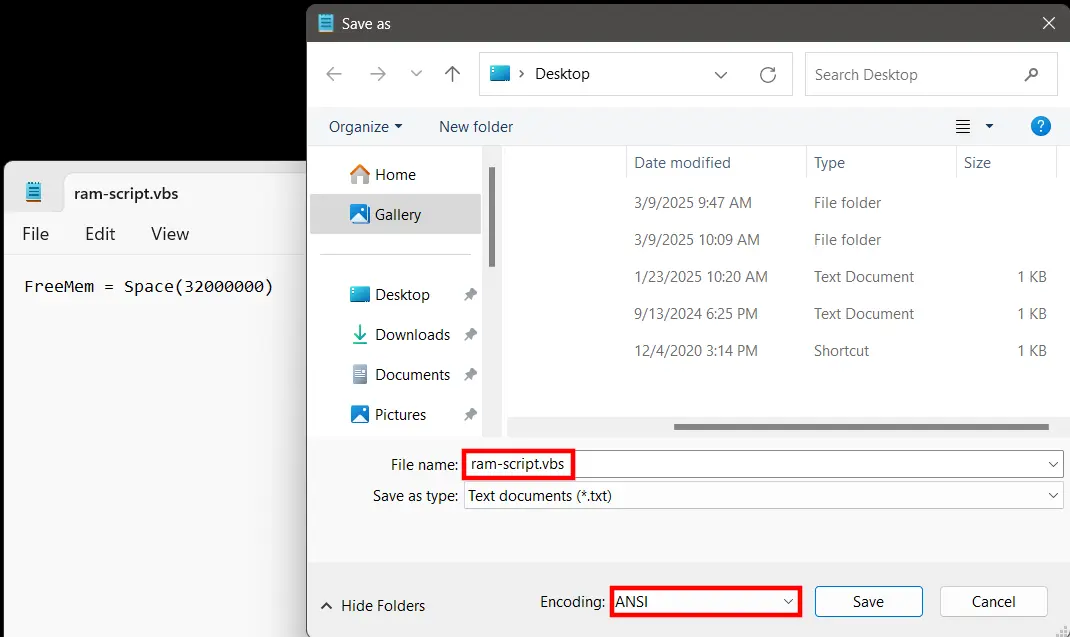
Create a new text document by right-clicking your desktop and choosing “New” and “Text Document.” Then, open the new document and paste in this line:
FreeMem = Space(32000000)Save the file under your desired name. Make sure to set ANSI as the encoding format if your editor offers such an option. The final step is to replace the default .txt extension with .vbs. This is the only way for Windows to recognize the file as a script.

You can now run the script simply by double-clicking it. With the code provided here, 32 megabytes of RAM are automatically freed up, and you can repeat this process as often as needed. Of course, you can also adjust the amount, for example, to free up 128 megabytes (Space(128000000)). However, the value should never exceed half the installed physical memory size – otherwise, program errors or even system crashes may occur.
Clearing memory with external tools
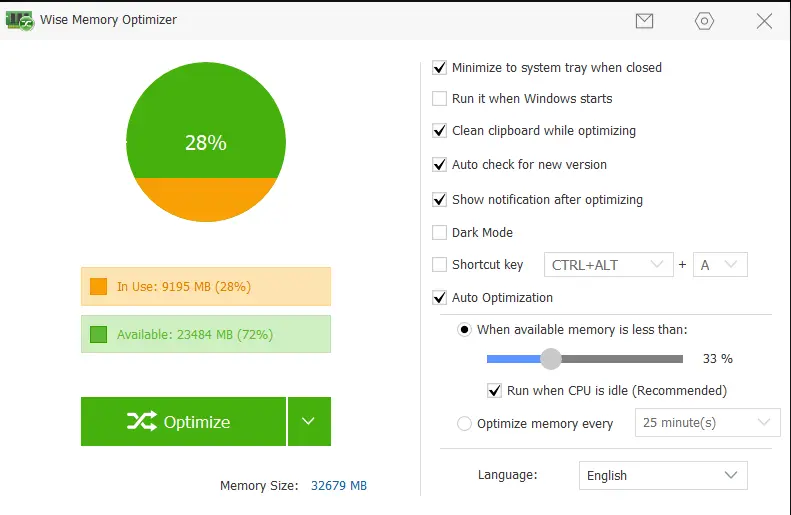
If you prefer using an external solution instead of built-in Windows options, that’s no problem either: there are various programs specifically developed for this purpose, most of which are freeware. One of the most popular tools of this kind is Wise Memory Optimizer. The program is completely free and available for all common Windows versions. After installing and launching Wise Memory Optimizer, you will see the main interface of the application, which shows both used and free memory. With one click on “Optimize,” you can use the tool to clear RAM on Windows 11, 10, and other versions.

In Wise Memory Optimizer’s settings, you can enable automatic optimization. Using the slider, you can define the memory threshold at which automatic cleaning takes place (for example, when less than 33 percent of memory is available).

