

How to create a table of contents in Word

Longer text documents with many chapters are usually organized using a table of contents. This provides readers with an overview, which lets them review the document, while providing a reference to where information can be found.
When you create a table of contents, the headings and page numbers don’t have to be added manually. Microsoft Word lets you create a table of contents with its “References” function, which will significantly simplify your work. In our illustrated, step-by-step guide, we’ll show you how to do it.
Insert a table of contents in Word
To create a pre-formatted table of contents in Microsoft Word, you should follow these steps.
Our step-by-step guide is based on Microsoft Office 2010. However, the “References” function, which automatically creates a table of contents, is included in every current version of Word.
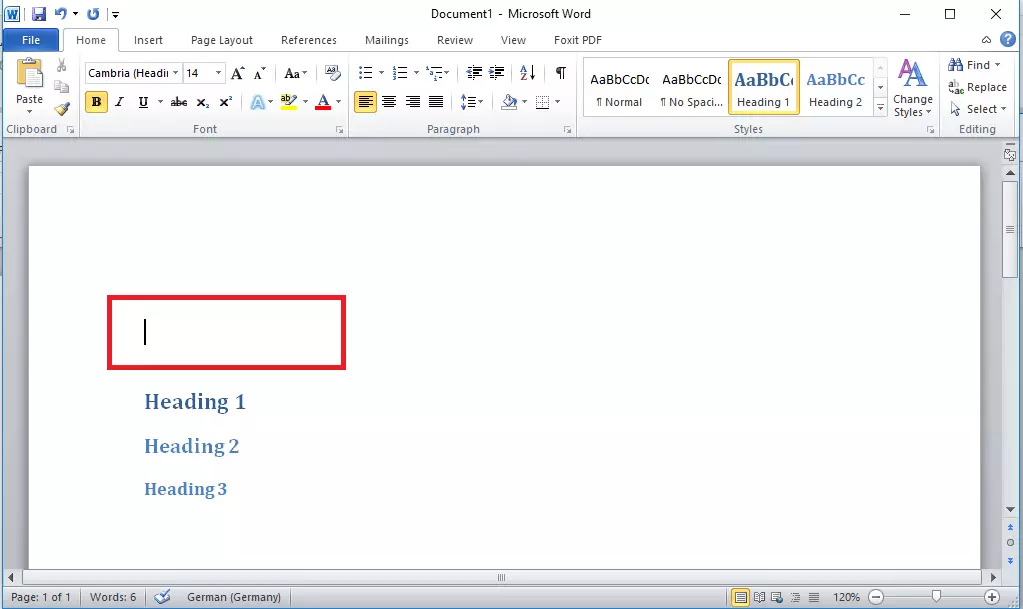
Step 1: Move your cursor to where you want to insert your table of contents in the Word document.

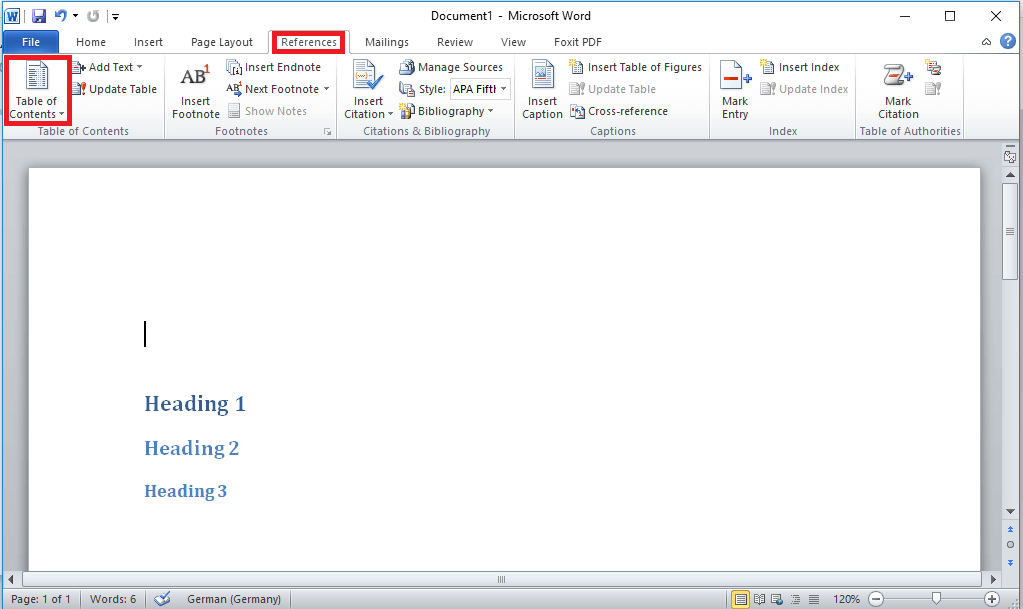
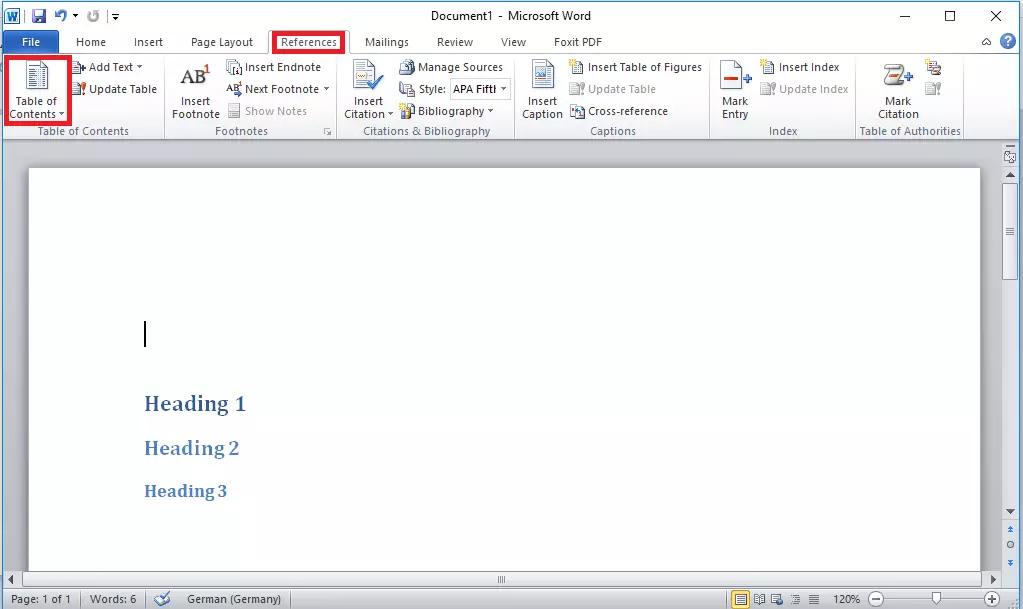
Step 2: From the top menu bar, select “References” and then click on the “Table of Contents” option.
Step 3: From the drop-down menu, select a format type for your table of contents. Word provides two formats for an automatic table of contents and one format for a manual table of contents.
- Automatic table: Pick one of the two formats if you want Word to automatically use your headings to create the table of contents.
- Manual table: Choose the “manual table” format if you want to manually fill in the table of contents without the contents of your Word document.
Creating a table of contents with an automatic table only works if the headings in your text documents are formatted with the styles provided by Word.
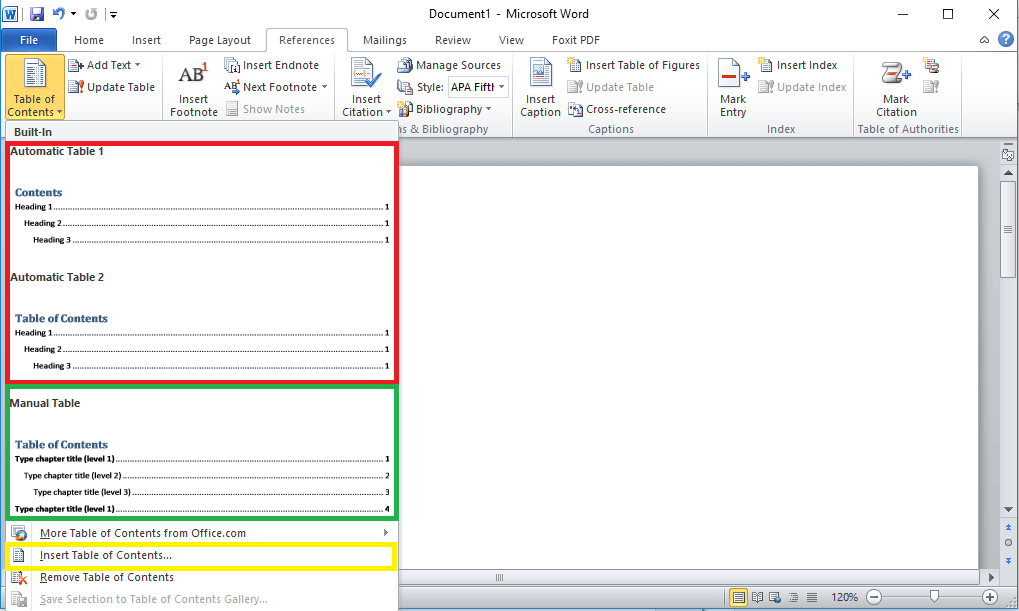
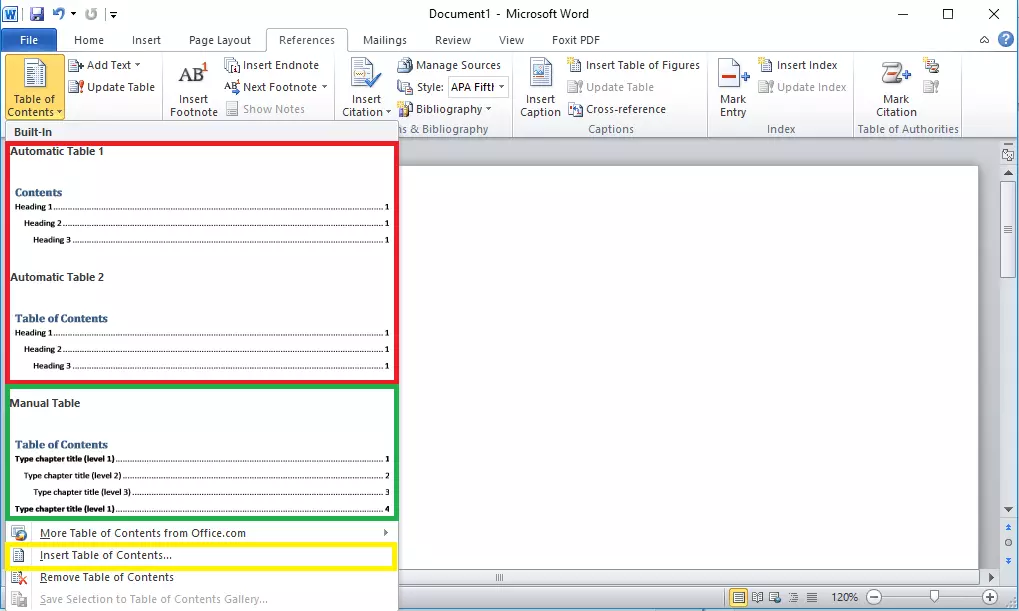
You can also choose to insert a custom table of contents.
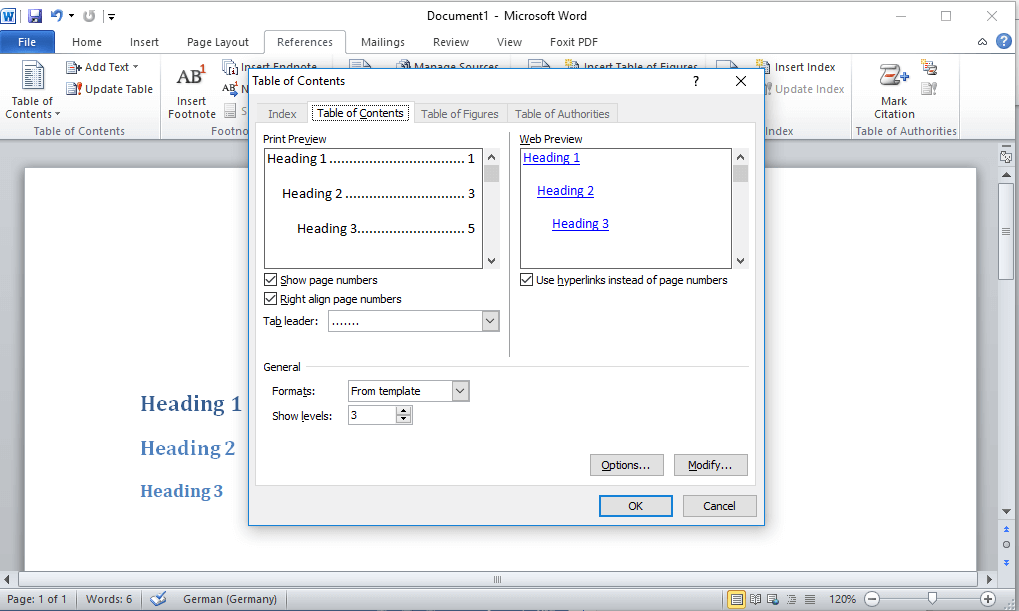
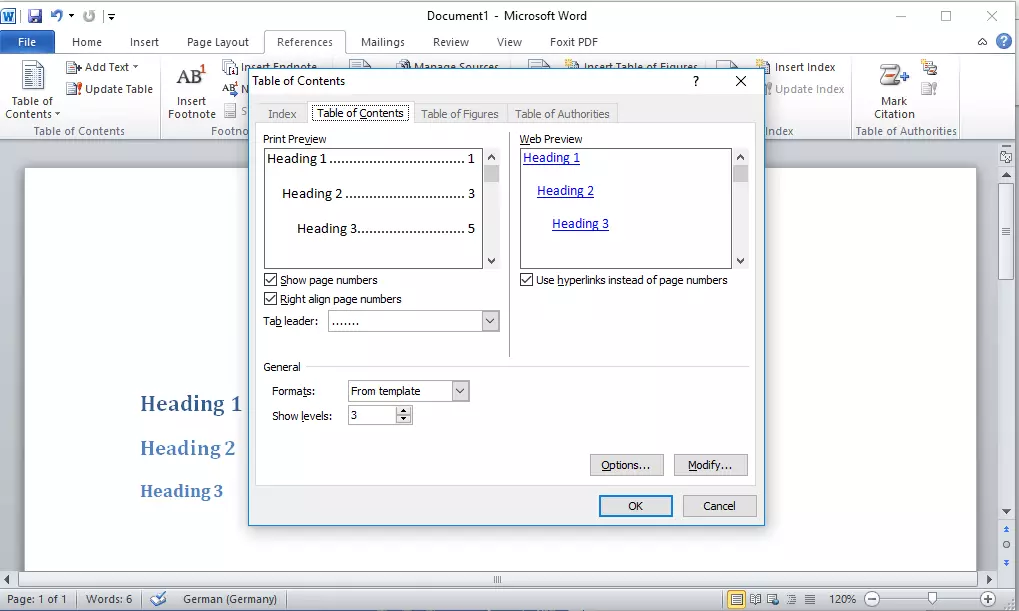
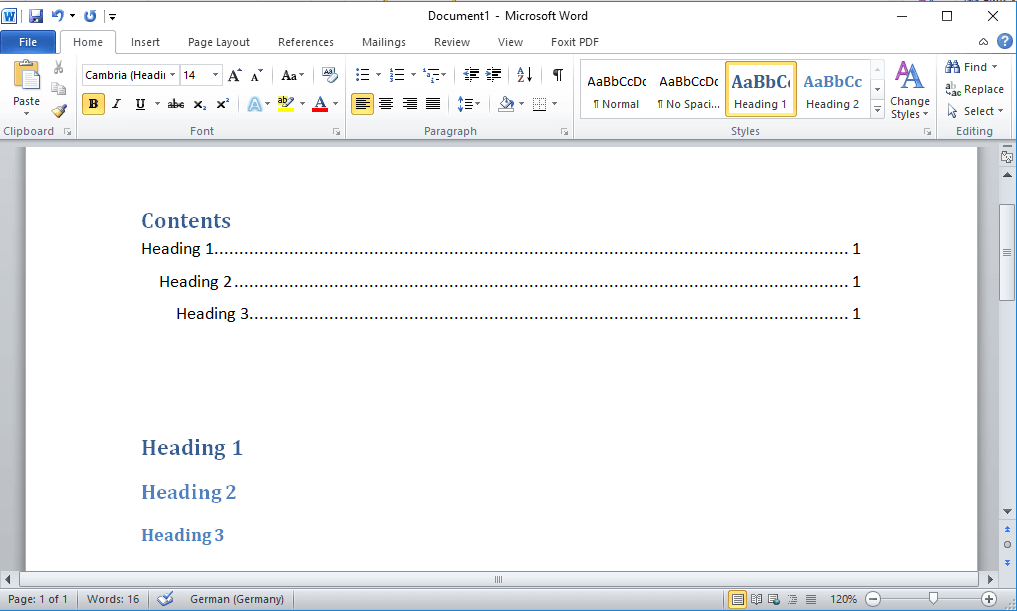
The table of contents in Word will be created in your format of choice at the position of your cursor.
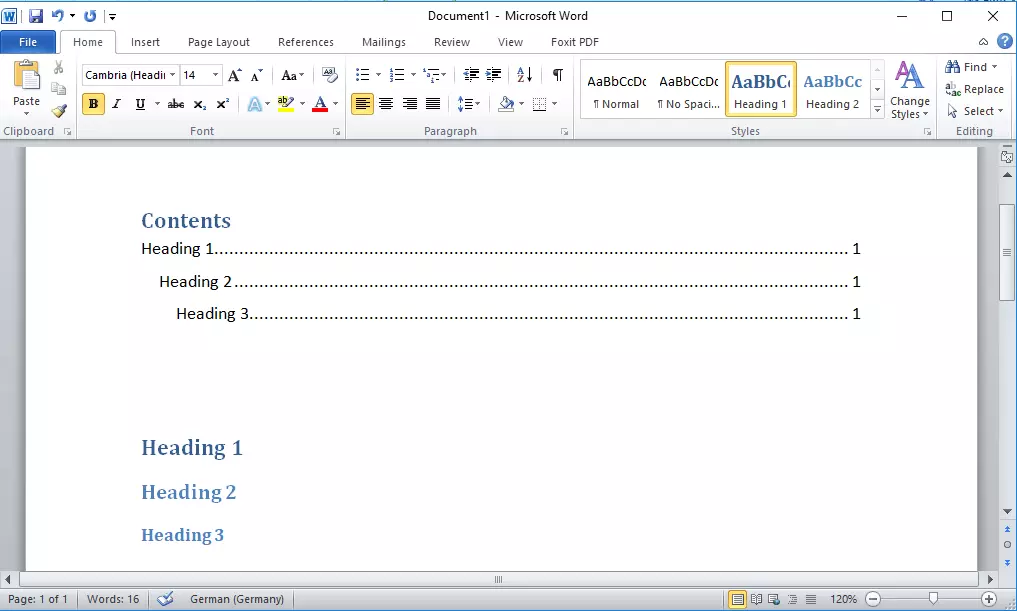
Updating a table of contents
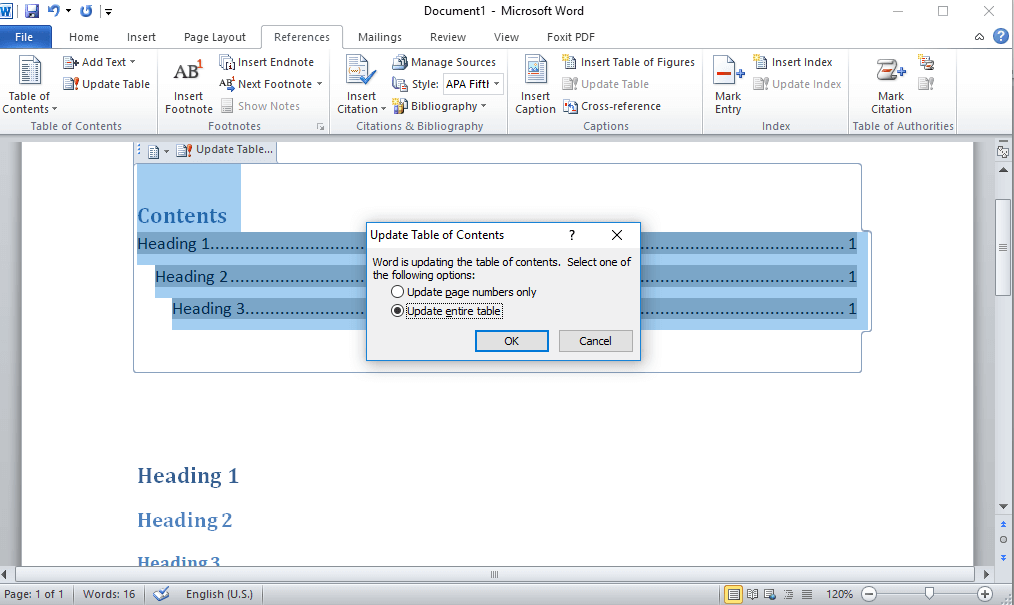
To update an automatic table of contents, follow these steps.
Step 1: Select the table of contents in your Word document.
Step 2: Click on the button “Update Table of Contents…” just above your table of contents.
Step 3: Choose whether you want to update only the page numbers or the entire table of contents.
To create certain text documents you don’t always need Microsoft Word. There are other writing programs that offer a wide range of functions. In our article on Microsoft Word alternatives, we take a closer look at the most popular options.
Reviewer

Jeanna Raffa
With over 18 years of experience in online marketing, Jeanna Raffa possesses extensive expertise in digital marketing. Since 2020, her focus has been on providing practical information regarding email, office, and cloud storage solutions.