

Make a bootable USB drive and save your computer

In the past, Microsoft Windows was installed by disc, CD- or DVD-ROM, or the floppy disc – and optical data carriers are also gradually disappearing from the scene. Instead, the operating system is either preinstalled on the system partition of a new computer or laptop, or you acquire Windows directly online, complete with a digital license, and download it yourself.
But if you need an external installation medium, many people nowadays use a bootable USB drive. It’s quicker and more compact that an optical data carrier, and so is perfectly suited for setting up (or resetting) a system – there are also many other possible uses.
You want your own vServer? IONOS offers powerful and cost-effective VPS packages. Take advantage of the IONOS free VPS trial now and test your vServer for free for 30 days.
Why do you need a bootable USB?
There are lots of uses for a bootable USB drive. The most important is, of course, booting the PC if it will no longer start itself because of a virus, serious system failure, defective hard drive, or partition problems. The small piece of hardware is the standard solution for hosting an entire operating system and/or a recovery system like the multi-virus scanner Sardu and using it to successfully reboot and repair the computer.


In addition to various other tools, Sardu also contains 20 virus scanners that can search the entire hard drive of a defective computer for malware and clean it up.
Even if no such PC emergency is present, it’s a good idea to have a Windows image for data backup on a USB-capable storage medium (could also be an external hard drive) on hand. You can also use a bootable USB to upgrade Windows 7 or 8 to Windows 10 if a previously automatic upgrade doesn’t function correctly. The drive also serves as a “clean” reinstallation of the operating system if it’s become too slow as a result of accumulated garbage. Experienced computer experts and IT professionals also like to use a bootable USB as a “portable operating system” (the concept is known as “Windows2Go” for Microsoft). With this, you can use your preferred Windows version with all your favorite tools and personal data on foreign computers without having to fuss with the operating system already installed (regardless of whether it’s Windows or something else). This way, you can not only navigate in your familiar work environment but also access all your important documents via the cloud. A portable operating system also offers more security in case a keylogger on a foreign computer stores your passwords or your computer is infected with a virus. Here are all possible uses for a bootable USB drive:
- Boot after a PC emergency
- Use a recovery system to repair your PC
- Store an image of the operating system
- Upgrade an old operating system to Windows 10
- “Clean” reinstallation of the operating system
- Use a “portal operating system” on a foreign computer
How can you make a bootable USB drive?
Hardly any commercial USB drives are suitable from the outset for these diverse tasks. This is because most models are only loaded with a single file system when you first get them, for example, an FAT32 or exFAT file system. They’re missing the “master boot record” (MBR) that’s absolutely necessary for booting most PCs (specifically those with a “basic input/output system” (BIOS)). You have to make a new USB stick bootable on your own.
BIOS (basic input/output system) is a program that is preinstalled on the mainboard of most computers and activates the hardware when the system boots so that the operating system can communicate and interact with it.
A bootable USB drive can of course be created on a different computer than the one you want to use it on later. There are basically two possible methods: either manually or using automated tools. The first option seems a bit complicated at first glance, and because of the various manual steps is slightly more error-prone, but it’s still doable even if you’re not an expert.
Regardless of which option you choose, you always need the following things:
- The Windows utility program DiskPart or an external tool with the same functions.
- A USB drive with at least 4GB of storage (for a 32-bit operating system) or at least 8GB (for a 64-bit system). To obtain a high working speed (or enable the creation of a portable operating system), the selected drive should support the standard USB 3.0. If the drive is already being used, make sure that it doesn’t contain any important or indispensable data.
- An ISO file for the desired operating system that contains all setup files that you need for installation. These files used to be found on a CD- or DVD-ROM, which came with a new computer or could be acquired separately. Today, Windows is generally preinstalled on a system partition of a matching PC or laptop. You can create such an ISO file yourself, though, for example with the use of tools like WinISO, UltraISO, or the burn program InfraRecorder. But it’s simpler to just download the required operating system from the internet. In the case of Windows 10, this can be done completely legally via the media creation tool from Microsoft. Downloading directly from the company’s website is also possible for Windows 7 and Windows 8, for example.
You can legally download various versions of Windows from Microsoft. Note, however, that you need a license for the activation and legal use of the operating system, which you can get online in the form of a product key. Without this official confirmation, your user rights are strictly limited after 30 days. This means: You will have no more personalization options or updates support, but instead will receive warning messages that remind you to activate Windows as soon as possible.


Make a bootable USB drive with the Windows utility program DiskPart
If you dare to do the necessary work by hand, you can simply use the cmd.exe application, better known as “Command Prompt”, to create a bootable USB drive on all operating systems from Windows Vista (including Windows 10). This goes as follows:
- Plug the USB drive into your computer’s USB port.
- Search for the “cmd” application in the Windows start menu, right-click on the item, and select “Run as administrator” from the context menu. This opens a small window with white text on a black background.
- Type the command “diskpart” and confirm your input with the enter key (you’ll also do this after every other entered command). This starts the storage device manager.
- Enter the command “list disk” to display all available storage devices.
- You can recognize your USB by its storage capacity, and it’s usually listed as “disk 1”. In the system partition, “disk 0” is usually your PC, so a hard drive or solid state drive in your computer.
- Based on the assumption that your USB has the label “disk 1”, enter the command “sel disk 1” to select it (or the corresponding “disk 2”, etc.).
- Enter then command “clean” to delete all files from the USB.
- Enter the command “create partition primary” to create a main partition.
- Enter the command “list par” and select the newly created main partition with “sel par 1”.
- Activate the partition with the command “active”.
- Format the USB with the command “format fs=FAT32 label=“WINDOWSUSB” quick override” (in place of “WINDOWS USB” you can also choose another label, so long as it doesn’t contain any spaces or special characters. The drive will later be displayed under this name if you plug into a running Windows computer). Formatting may take a while. You can track its progress in the percentage bar.
- As soon as the process is finished, enter the command “assign” to automatically assign a drive letter (for example “G:”) to your USB.
- Enter “exit” to close DiskPart, and then “exit” again to close the command prompt.


To finish the process, you just have to copy the Windows ISO file to a bootable USB stick. This is done with a basic drag-and-drop. If you’re using an installation disc, you can also drag all setup files from there onto your drive (use the folder options to display all of the hidden files first). That’s all possible in the command prompt as well. For a source media with the drive letter “D:” and a USB drive with the letter “G:”, the corresponding command would look as follows: “xcopy D:\*.* G:\*.* /S /E /F” (all of the spaces are intentional).
Create a bootable USB with external tools
The media creation tool mentioned previously can also write a downloaded ISO file to a USB drive in one go, and so create a bootable USB – but it only works with Windows 10. There are, though, many freeware programs suitable for all operating systems (including Linux) that can take over the tasks of the otherwise manual device management. Some of the most popular are Rufus, WinUSB, and UNetbootin. Each of these tools are made up of a single very small file that you can download directly and start without installation.
Bootable USB with Rufus
Rufus is widely considered to be the fastest and most reliable tool for the creation of a bootable USB. It also supports UEFI (“Unified Extensible Firmware Interface”), a new mainboard firmware that replaced the old BIOS and can already be found on almost all newer computers. From Windows 8, it’s also possible to install “Windows2Go” as a portable operating system on an external storage device with Rufus.
Operation of the tool is simple:
- Open the program with a double-click
- Select your USB drive in “Device”
- Select “Create a bootable disk using” and the option “ISO Image”
- Right-click on the CD-ROM symbol and select the ISO file
- Under “New volume label”, you can enter whatever name you like for your USB drive
- You’ll receive the warning “ALL DATA ON THIS DEVICE WILL BE DESTROYED”, which you can confidently confirm with “OK”– at this point, you’ve ideally already saved any important files from the USB drive
- Click on “Start”
- As soon as the green bar is full, click on “Finish”
- Eject your bootable USB drive with “Safely eject hardware”
Avoid simply pulling the finished bootable USB drive out of the port without using the “Safely eject hardware” option. This could cause you to lose data, since the computer still has access to the storage device and theoretically could still have writing processes underway. With a USB-capable external hard drive, abrupt separation from the computer connection amounts to a system crash on the hard drive.


| Benefits | Drawbacks |
|---|---|
| ✓ Fast and reliable tool | ✗ USB drive formatting necessary |
| ✓ Very small file size | |
| ✓ Also supports UEFI | |
| ✓ Windows2Go possible |
Make a bootable USB with WinUSB
The tool WinUSB essentially functions exactly like Rufus, but with two differences: The first is that the creation of a bootable USB is possible without prior formatting (provided there’s enough storage space), so the USB can also be used to store personal files and documents (though it’s recommended to keep a backup copy of all data). Another special feature: As desired, WinUSB can also write multiple different Windows operating systems onto the same drive. This makes it almost an equivalent to the Linux tool Yumi.
With WinUSB, the creation of a bootable USB also takes place in just a few steps:
- Select your USB with “Plug and select the USB drive”
- Right-click on “ISO” under “Add Windows”, and then on “Next”
- Enter whatever label you want for the selected Windows distribution, then click on “OK” and “Next”
- Click on “Start”


| Benefits | Drawbacks |
|---|---|
| ✓ No formatting necessary | ✗ Only in English |
| ✓ Can write multiple operating systems to one USB | |
| ✓ Slim user interface | |
| ✓ Various Ubuntu distributions can be loaded |
Create a bootable USB drive with UNetbootin
Like the popular tool Universal USB Installer, UNetbootin (short for “Universal Netboot Installer”) is actually specialized for Linux systems. It’s primarily used to install various Linux distributions – such as Ubuntu – on a USB drive so that they can be started directly from the storage media.
UNetbootin also works with Windows:
- Click on the menu item “Image” – “ISO” is already selected as the source
- Select your USB under “Drive” and then click “OK”


| Benefits | Drawbacks |
|---|---|
| ✓ Various Linux distributions to choose from | ✗ USB drive formatting necessary |
| ✓ Can create portable operating systems | |
| ✓ Also functions with Windows ISO files |
The best freeware tools for bootable USB drives: An overview
| File size | Formatting necessary? | |
|---|---|---|
| Rufus | 945KB | Yes |
| WinUSB | 4.7MB | No |
| UNetbootin | 4.6MB | Yes |
How to start Windows with a bootable USB drive
After its successful creation, you can test your bootable USB drive by using it to start your computer. This is also a necessary step to preconfigure BIOS or UEFI for a possible emergency situation.
To do this, you have to change the boot order in the boot menu:
- Open your computer’s boot menu. Depending on the mainboard manufacturer, this is done by pushing a different key on the keyboard. “Del” is the one most commonly used, but the “F1”, “F2”, “F8”, or “F10” keys can also be used for this function (though rarely any others). Which button you have to push is usually displayed in the margin of the screen as soon as the manufacturer logo appears. But be aware: You only have a short window of time to press the right button. If you miss it, you’ll have to restart your PC and try again.
- If you have a newer PC, it’s possible that UEFI is installed instead of BIOS as firmware. If this is the case, it’s also possible that no button for starting the boot menu will be displayed. Instead, proceed as follows: Click on “Update and recovery” under “System settings”. Then click on “Recovery” and under “Extended start” select “Restart now”. The computer will now be restarted. On the following screen, click on “Troubleshooting”, then “Extended options” and finally on “UEFI firmware settings” to get to the UEFI.
- BIOS and UEFI can look different depending on the computer model and have different names for the individual menu items. Don’t be confused by this, though – the structure is basically the same.
- With the arrow keys, navigate through the BIOS/UEFI. Go to the “Boot” tab (this might also be called “Boot menu”, “Boot manager”, or something similar).
- There, you can select your USB drive so the next system startup will boot from it.
- You can also permanently change the boot order by pushing the [Image↑] or [Image↓] keys to change the order of the boot drives. Set your USB drive on the top of the list to start from it as soon as it’s plugged into your computer.
- Press the [Esc] key to leave BIOS/UEFI.
When you start your PC for the first time, the portable Windows will need a bit more time to boot, since the hardware first has to be detected. While it’s being detected, Windows may also restart several times.
 To display this video, third-party cookies are required. You can access and change your cookie settings here.
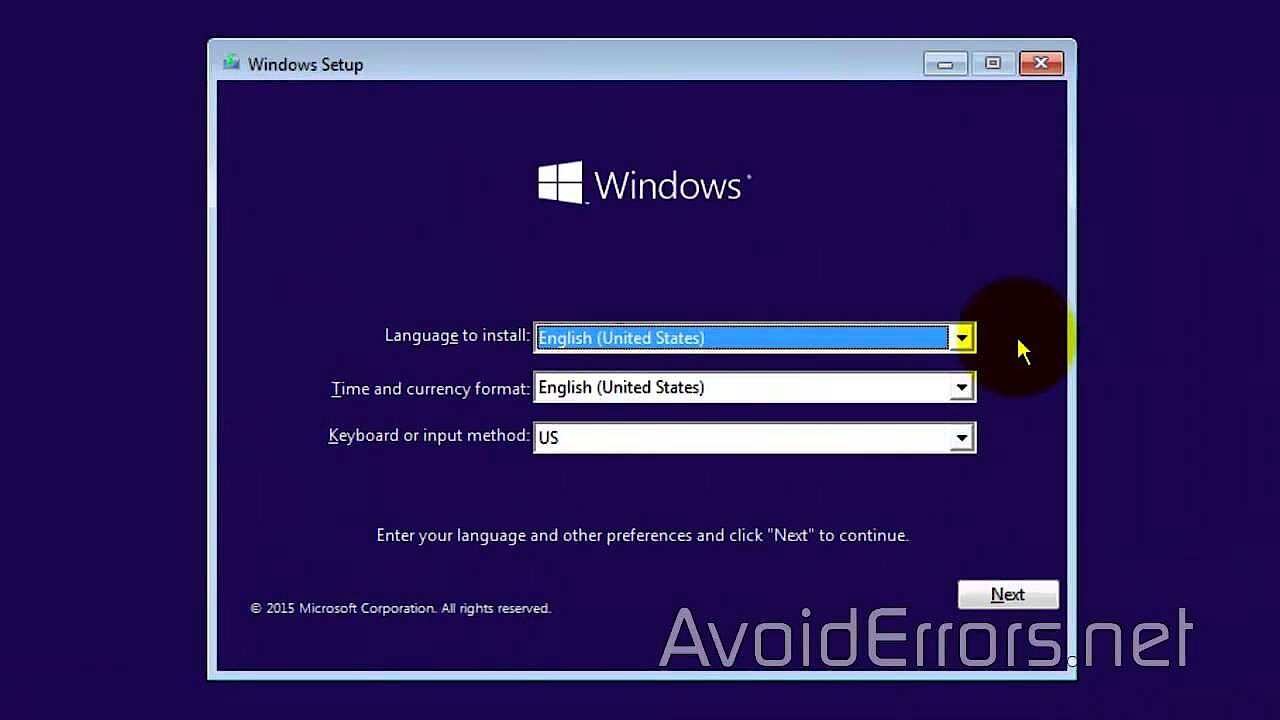
After a successful boot process, you still have to set up your operating system on the USB drive. This means: Run the Windows setup, establish the internet connection, and download and install all necessary drivers and updates from the internet.
- Simple registration
- Premium TLDs at great prices
- 24/7 personal consultant included
- Free privacy protection for eligible domains