Screenshots for Mac – here’s how it’s done
If you are looking to make a screen capture on a MacBook or iMac, the operating system already provides the tools required. With the help of a few hotkeys you can come up with a variety of different screenshots. Below we explain which combination of keys you need to press.
The most important in brief:
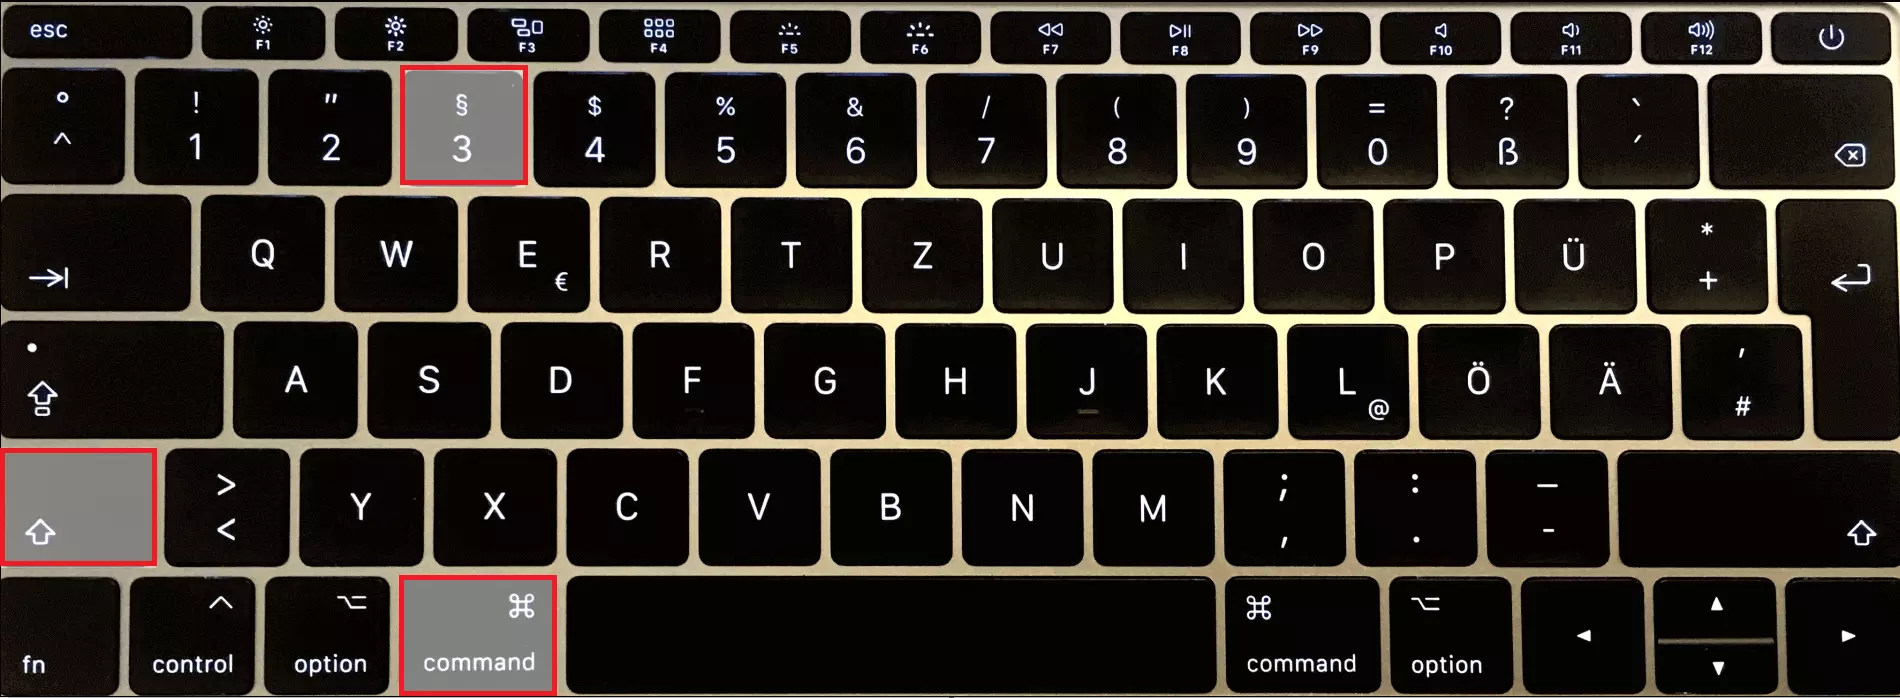
- Capture the entire screen + save file to desktop: [Shift ⇧] + [Cmd ⌘] + [3]
- Capture a selected area of the screen + save file to desktop: [Shift ⇧] + [Cmd ⌘] + [4]
- Capture the entire screen + copy to clipboard: [Control ^] + [Shift ⇧] + [Cmd ⌘] + [3] using the key combination [Cmd ⌘] + [v] insert the screenshot in the chosen location
- Capture a selected area of the screen + copy to clipboard: [Control ^] + [Shift ⇧] + [Cmd ⌘] + [4] using the key combination [Cmd ⌘] + [v] insert the screenshot in the chosen location
How to take a screenshot on a Mac
Apple devices don’t have a ‘Print Screen’ button. It is this button that allows Windows users, with one single press of a button, to make a screen grab of everything on display on a monitor. Apple users will always need to press a combination of buttons (a shortcut) to make a screenshot on a Mac. There are different buttons depending on which area of a macOS or OS X you wish to make a screen grab of:
- Entire screen: You can make a screenshot of the entire display by pressing [Shift ⇧] + [Cmd ⌘] + [3].
- Rectangular area: Press [Shift ⇧] + [Cmd ⌘] + [4] to grab a rectangular section of a screen. In this case, the mouse pointer will turn into a crosshair cursor. Move the cursor to where you would like to begin the screen grab, then click and pull to the desired size before releasing the mouse again. The screenshot will then be performed at this moment. If you wish to cancel the screengrab during the process, simply press the Esc button.
- Window: If it is the case that you wish to save an entire window (and nothing else) as a screenshot, then you should also be pressing the button combination of [Shift ⇧] + [Cmd ⌘] + [4]. Once again, your mouse will transform into a crosshair cursor. Now by pressing the space bar the cursor will become a camera symbol. Simply click on the window that you wish to make a screenshot of. This process can also be cancelled at any time by pressing the Esc button.
- Menu: Even a menu can be saved separately as a screenshot on a Mac. To do this simply open the menu and press [Shift ⇧] + [Cmd ⌘] + [4]. Using the cursor, click on the menu and create your screenshot. However, this will not save the title of the menu. This can only be done if, prior to clicking your mouse, you transform the pointer into a crosshair cursor by pressing the spacebar. Now when you click into a menu, the title will also be a part of the screenshot. Like with the other processes, you can cancel this process by pressing the Esc button.
- Touch Bar: As of 2016, MacBook Pros are fitted out with an additional navigation bar – an OLED touch screen known as the Touch Bar. It is also possible to make a screenshot of this display. A requirement for this is that you have the update macOS Sierra 10.12.1 or later. The shortcut key for this form of screen grab – as the Touch Bar is located underneath the actual monitor – is [Shift ⇧] + [Cmd ⌘] + [6]. (It is also possible to install a button in the Touch Bar specifically for the creation of MacBook screenshots.)
The command button (also known as the ‘Apple button’ has altered its appearance through the years with the various Macintosh systems. Sometimes it has the well-known bitten apple, sometimes it has the looped square ⌘, and sometimes it is labelled with ‘cmd’ – in many cases also a combination of these symbols. Normally the button is located right next to the space bar. The command button is used in Apple systems for keyboard combinations and shortcuts.
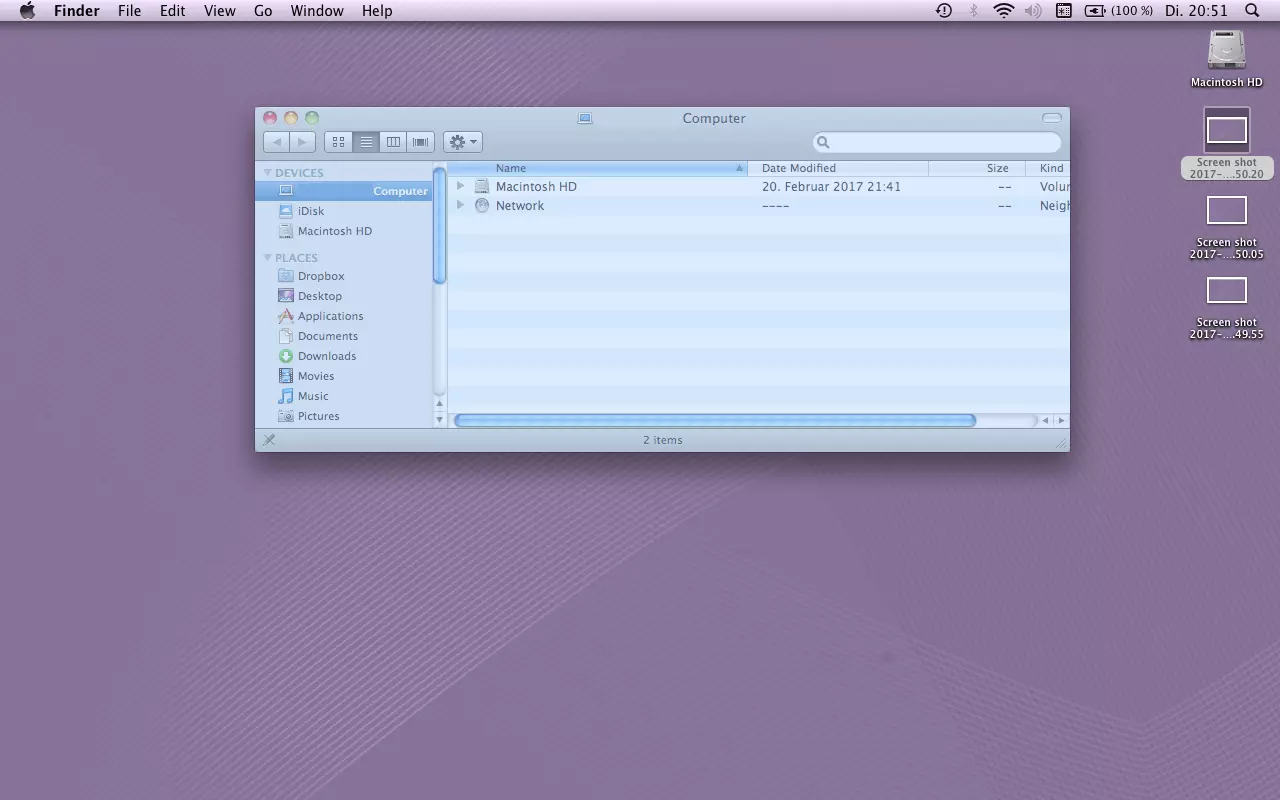
Regardless of which section you have selected and which buttons you have pushed, the screenshot will automatically be saved on your desktop as a PNG image file. The naming of the file is also done automatically by the operating system – all files names begin with the word ‘Screenshot’ followed by the time and date that it was created.
If you would prefer that a screenshot on your Mac does not directly turn into a file and instead is copied onto the clipboard (as is the standard with screenshots with Windows), then this is also possible: by additionally pressing the [Ctrl] button the Mac will store the screen grab in the clipboard. From here it is easier to transfer it to a word and image processing program that you might be working with. This process works with all Mac screenshot shortcuts.
‘Grab’ tool: how to take a screenshot on Mac
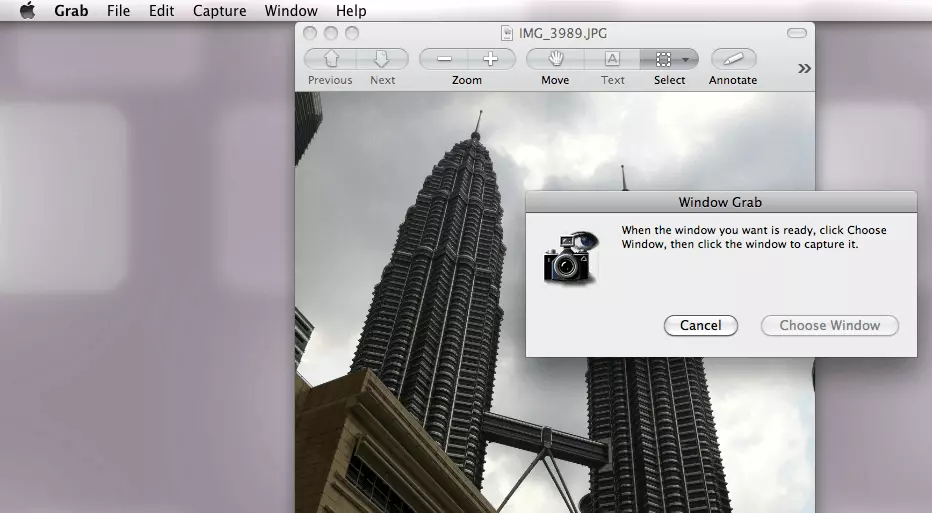
It might be that you wish to take screenshots on your Mac without using shortcut keys, and this is where the tool ‘Grab’ comes in handy. This software is already installed on every Mac operating system and can be found either in the ‘Utilities’ folder under ‘Applications’ or by using the ‘Spotlight’ search function. This helpful tool is easy to use and can be operated using the menu taskbar. Here you can select which area of a display you wish to save as an image file. Generally, you have the same options as with the keyboard shortcuts: entire screen, a selected window, or a self-determined section.
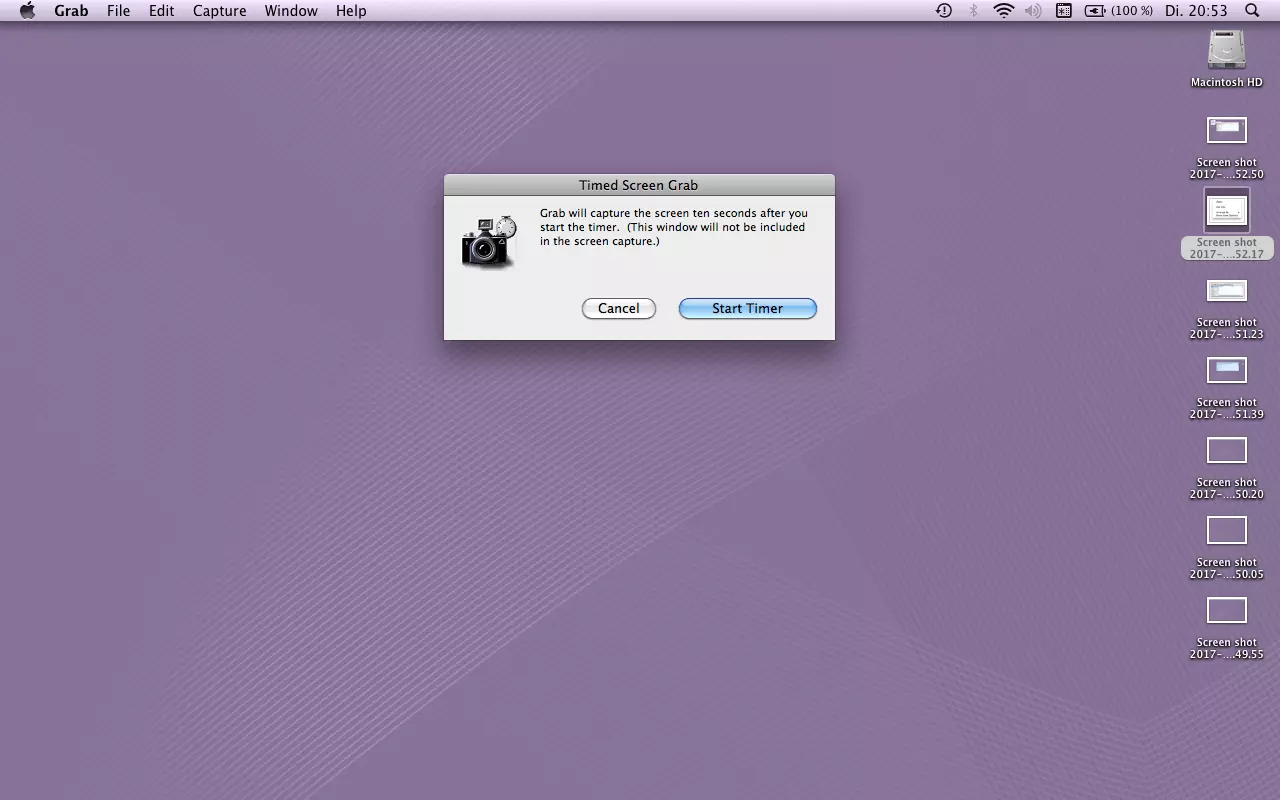
In addition to this, the software also has a timer function. This makes it possible to make changes on the screen before the screenshot is actually taken. For example, this is very useful if what you wish to show requires the mouse to be held down.
Each time the screengrab will appear in a new window. You can then decide what is to happen with it next – enter what the name of the file should be and then select where it should be stored.
Furthermore, you can also use the preview tool when creating screenshots. In the tool that you would normally use to open images and PDF files, you will find in the menu a ‘Create PDF’ from which you can select one of the three screengrab options: ‘From Screen Capture’, ‘From Window Capture’, and ‘From Selection Capture’. The screenshot can then be edited directly in the preview or saved in the various formats.
Common problems when making screenshots on a Mac
It can sometimes be the case that making a screen capture on a Mac doesn’t work. This usually has something to do with the program that you are attempting to display. For example, Apple has configured it so that it is not possible to make a screenshot of a movie that is being played via the DVD player software. For copyright reasons, Apple has made it impossible to make screengrabs while the playback software is running. This is the case even if you have no desire to record any part of the movie in your screenshot or you have even gone to the effort of getting the rights to the movie. To produce a screenshot (of course only with material with which you are making no copyright infringement), there are two roundabout ways of doing this:
- Use an alternative playback program: Mac will not prevent you from making screenshots if you use a different software for playing films and videos.
- Use a different screenshot program: The limitation outlined above applies only if you wish to produce and edit screenshots directly with macOS or OS X software. There are also third-party providers that offer free software for making screenshots on a Mac.


