Recovering a Server from an Image
For Cloud Servers, Virtual Server Cloud, Dedicated Servers and Server Power Deals managed in the Cloud Panel
You can restore your server by installing an image. We'll show you how to install an image below.
Warning
When you reinstall an image on a server, all existing data on the server is irretrievably deleted and replaced with the data from the newly installed image. This process cannot be undone. Make sure that a backup of the server is created before installing the image to prevent the risk of data loss.
Notes
While an image is being created, the corresponding server cannot be edited.
The credentials are identical to those of the server from which the image was created.
If you create an image from a server on which Plesk Obsidian is installed and use this image in the Cloud Panel to restore another server, you must change the Plesk activation code on the newly created server in the Plesk license settings. You can find instructions here:
Changing the Plesk Activation Code (Plesk Obsidian)
Prerequisite
You are in the Infrastructure > Servers section of the Cloud Panel.
Select the desired server.
Click Actions.
Click Reinstall Image.

Select the image you want to use.
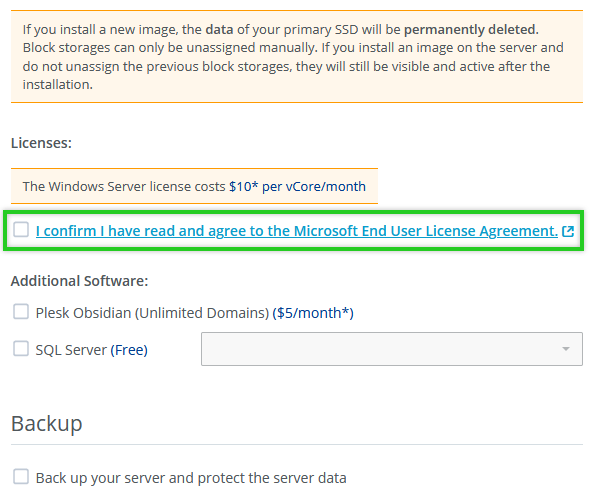
If you install an image with the Microsoft Windows Server operating system, you must read and accept the Microsoft End User License Terms.
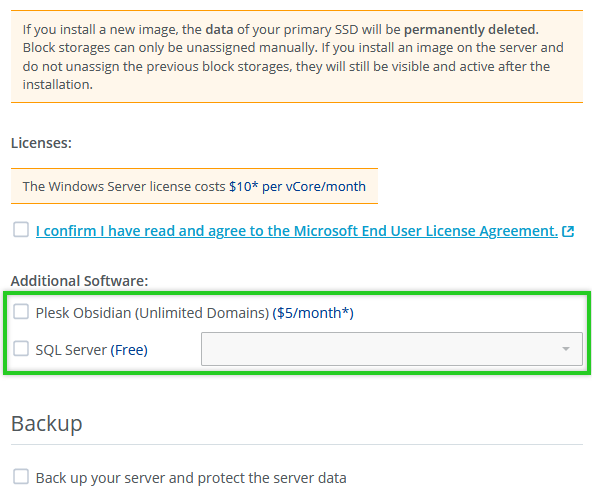
Optional: Select any desired additional software. This option can only be selected if you select an IONOS image.
SQL Server: If you selected the Microsoft Windows operating system, you can optionally install SQL Server. SQL Server is a relational database management and analysis system from Microsoft.
Plesk Obsidian: If you selected Microsoft Windows, Ubuntu, CentOS, or Debian, you can optionally install Plesk Obsidian.
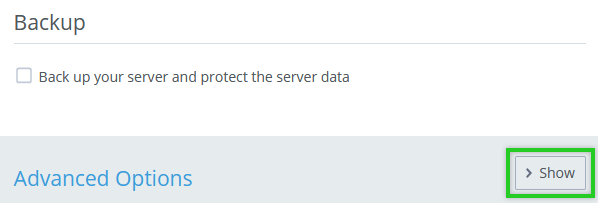
To be able to create backups from this server, enable the Protect server data with backups option in the Backup area. Images that are compatible with Backup Agent already have this option enabled. Then select the desired predefined protection plan. If you have not set up a backup package yet or want to switch to a larger package, select the desired backup package after that. The backup agent is automatically installed as part of the server creation process.
Backups are managed through the Backup Console. You can access it in the Backup > Backup Package section.
Please Note
If you select an image that is not compatible with Backup Agent, it will not be installed automatically as part of the server creation process. To create backups in this case, you must download and manually install the Backup Agent in the Backup > Backup Package section after the server is created.
Optional: In the Advanced Options section, click Show.
This step is applicable only after selecting an IONOS image or application: In the Password field, type the password to access the server and repeat it.
This step is applicable only after selecting an IONOS image or application: If you are installing a Linux distribution, you can select one or more public keys in the SSH Key field to use public key authentication. Alternatively, you can import a new SSH key. This option appears only if you select an IONOS image.
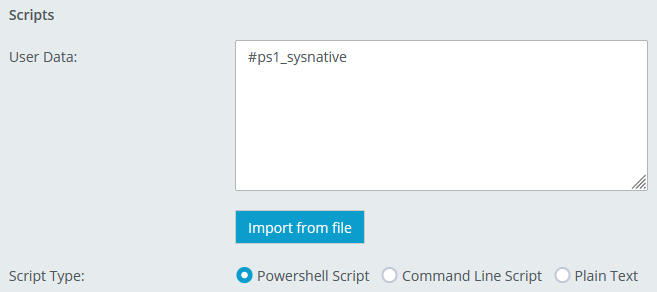
This step is applicable only after selecting an IONOS image or application: To configure your server individually after the new installation, add the desired post-creation script in the User Data field.
Click Reinstall Image.
The server will now be reinstalled. This process may take a few minutes.