Reimaging Your Server
For Dedicated Servers Server Power Deals and Value Dedicated Servers managed in Server Management in the IONOS account
This article explains how to reimage your server. This allows you to restore your server to its original state or install another operating system at any time.
- Log in to your IONOS account.
Click Menu > Server & Cloud in the title bar.
Optional: Select the desired Server & Cloud contract.The server management opens
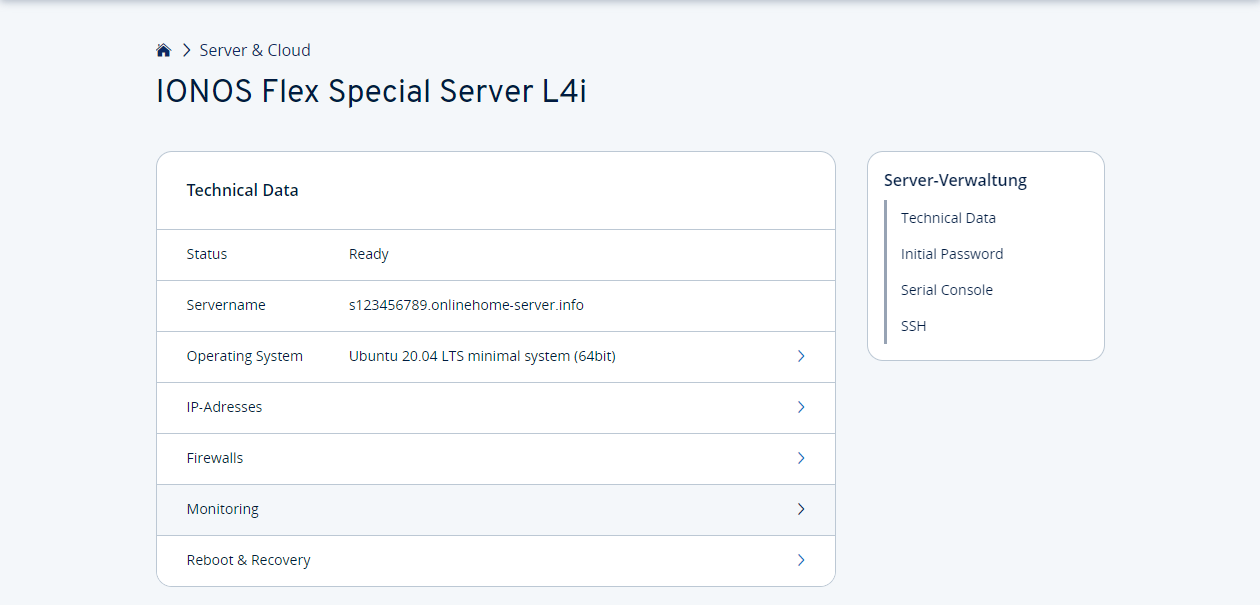
- Click on Operating system
- Select the desired operating system.
Set an initial password in the Password field and click on Initialize.
Depending on the selected operating system, the initialization process can take between approx. one hour (normal case) and several hours.
Please Note
For Dynamic Cloud Servers, the snapshots get deleted during the process!
You will now receive the message that your server is being reimaged. To return to the Server Administration, click the Overview button.
Please Note
The initial password is valid for administrator access (root), serial console (only available for dedicated servers) and access to the Plesk admin panel (if installed). For security reasons, we recommend setting up a different password for each access once the process is complete.
What happens next?
Once the reimaging process is complete, you can log in to your server with the administrator account and initial password:
Linux: Connect using SSH with the username root.
Windows: Use a Remote Desktop connection with the username Administrator.