Microsoft 365: Assigning IONOS Required Privileges for Administration
Microsoft has introduced Granular Delegated Admin Privileges (GDAP) for security reasons on June 1, 2022, to increase the security for managing customer accounts according to Microsoft's Zero Trust Principle. The Zero Trust Principle is an IT security concept. According to this principle, the provider from whom you purchase a Microsoft 365 license is assigned the lowest possible access permissions to minimize potential risks.
If you purchase a Microsoft 365 license as a new customer via IONOS, you must assign the necessary privileges to IONOS through the Microsoft Admin Center so that this license can be created and administered in your IONOS account. In addition, these permissions are required to connect domains hosted at IONOS to Microsoft 365. Furthermore, these permissions are required by IONOS Customer Service to be able to support you with questions regarding Microsoft 365.
Note
The GDAP is granted by you for a period of 2 years (730 days).After that, you must reassign the required rights for security reasons.The rights granted cannot be restricted by you.
Attention
If you do not assign these privileges to IONOS, IONOS will not be able to manage your Microsoft 365 licenses. In this case, you will have to manage your Microsoft 365 licenses yourself without the service and support of IONOS using the Microsoft Admin Center. This also applies if you do not reassign the GDAP to IONOS after the 2 year period.
For the standalone management of your Microsoft 365 licenses, very good knowledge of the Microsoft Admin Center as well as Microsoft 365 is required. Independent administration of Microsoft 365 licenses should only be done by experienced users. For this reason, we recommend that you assign IONOS the necessary privileges to manage the Microsoft 365 license.
Accessing Microsoft 365 For the First Time
- Log in to your IONOS account.
In the main navigation at the top left, click Menu and then Microsoft 365 (or Office if you have multiple different Office products in your contract).

If you have multiple Office contracts, now select the appropriate contract in which you want to perform the desired action.
Click Create an email address.
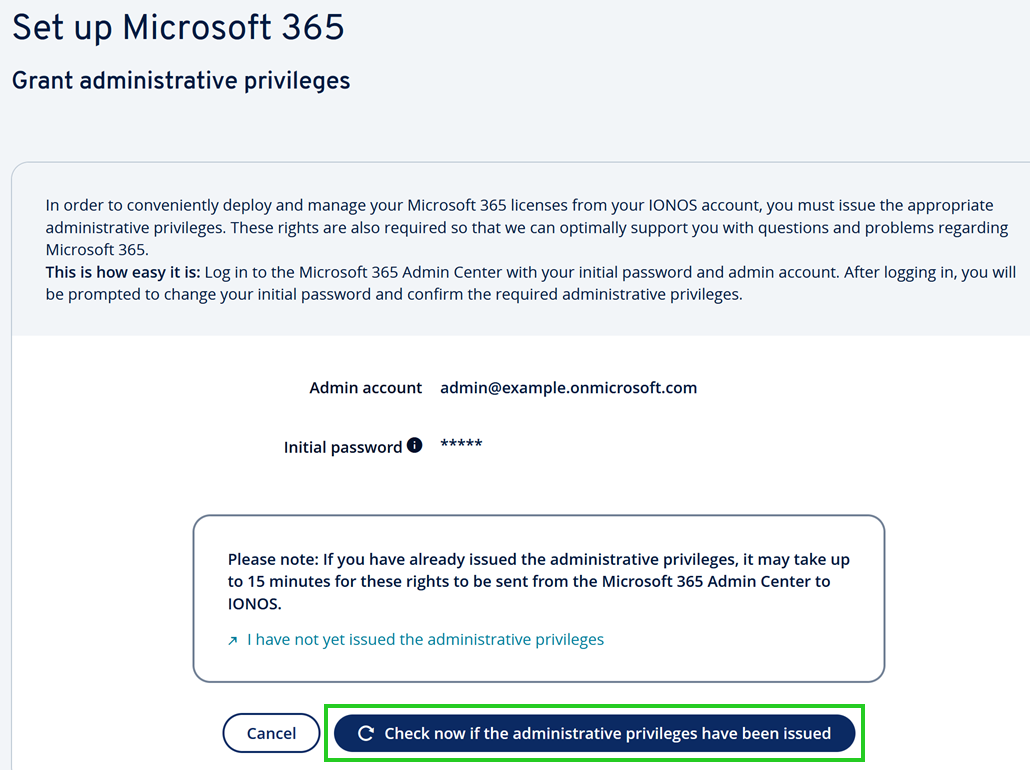
If you are not sure whether you have already assigned the service rights to IONOS, click Check now whether if the administrative privileges have been issued.
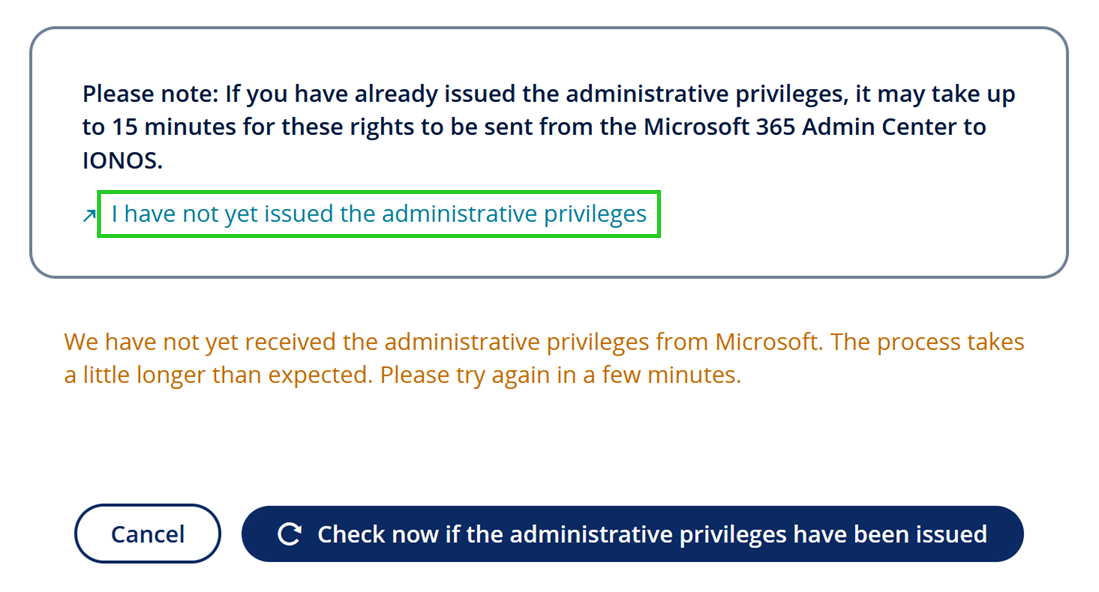
To assign the service rights, click I have not yet issued the administrative privileges.
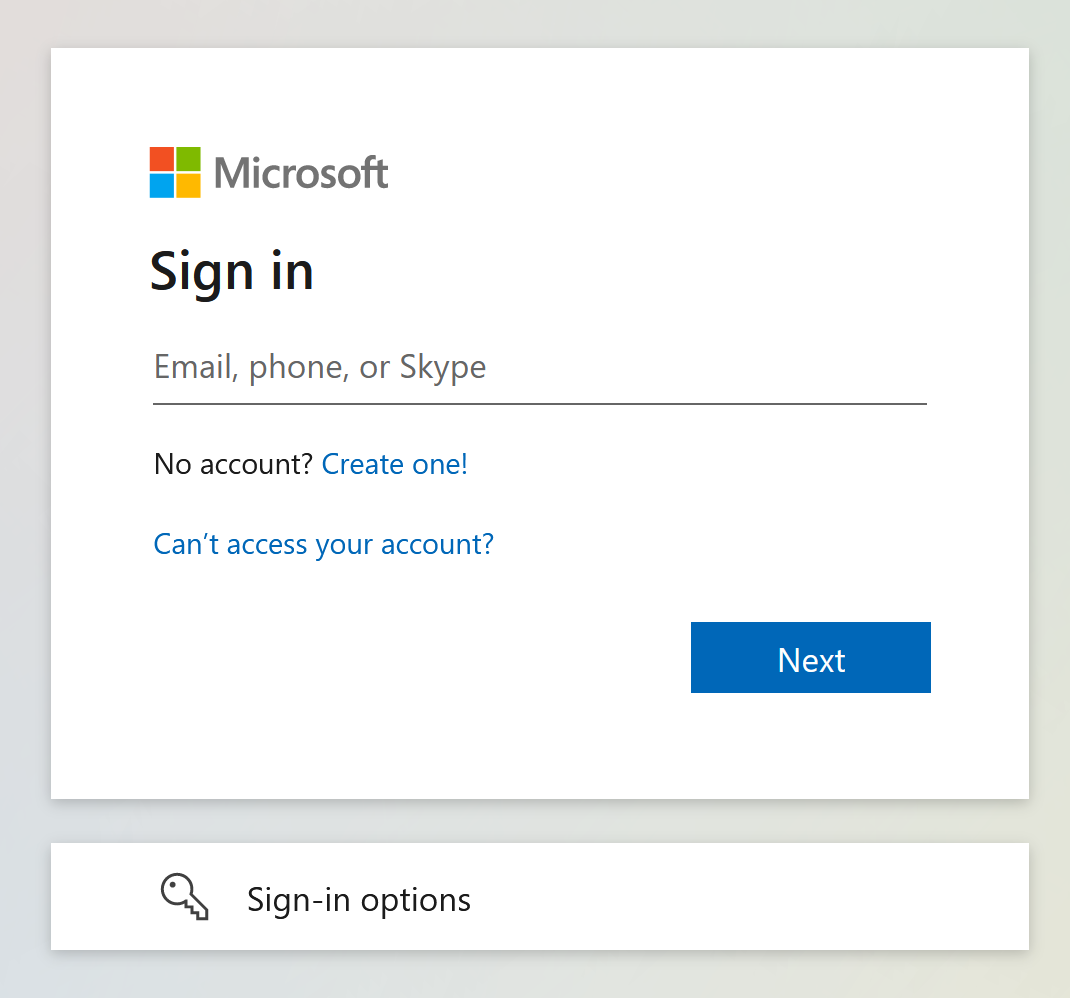
The login page of the Microsoft 365 Admin Center opens.
On the Microsoft 365 Admin Center login page, enter your admin account name and click Next.
Enter the password and click Sign In.
The Update Your Password page appears.In the Your current password field, type your current password.
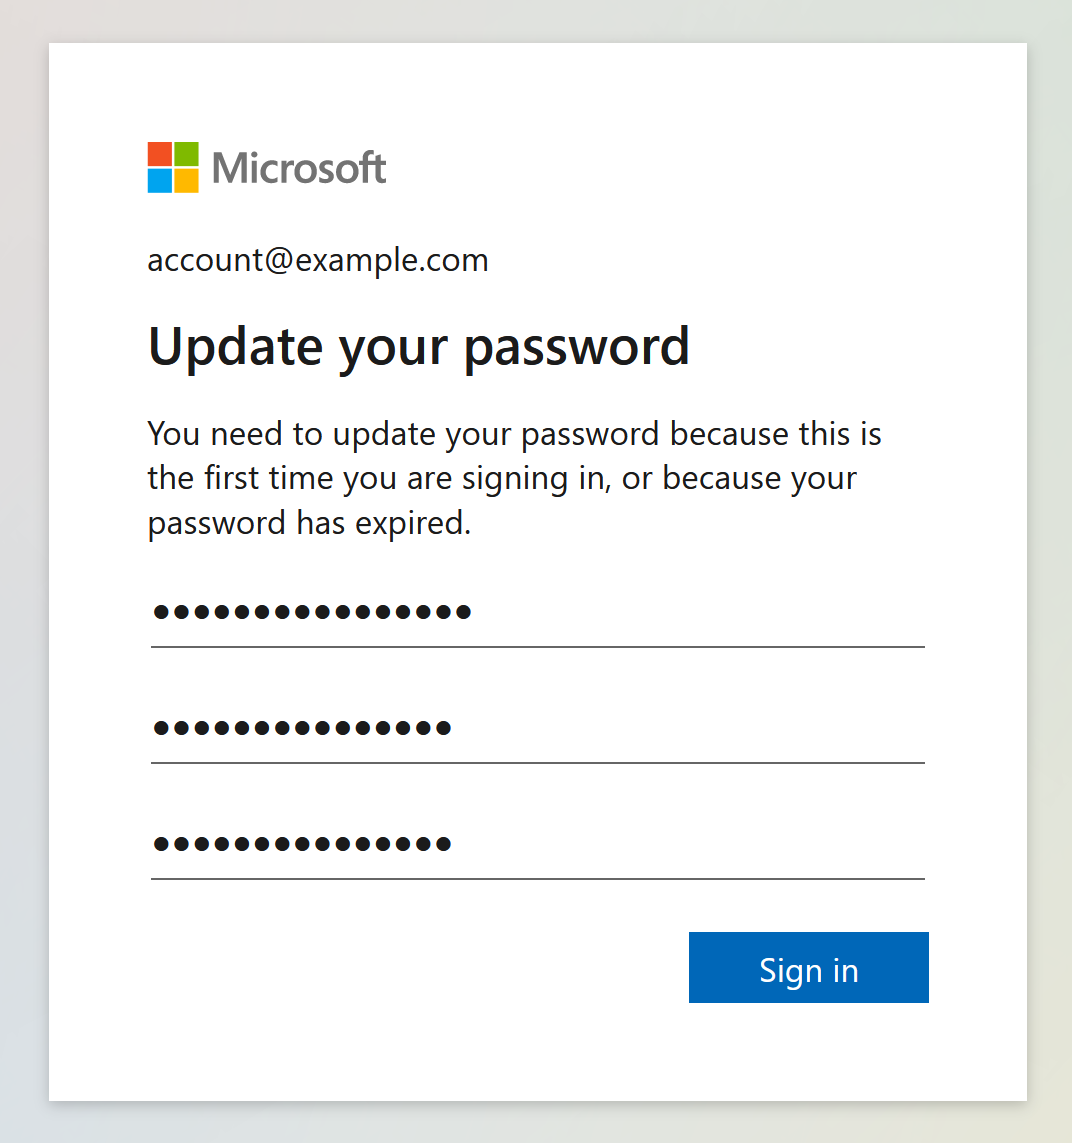
Enter the new password you want and repeat it.
Click Sign in.
Click Next.
Configuring the Authenticator App and Linking It to the Admin Account
If you are prompted to protect your account, follow the steps described in this section. Otherwise, continue with the steps described in the section Assigning the necessary rights for administration to IONOS in the Admin Center.
Prerequisite
Your mobile device is switched on and ready to use.
Please Note
Perform the steps below quickly, as the installation and configuration must be repeated in its entirety if you time out.
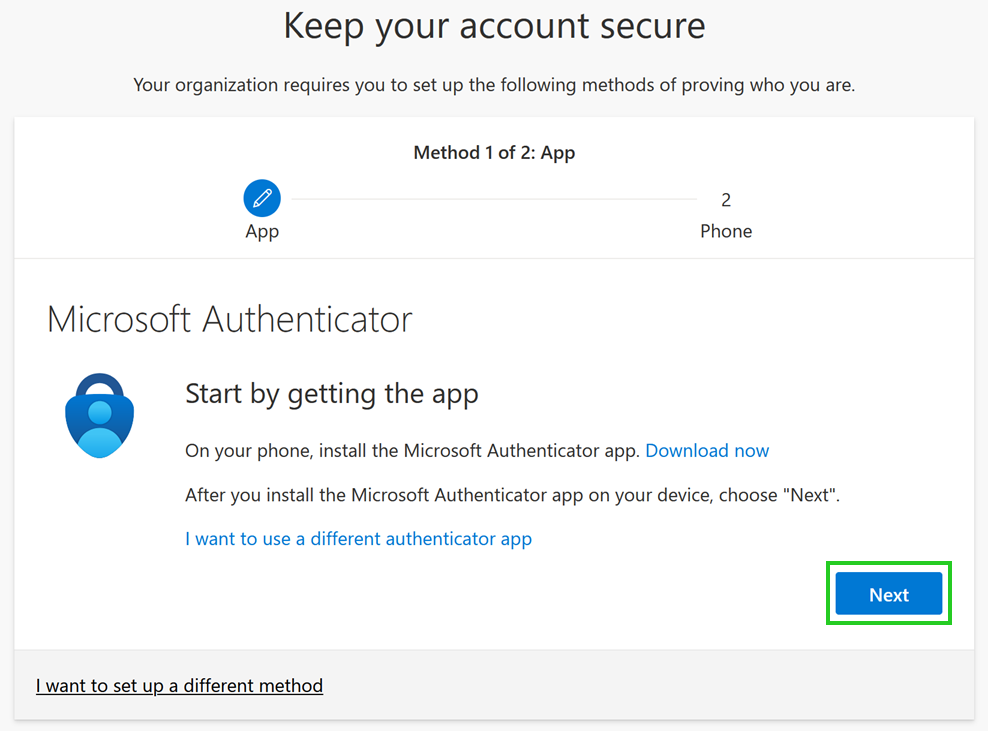
Install the Microsoft Authenticator app on your mobile device.
If necessary, allow notifications in your mobile device when prompted. Then, in the Microsoft Authenticator app, tap the plus sign (+), followed by Work or school account.
Tap Sign in.
Enter the admin account credentials, and then follow the steps that appear.
After you install and configure the Authenticator app on your mobile device, click Next in your browser.
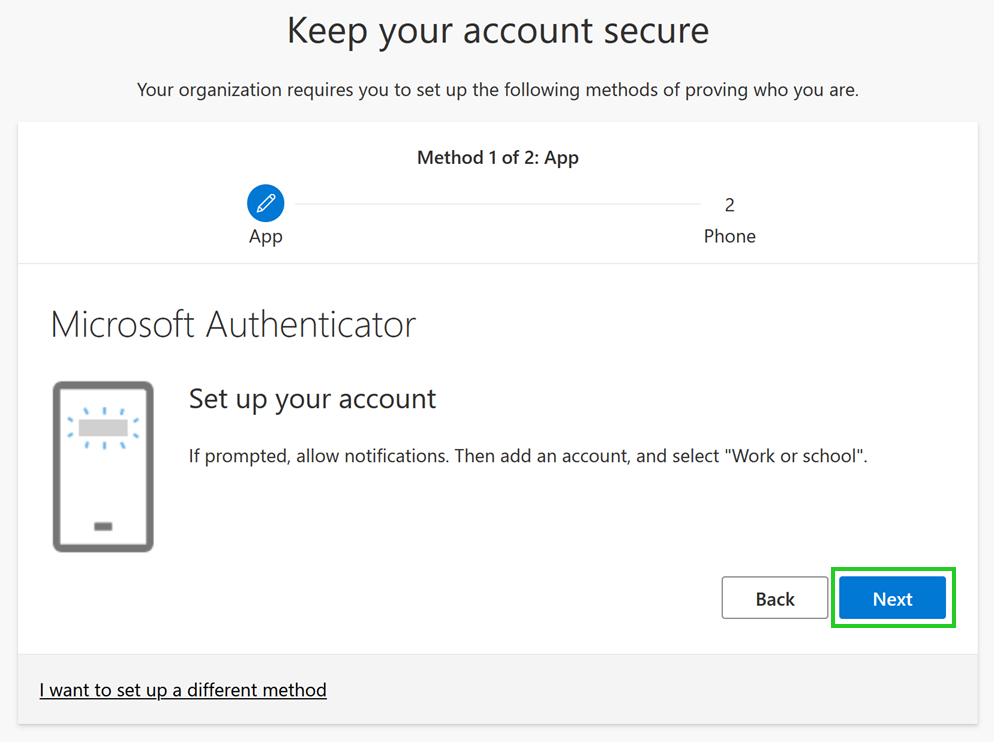
Click Next.
In the bottom-right corner of the Microsoft Authenticator app, tap Verified IDs.
Tap Scan a QR Code and scan the QR code that appears in your browser.
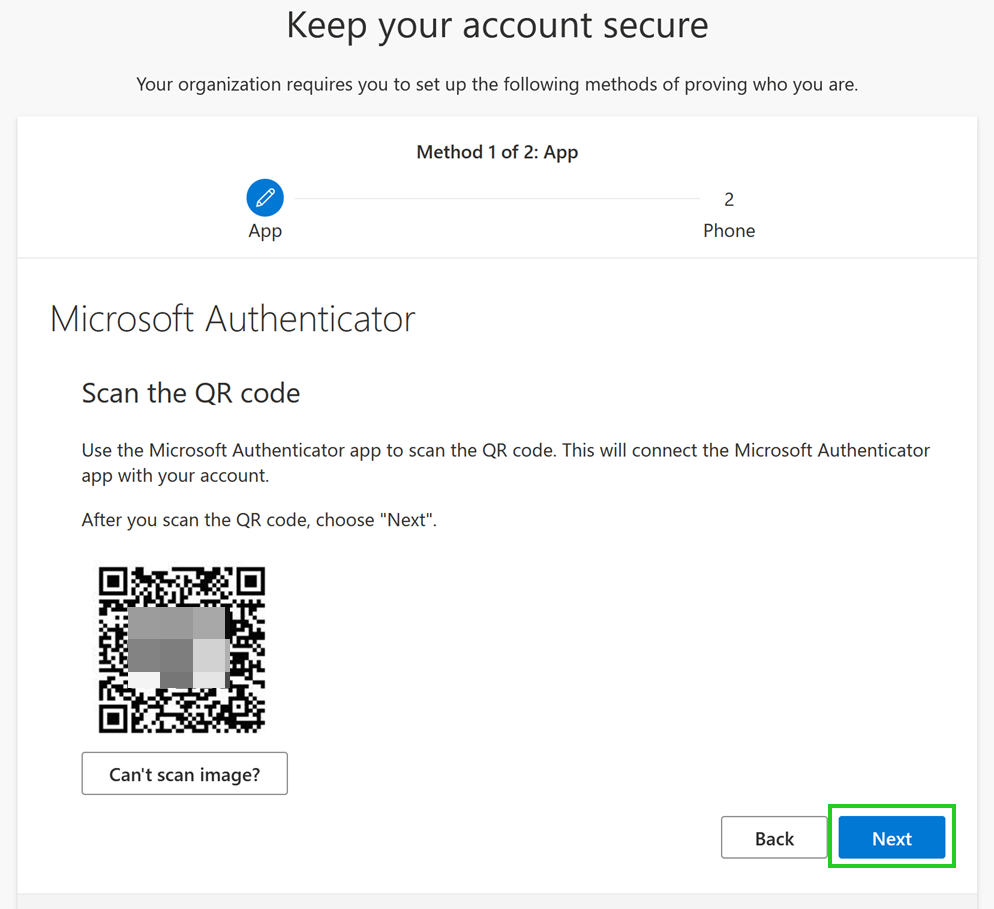
The link is activated.
Click Next.
The following message appears in the Microsoft Authenticator app: Approve login?In the Microsoft Authenticator app, tap Approve. Enter your mobile device PIN and tap Next.
The Notification Approved message appears.In your browser, click Next.
Then, enter a phone number and click Next.
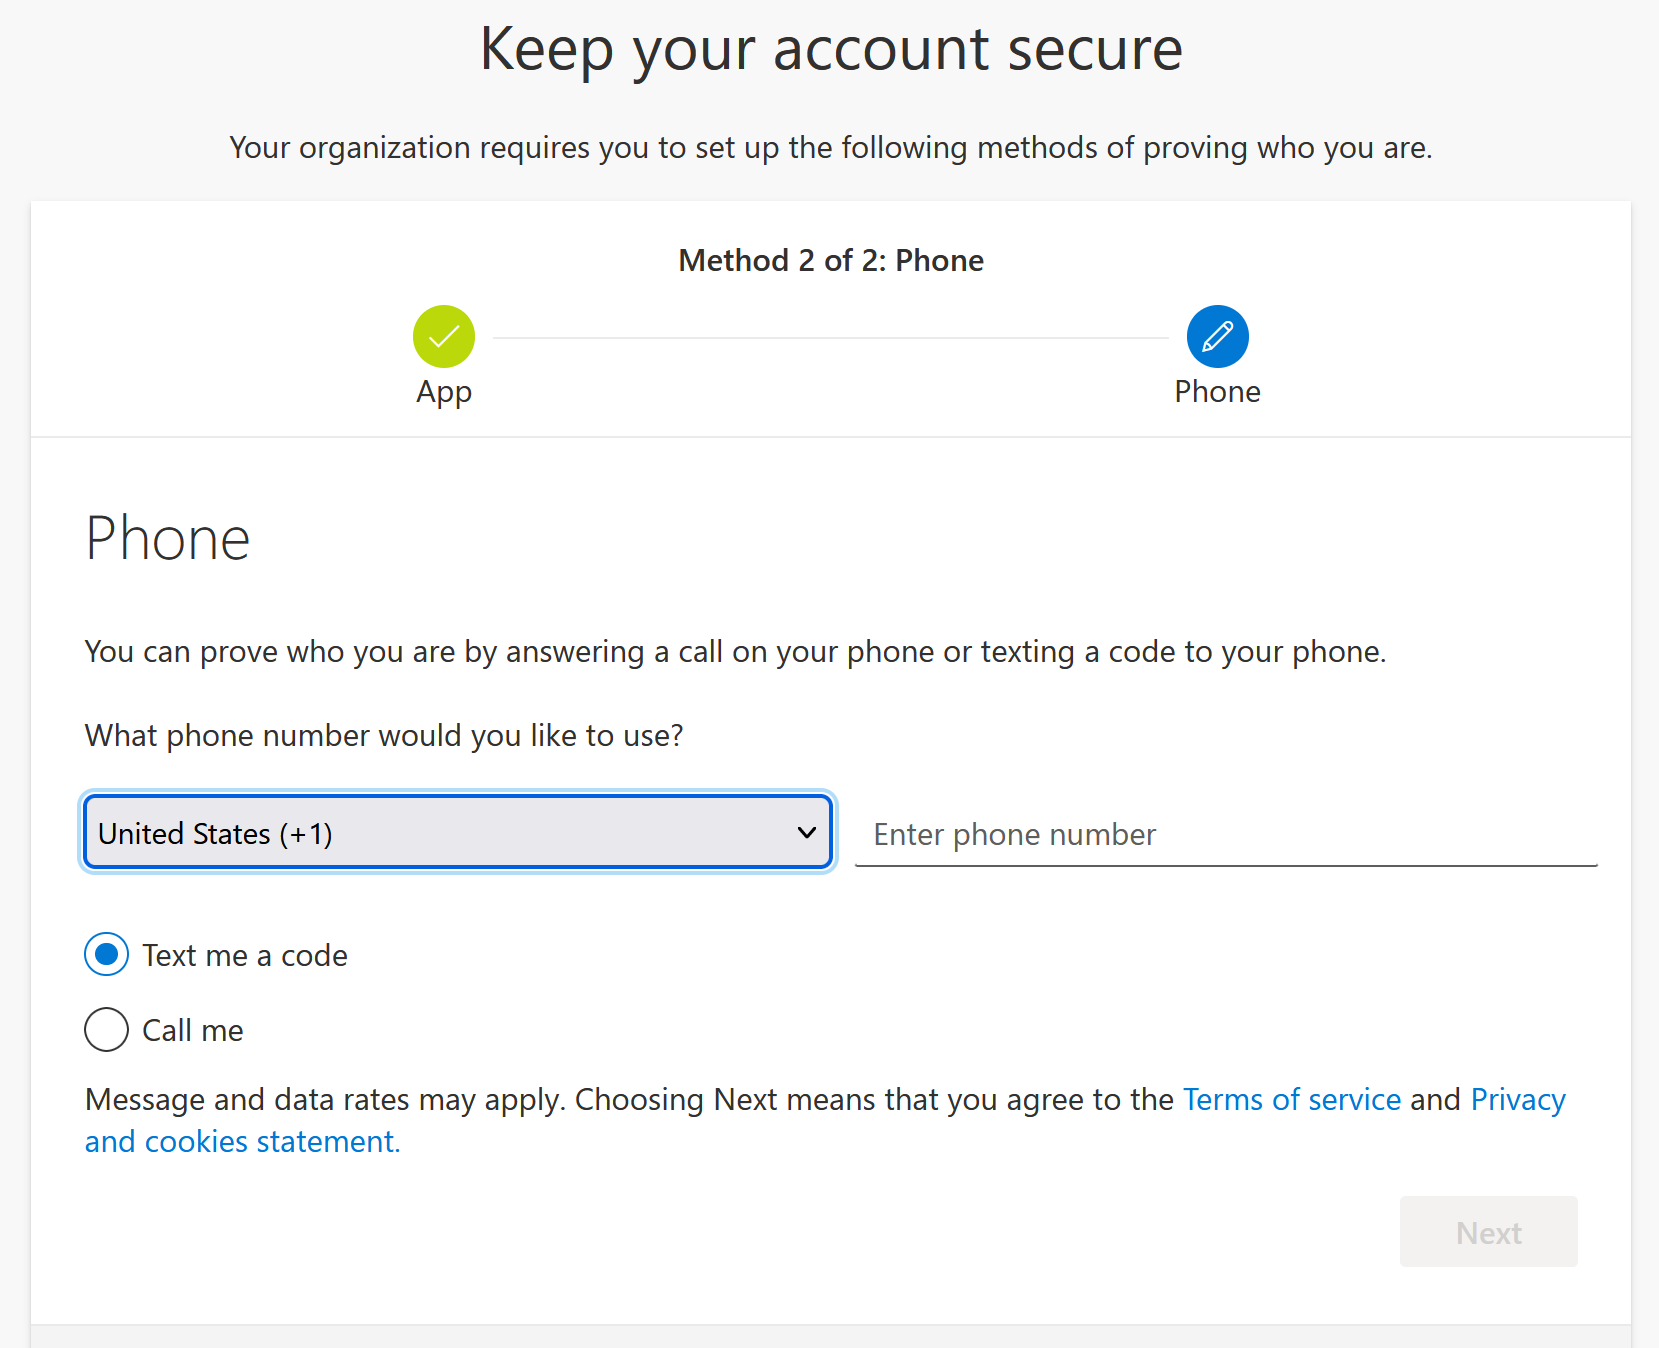
A code will be sent to you via SMS.
Enter the code and click Next.
The SMS will be verified.
Click Next.
Click Done.
Assigning IONOS the Necessary Administrative Privileges in the Admin Center
Log in to the Admin Center if you have not automatically been brought to it.
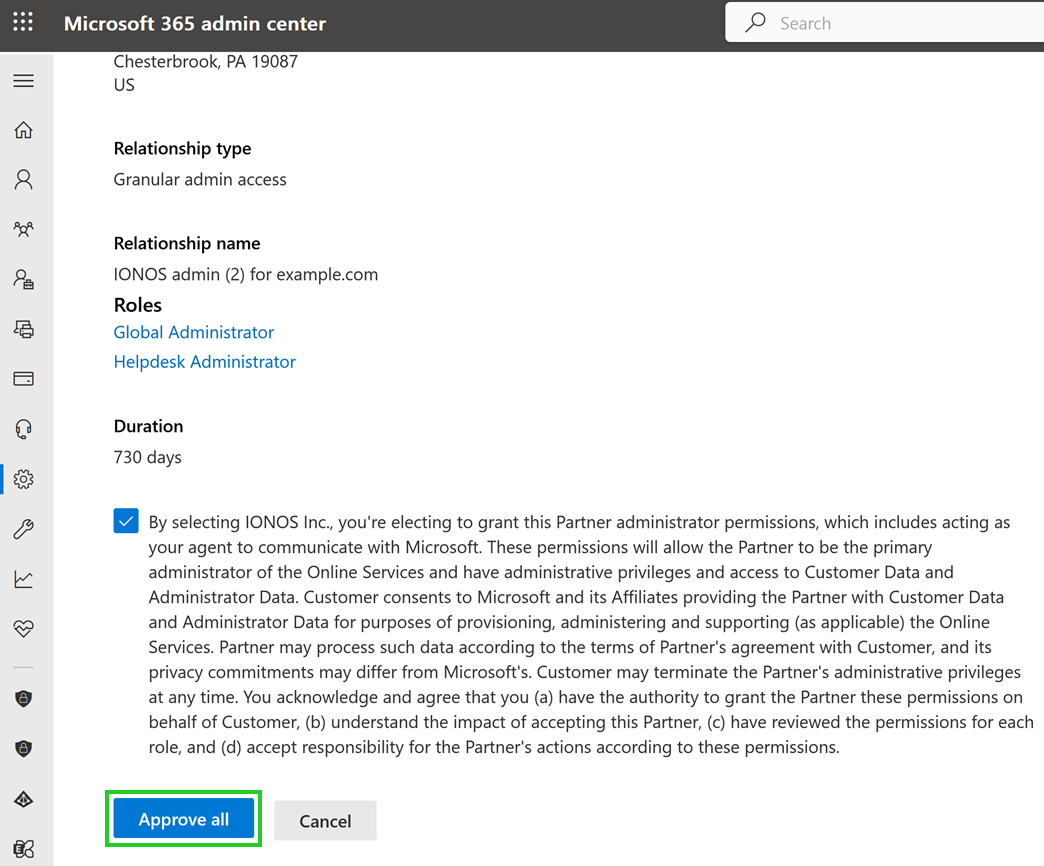
The Approve Partner Roles page is displayed. If the page does not appear, click Partner Relationships in the menu bar on the left.
Read and accept the text that appears below the Duration section by checking the box.

To assign the necessary rights to IONOS, click Approve All.
The necessary permissions will now be granted to IONOS.