Activate or Deactivate Anti-SPAM for Your IONOS Email Address
By using the Anti-SPAM settings of your IONOS email accounts, you can set up your spam protection individually and thus protect your email address from unwanted advertising mails. In this article, we'll show you how to enable or disable Anti-SPAM in your IONOS account.
- Log in to your IONOS account.
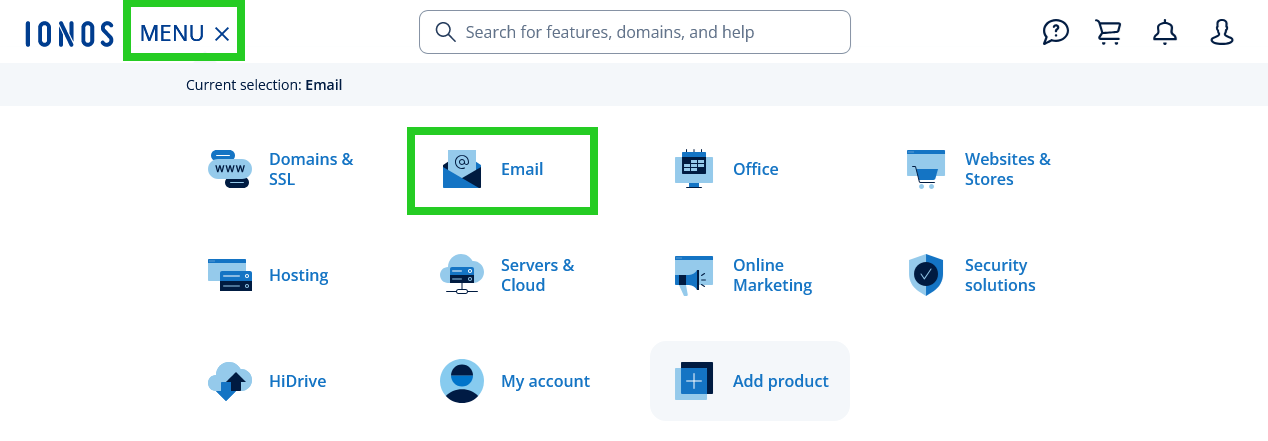
In the main navigation, click Menu in the top left corner and then click Email.
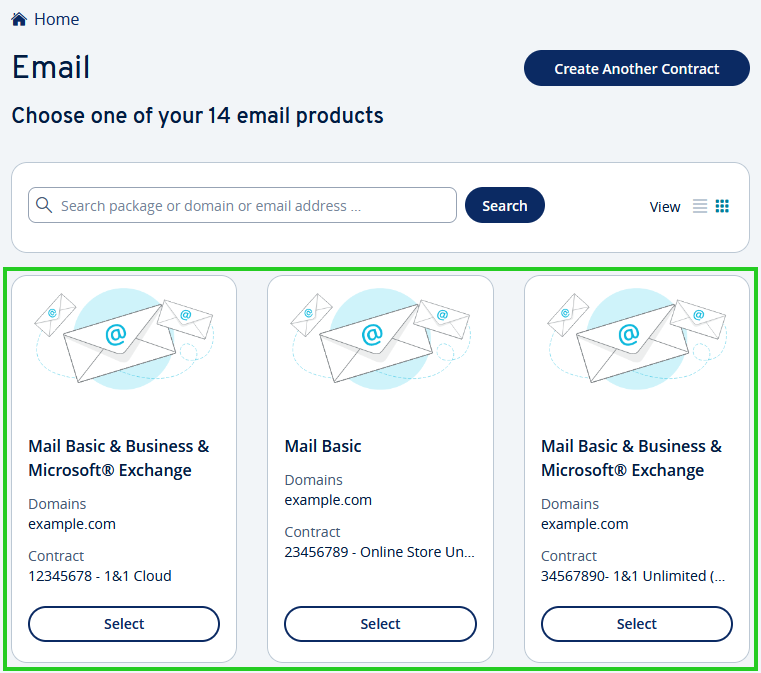
- If you have more than one email contract, select the contract in which you want to perform the desired action.
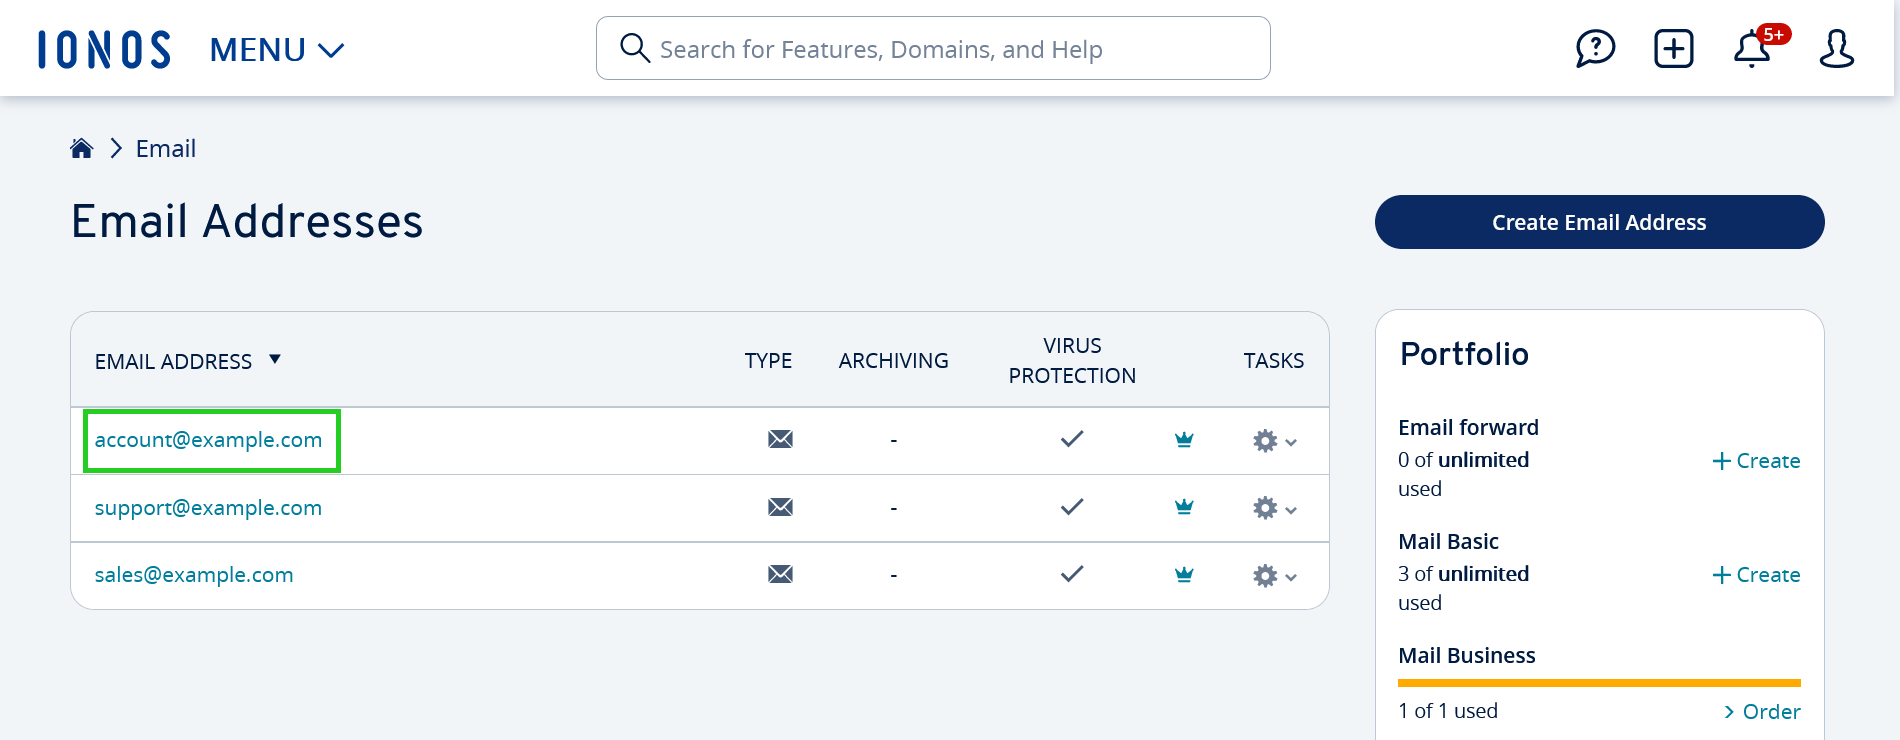
Now click on the email address for which you want to activate or deactivate Anti-SPAM.
Click on Anti-spam in the Email security section. The Anti-SPAM page opens.
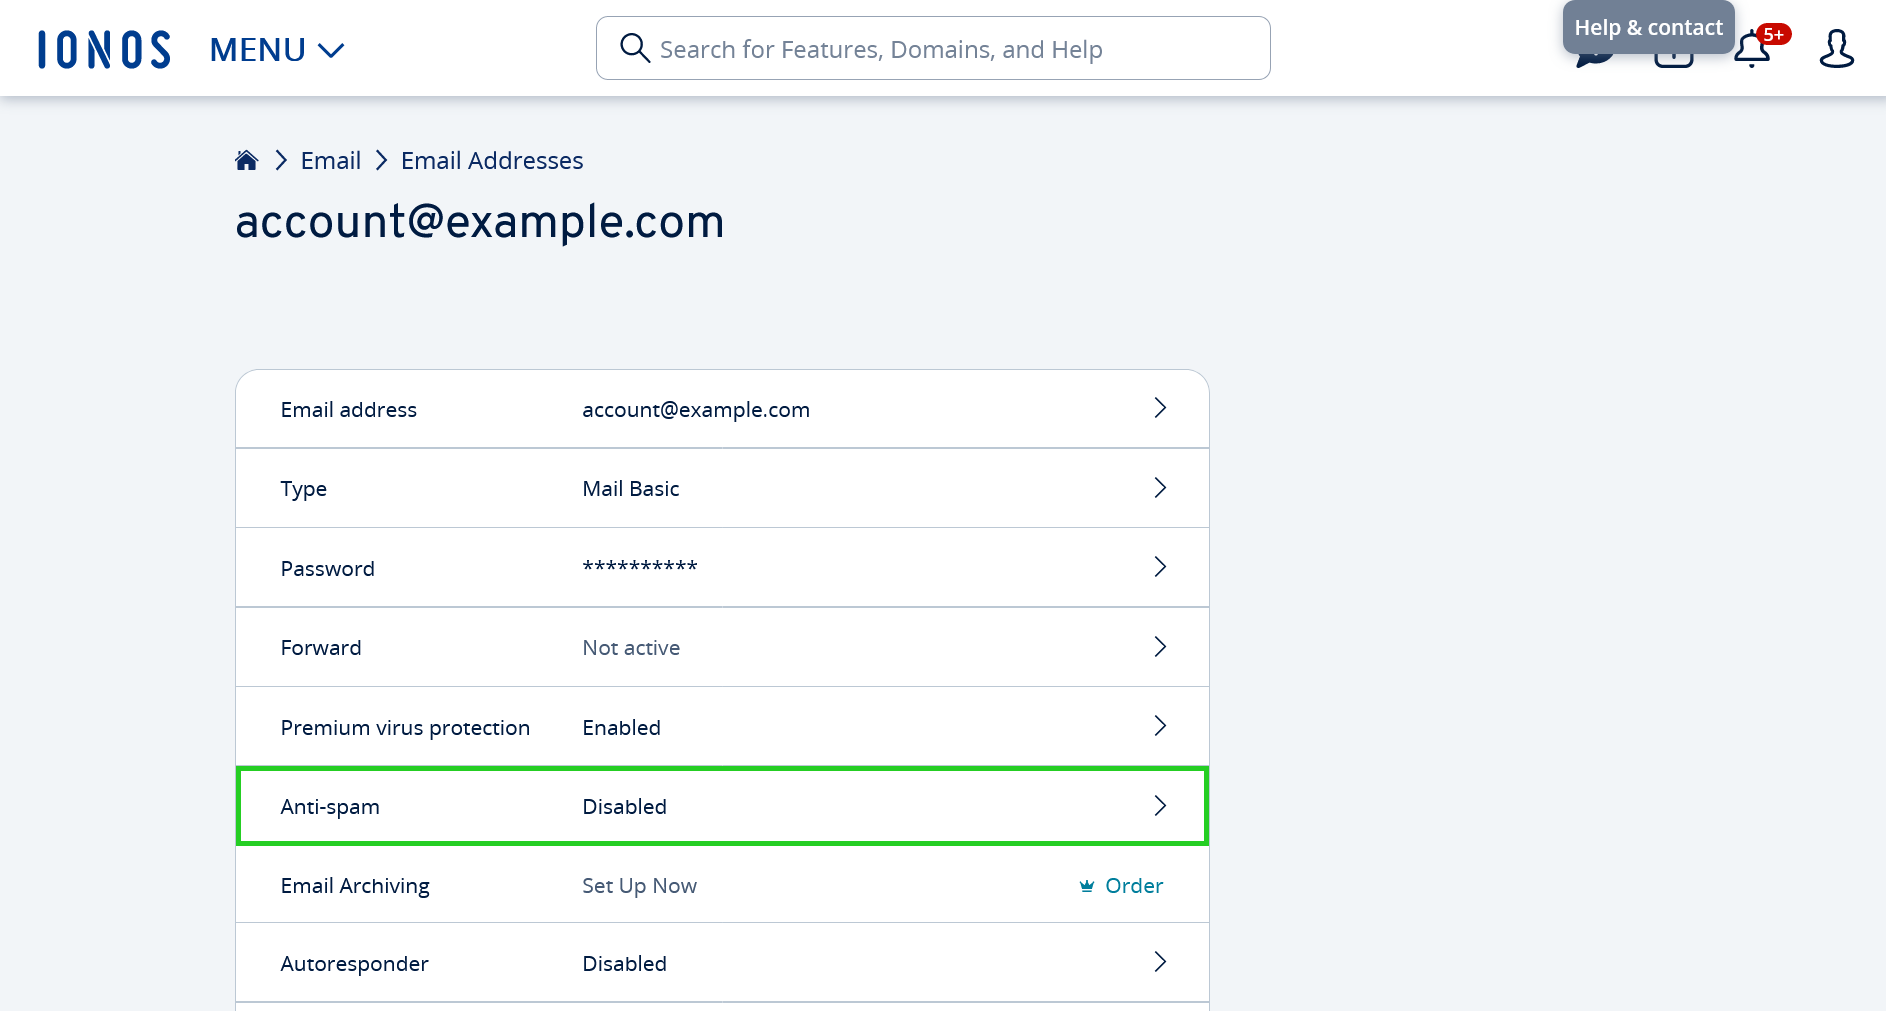
Select your preferred spam filter settings.
To change the level of protection, click Sensitivity and select the desired setting. When you are finished, click Save.
Optional: To create a list of safe senders, click Allowlist. Then, type the senders/domains you want in the Allowlist box and click Save.
Optional: To create a list of unwanted senders, click Blocklist. Then, type the unwanted senders/domains in the Blocklist box and click Save.
Note
Alternatively, you can also configure Anti-SPAM within Webmail. Instructions for this can be found in the article Configuring anti-spam via Webmail.