Creating Groups and Resources with IONOS Mail Business Accounts
This article explains how to create and edit groups and resources with your Mail Business account in Webmail.
If you often want to add the same people to appointments or tasks, you can create a group from these people. You can add the group instead of the individuals as participants.
To manage your resources, you can create resources in Webmail. Unlike participants, resources have the property that conflicts cannot be ignored when you create an appointment. When you create an appointment, you cannot add a resource that is already used for other appointments.
Creating a New Group
- Log in to your Mail Business account.
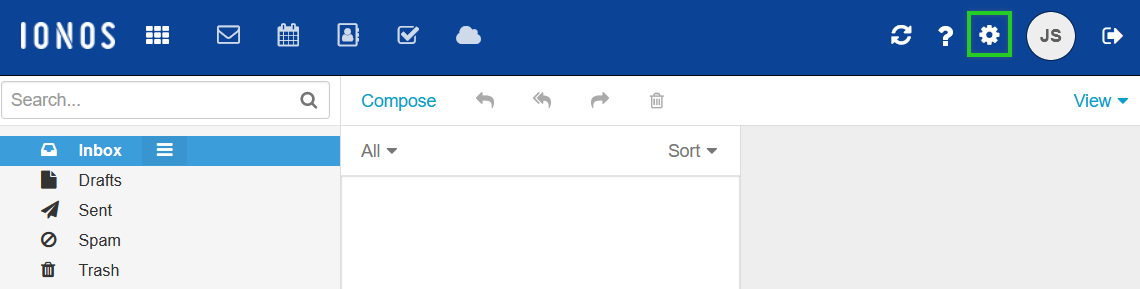
- Click on the gear icon on the right side of the blue navigation bar.
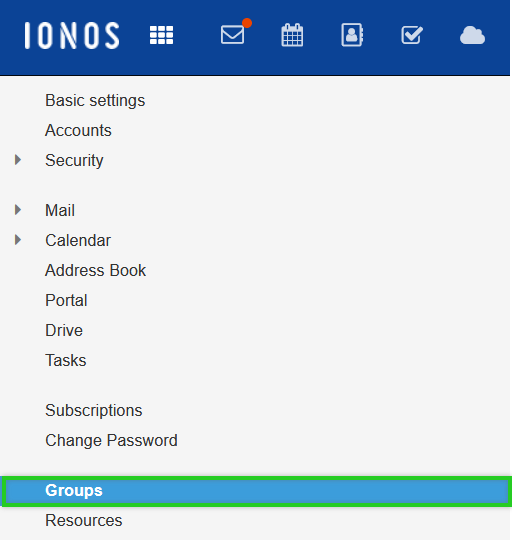
Click Groups in the navigation bar on the left.
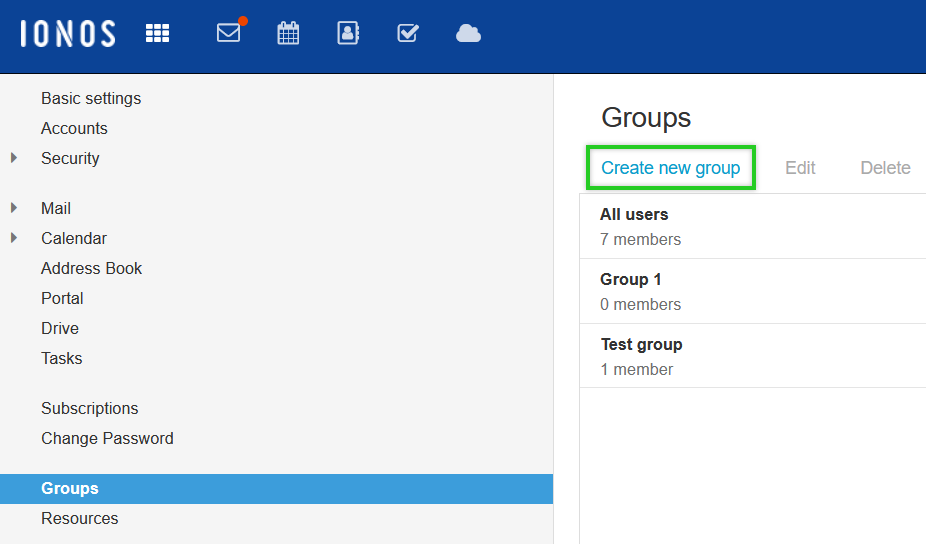
To create a group, click Create new group.
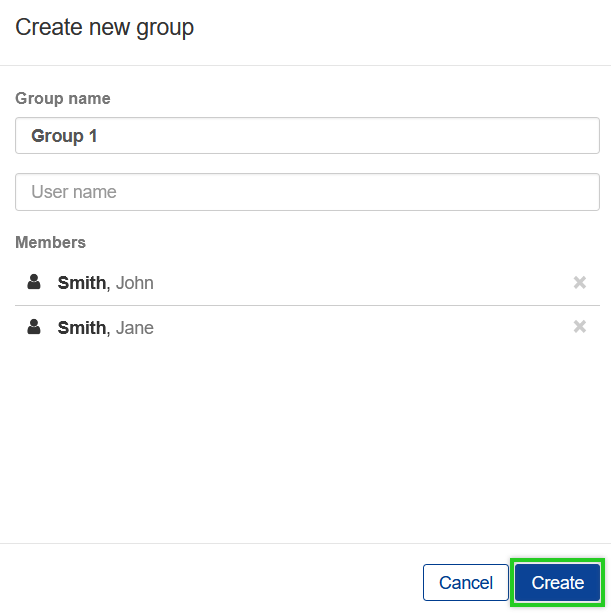
Enter the desired group name.
In the User name field, enter the desired members.
To create the group, click Create.
Editing Groups
- Log in to your Mail Business account.
- Click on the gear icon on the right side of the blue navigation bar.
Click Groups in the navigation bar on the left.
To edit a group, click Edit.
Make the desired changes.
Click Save.
Creating New Resources
- Log in to your Mail Business account.
- Click on the gear icon on the right side of the blue navigation bar.
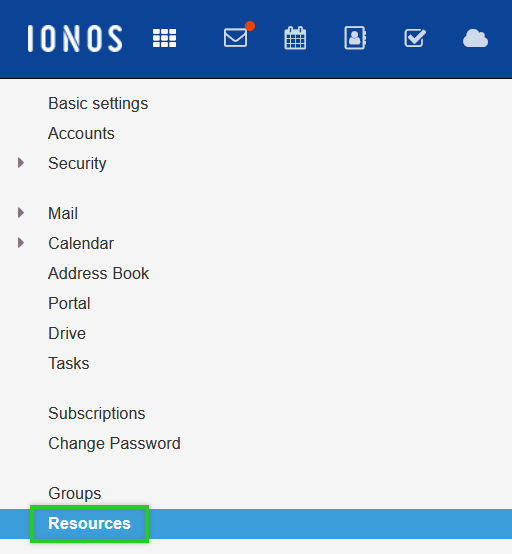
Click Resources in the navigation bar on the left.
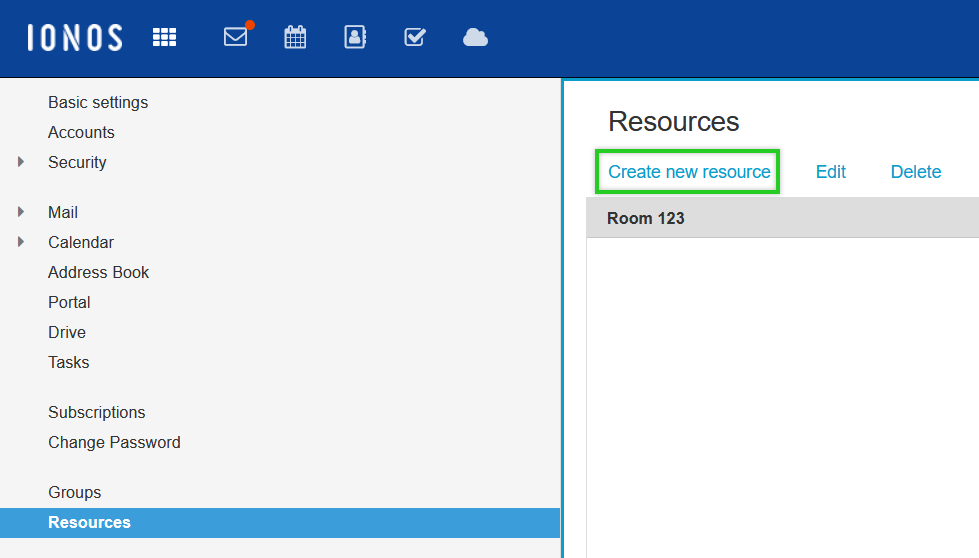
To create a resource, click Create new resource.
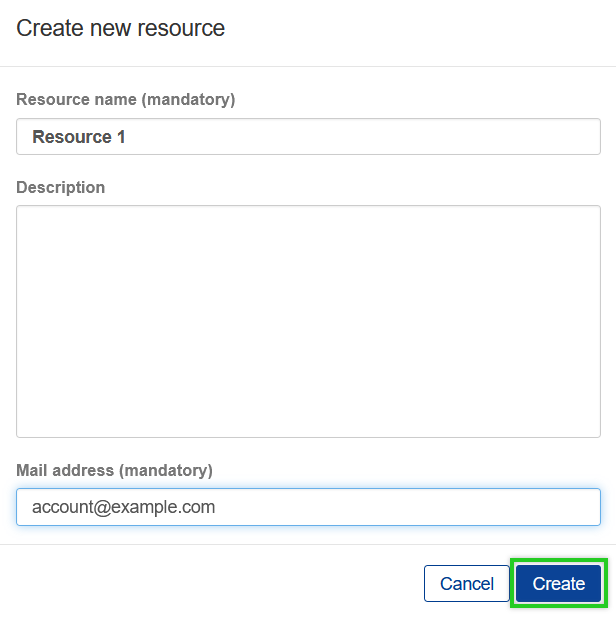
Enter the desired resource name.
In the Description field, type the desired description, and in the Email address field, type any email address.
To create the resource, click Create.
Editing Resources
- Log in to your Mail Business account.
- Click on the gear icon on the right side of the blue navigation bar.
Click Resources in the navigation bar on the left.
To edit a resource, click Edit.
Make the desired changes.
Click Save.